Ol' Rusty - FB/EK Sedan

Post photos of your pride and joy, or updates on your rebuild!

Moderators: reidy, Blacky

User avatar
funkyscooter
Posts: 627
Joined: Wed Aug 16, 2017 8:12 am
State: NSW
Location: Sydney

Re: Ol' Rusty - FB/EK Sedan

Post by funkyscooter »

FbSTDwagon wrote:Mate I can’t believe how clean you are getting that metal!
Looking great mate!
Yeah I’m a bit OCD with this. Only hope the high humidity (92% today) doesn’t bite me on the arse. Sprayed it with easyphos as I went. Fingers crossed.


Scott
Scott
(Not so rusty) Ol' Rusty - FB/EK Sedan
In the Shed
Posts: 2131
Joined: Wed May 16, 2012 10:18 pm
State: SA
Location: South Australia

Re: Ol' Rusty - FB/EK Sedan

Post by In the Shed »

funkyscooter wrote: Thu Nov 25, 2021 9:11 pm That’s a POS super cheap chisel, perfect for soft rusty metal. It’s absolutely top quality though when compared to my eBay hammer and dolly set!


Scott
Geeez Scott.......

Would hate to see what you could do with a quality hammer & dolly!! As always top job mate, keep it up.

Regards
Stephen
A day in the shed beats a day at work!
User avatar
funkyscooter
Posts: 627
Joined: Wed Aug 16, 2017 8:12 am
State: NSW
Location: Sydney

Re: Ol' Rusty - FB/EK Sedan

Post by funkyscooter »

Couple hours later after equal parts grinder, powerfile and die grinder in dremelImage


Scott
Scott
(Not so rusty) Ol' Rusty - FB/EK Sedan
User avatar
funkyscooter
Posts: 627
Joined: Wed Aug 16, 2017 8:12 am
State: NSW
Location: Sydney

Re: Ol' Rusty - FB/EK Sedan

Post by funkyscooter »

Then decided a trial fit of the sub frame was in order. Not expecting it to fit. But dared to hope. Image
Image


Scott
Scott
(Not so rusty) Ol' Rusty - FB/EK Sedan
User avatar
funkyscooter
Posts: 627
Joined: Wed Aug 16, 2017 8:12 am
State: NSW
Location: Sydney

Re: Ol' Rusty - FB/EK Sedan

Post by funkyscooter »

Passenger side is close but drivers side needs some work. The area where the firewall meets the floor is the problem. There is the original drain and bend on the passenger side, but my crafty replacement on the driver side does not have the drain or bend.
Driver side gap..Image
Passenger side gap

Image
Driver side sans drain
Image

Tapatalk is flipping out so not sure if the pics are in order. You’ll work it out!


Scott
Scott
(Not so rusty) Ol' Rusty - FB/EK Sedan
User avatar
funkyscooter
Posts: 627
Joined: Wed Aug 16, 2017 8:12 am
State: NSW
Location: Sydney

Re: Ol' Rusty - FB/EK Sedan

Post by funkyscooter »

Image
There is the passenger side


Scott
Scott
(Not so rusty) Ol' Rusty - FB/EK Sedan
User avatar
funkyscooter
Posts: 627
Joined: Wed Aug 16, 2017 8:12 am
State: NSW
Location: Sydney

Re: Ol' Rusty - FB/EK Sedan

Post by funkyscooter »

So think l’ll just attack this with a BFH. Might need some adjustment to the firewall too. Not a fun single person job fitting the sub frame but my rotisserie stands came in handy.


Scott
Scott
(Not so rusty) Ol' Rusty - FB/EK Sedan
FbSTDwagon
Posts: 790
Joined: Thu Jul 02, 2020 3:04 am
State: SA

Re: Ol' Rusty - FB/EK Sedan

Post by FbSTDwagon »

Scott my frames aligned much like yours and it did my head in trying to get it right.

I looked back on the hundred of photos I took pulling it apart and it’s exactly the same as it was from the factory.

So I have left the frames as is and I’ll work hard for panel alight when the time comes.
Drew
User avatar
funkyscooter
Posts: 627
Joined: Wed Aug 16, 2017 8:12 am
State: NSW
Location: Sydney

Re: Ol' Rusty - FB/EK Sedan

Post by funkyscooter »

So the fun was short lived.

To drill the holes for the wings to bolt to the firewall I have to fully fit the sub frame. Which means getting all 4 bolts in the legs of the sub frame, and the two tapered bolts that screw the mid point of the verticals to the firewall. All these points did not change in the resto, though a lot around the verticals did. No amount of hammering/grinding /bending or swearing would get the necessary clearance to get the inner drivers side bolt in. Just could not work out a way to get the whole frame to move in 5mm further.

So after 4 attempts and several hours doing my best Catherine Zeta Jones Entrapment impressions, took the sub frame off the stands, and tried to get the bolts in with the subframe lower at the front, then tilt it up into position.

Found a few more gotchas in this lowered state (remove/bend/grind/refit), but with a ratchet strap, hammer, and long punch, finally got it lined up.
IMG_9276.JPG
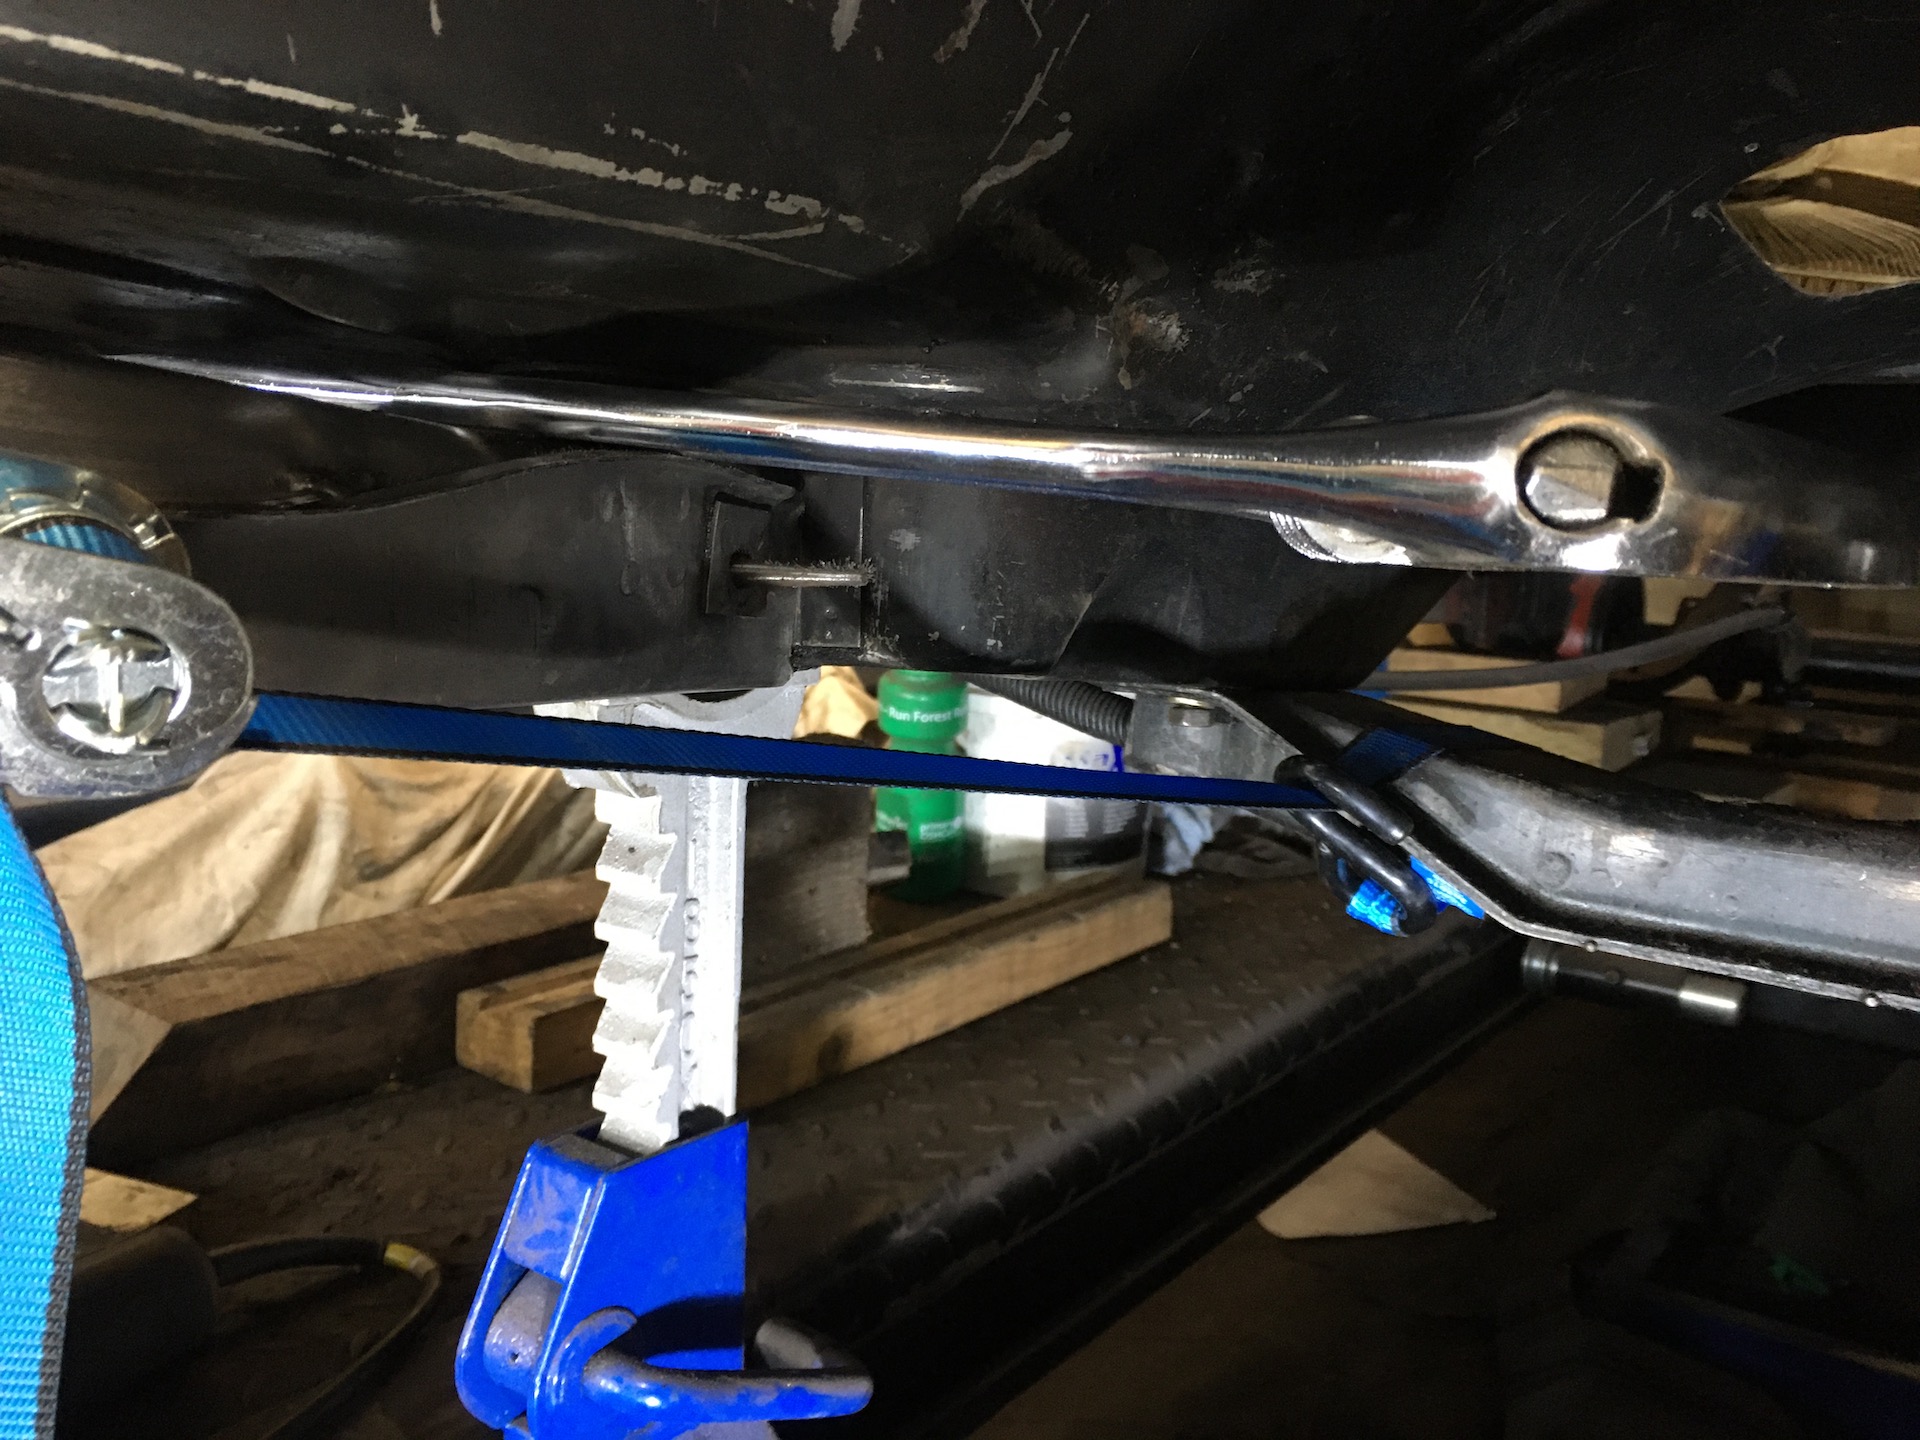
IMG_9276.JPG (602.76 KiB) Viewed 731 times
And because I was so pleased with myself, I took a phot with the bolt in.
IMG_9278.JPG
IMG_9278.JPG (567.97 KiB) Viewed 731 times
Well almost
IMG_9279.JPG
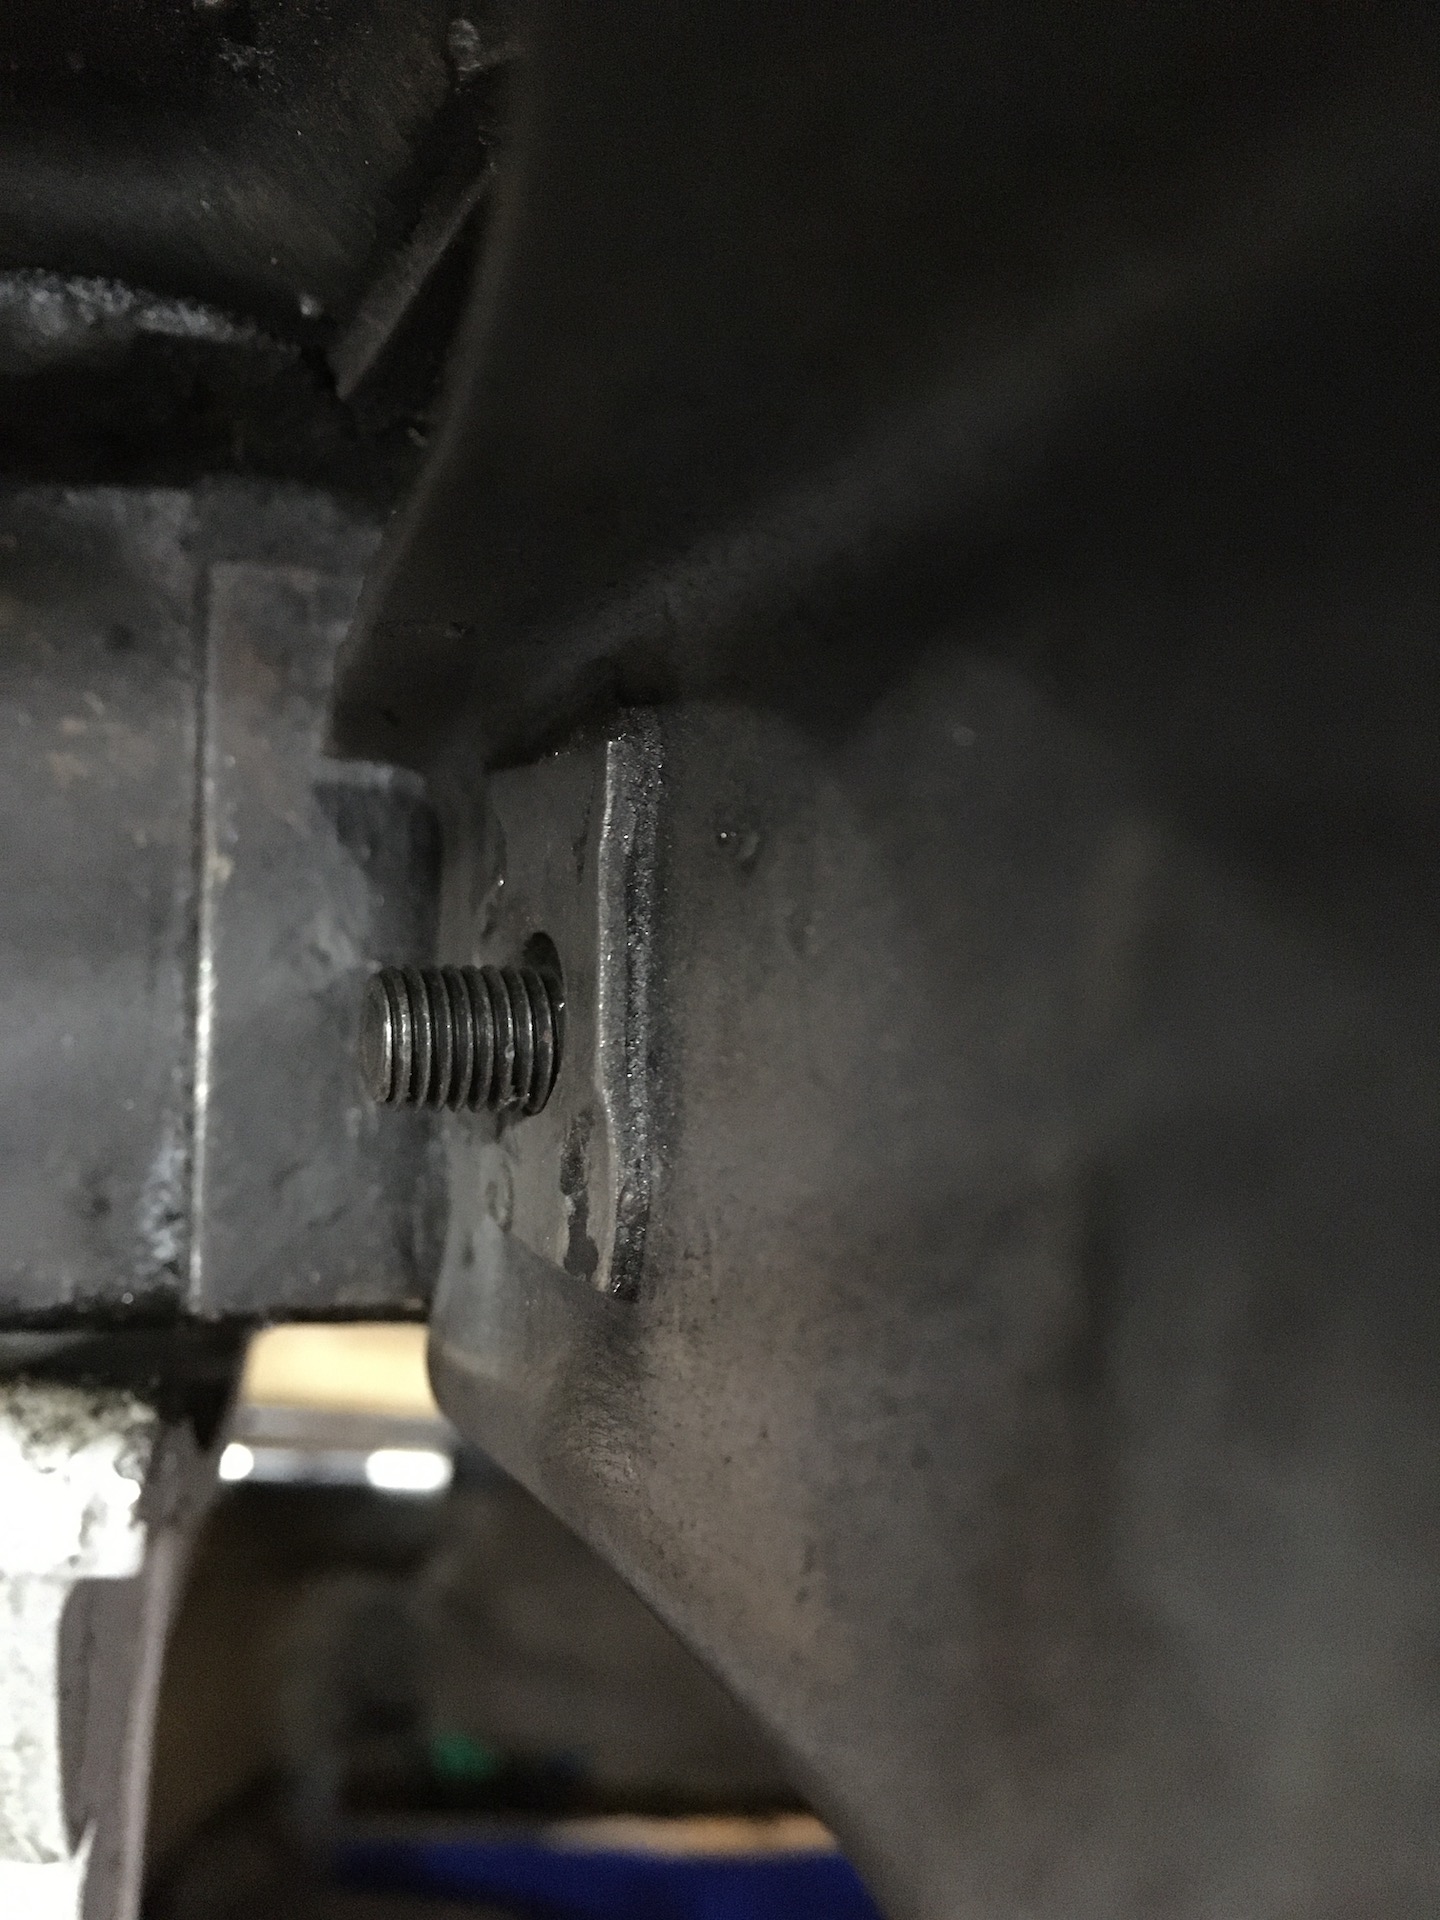
IMG_9279.JPG (590.33 KiB) Viewed 731 times
The bolt is sitting low and for now that is the best I can do.

My solution for locating and fitting the outer bolts was pretty simple
IMG_9273.JPG
IMG_9273.JPG (534.5 KiB) Viewed 731 times
But can't do that with the inner.

And as I stared at it for long enough, was the hole in the centre of the mount used during manufacture? Can't think of another reason, except to let water and dirt in.
IMG_9274.JPG
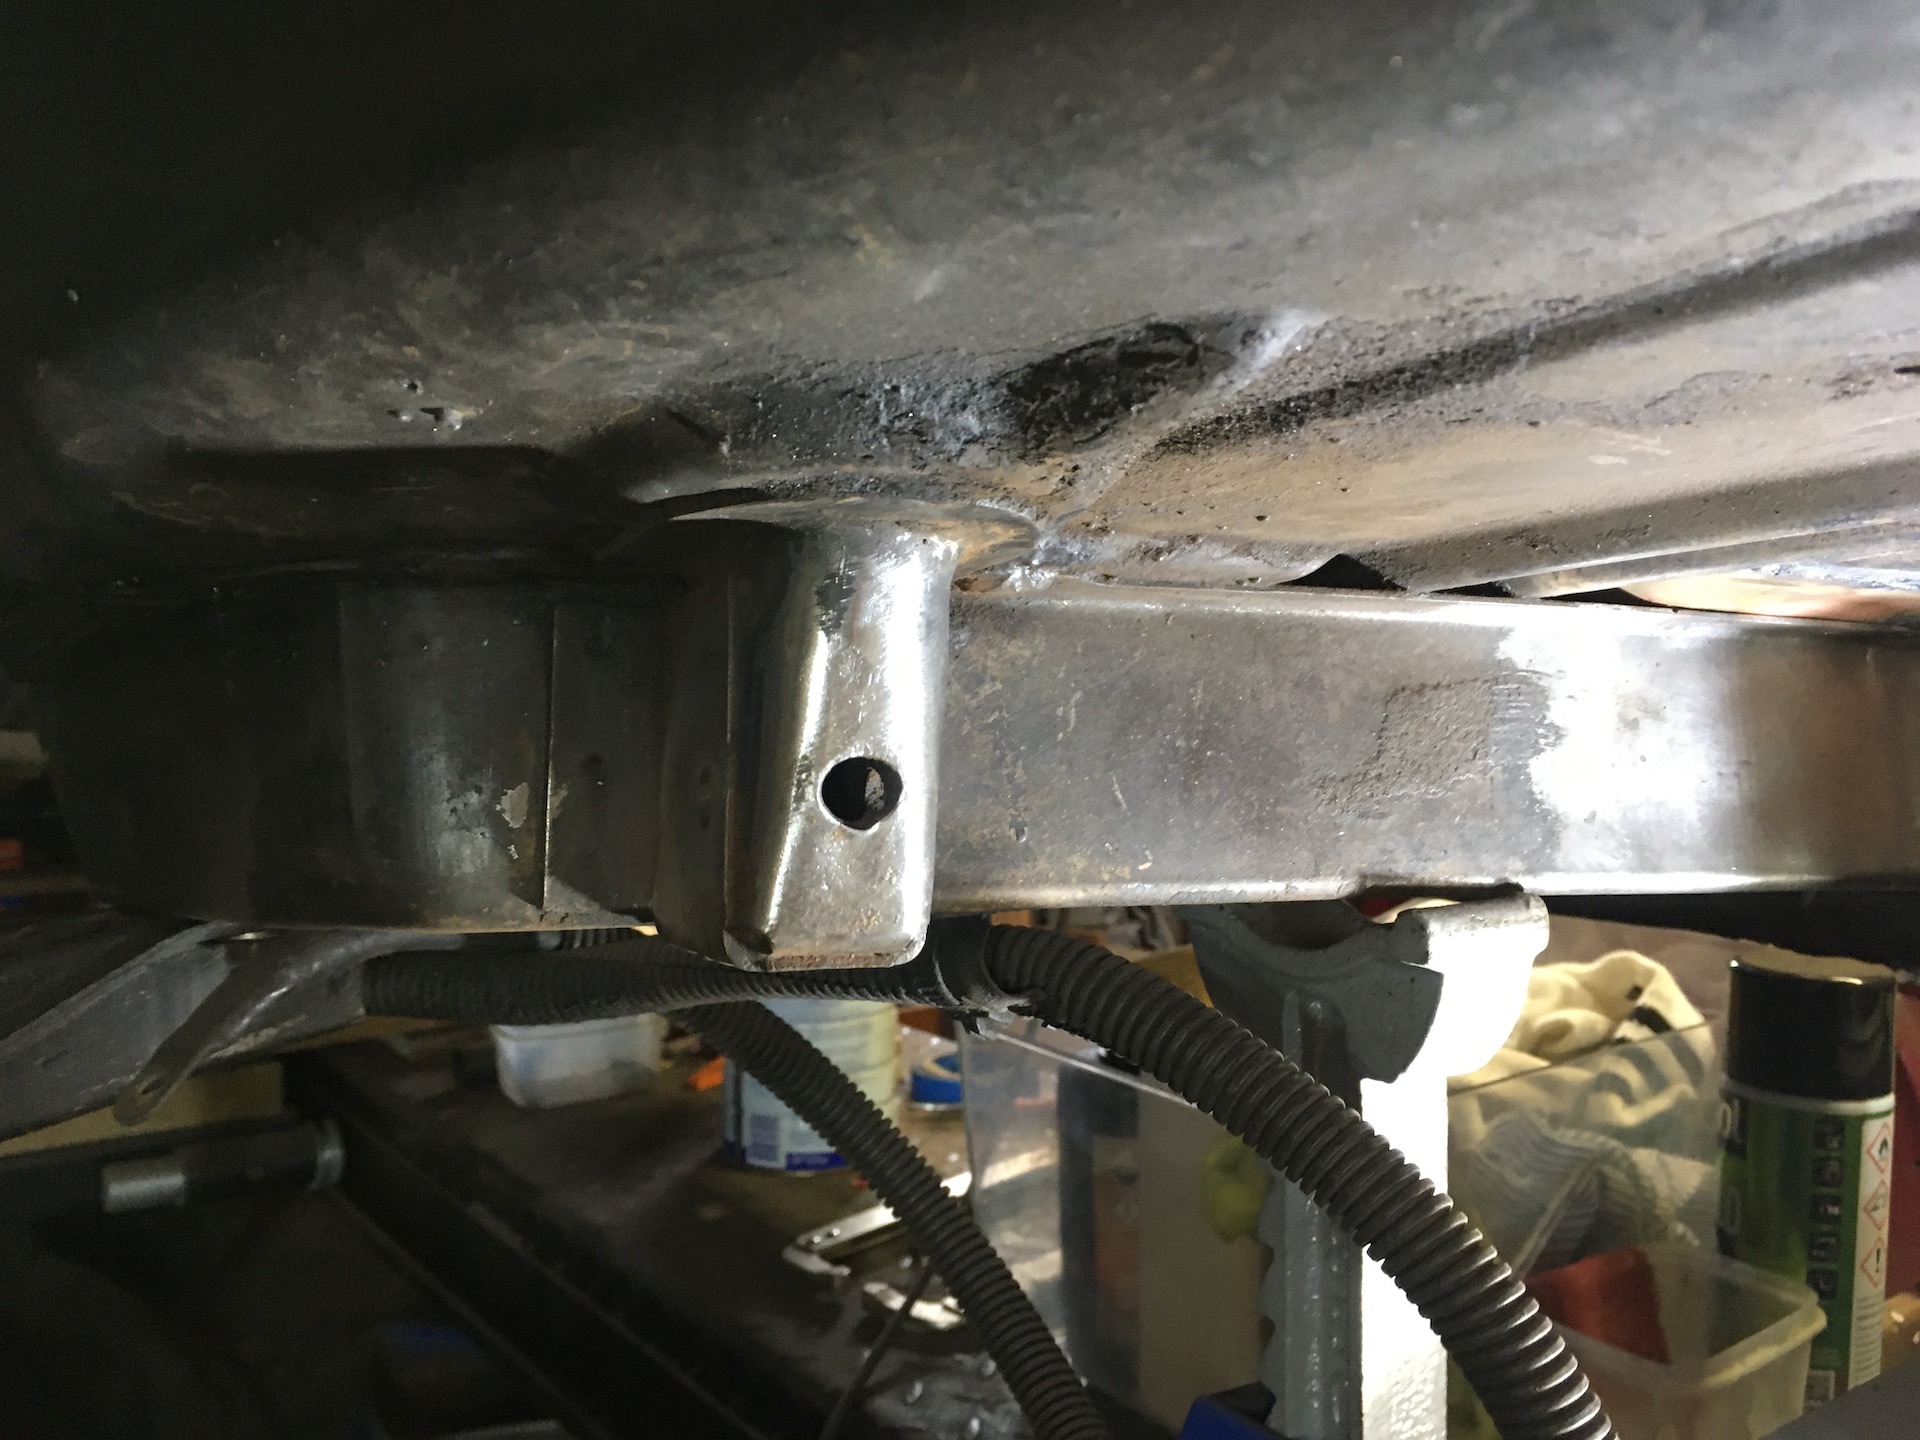
IMG_9274.JPG (566.27 KiB) Viewed 731 times
Scott
(Not so rusty) Ol' Rusty - FB/EK Sedan
User avatar
Brett027
Posts: 2410
Joined: Thu Apr 18, 2019 4:14 am
State: NSW

Re: Ol' Rusty - FB/EK Sedan

Post by Brett027 »

Hi Scott. Those holes and gaps are part of the Holden Planned Redundancy Program (HPRP). They are strategically placed so as to collect dust and water to make a rust generating poultice that gives the cars a 10year lifespan. Fuel companies had a share in the HPRP as well, with 30 kg of fine dust adding to vehicle weight and increasing fuel consumption.
I have been amazed at how many containers of dirt have been held in chassis rails, k frame arms and supports, crossmembers and sills of my current project. Rails were full from one end to the other. In Wilma everything was sealed and I will do the same in Project2.

On the other matter, I reckon if your k frame bolted straight on with no difficulty at all it would indicate a problem: something must be out of alignment!!!😄
Sucker for a rusty bomb
User avatar
funkyscooter
Posts: 627
Joined: Wed Aug 16, 2017 8:12 am
State: NSW
Location: Sydney

Re: Ol' Rusty - FB/EK Sedan

Post by funkyscooter »

So true!!


Scott
Scott
(Not so rusty) Ol' Rusty - FB/EK Sedan
Blacky
Posts: 13412
Joined: Tue Jul 20, 2004 8:58 am
State: WA
Location: up in the Perth hills

Re: Ol' Rusty - FB/EK Sedan

Post by Blacky »

Subframe alignment seems to operate on the ouija principle ......
I started with nothing and still have most of it left.


Foundation member #61 of FB/EK Holden club of W.A.
FbSTDwagon
Posts: 790
Joined: Thu Jul 02, 2020 3:04 am
State: SA

Re: Ol' Rusty - FB/EK Sedan

Post by FbSTDwagon »

Scoot I’m hearing you about the sub fame mate!
Total PITA.

I think if you get the bolts in at all then you have to just take a breath and call it done.

Trying to get it better it this stage is bloody mission
Drew
User avatar
funkyscooter
Posts: 627
Joined: Wed Aug 16, 2017 8:12 am
State: NSW
Location: Sydney

Re: Ol' Rusty - FB/EK Sedan

Post by funkyscooter »

FbSTDwagon wrote:Scoot I’m hearing you about the sub fame mate!
Total PITA.

I think if you get the bolts in at all then you have to just take a breath and call it done.

Trying to get it better it this stage is bloody mission
Glad I’m not alone!
Was hoping to get the process down so when I do the drivers side sills it would be a breeze. At least I’m prepared for the fight!
Also remember down when I took it off, the inner driver side bolt had to be hammered out, so has always been an issue.
Amazing too the difference you can make to the height alignment based on the four bolts in the wings. I thought with the center one nipped up the that wound that. But each of those 4 bolts has pushed and pulled the subframe into position.
Test fit of the front rotisserie- still have to shift the car 60mm across and 500 forwards. Image


Scott
Scott
(Not so rusty) Ol' Rusty - FB/EK Sedan
User avatar
funkyscooter
Posts: 627
Joined: Wed Aug 16, 2017 8:12 am
State: NSW
Location: Sydney

Re: Ol' Rusty - FB/EK Sedan

Post by funkyscooter »

A few shots of the sub frame (temporarily) reattached.
Did as panoramas to get as much in as possible. So there are some jaggy bits where the iPhone got confused Image
One looking down
Image
And a 3/4 which really pissed the iPhone off. Looks like a saw tooth. Image


Scott
Scott
(Not so rusty) Ol' Rusty - FB/EK Sedan
Post Reply