EK morphs into pillarless Coupe .

Post photos of your pride and joy, or updates on your rebuild!

Moderators: reidy, Blacky

Post Reply
Harko
Posts: 2387
Joined: Fri Apr 07, 2006 9:36 pm
State: NOT ENTERED
Location: Shellharbour

EK morphs into pillarless Coupe .

Post by Harko »

Image

http://www.fbekholden.com/forum/viewtop ... highlight=
Click and read this thread to learn how the EK was aquired but what you wont read is that Minifc also stored it for a while ,came up with a great plan of bartering when I had drama with the cash and also delivered it to me (As Ive mentioned before Mark ,your bloods worth bottling and your skins worth a fortune :))
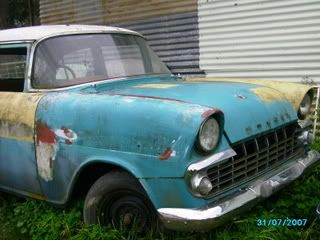
As you can see this car was gained through an auction in here - our site.
Truth be known I didnt have any cash at the time and actually when I posted "Im out" I was actually trying to get myself out.
After a very mynute bit of egging on I upped the price then kicked myself for doing so , and I figured somoene would outbid me hence the bantering in the hope it would get another bid :?
Stoked when I won it none the less and all I could invision was Ratbox's pillarless ,but what some of you dont know is I already have enough work on cars here to last me the next two decades.

so over the next few weeks I spent lots of time on photoshop coming up with a good pic of what I want it to look like.and lots of hours repairing the rust.

And so here starts the build .


Image
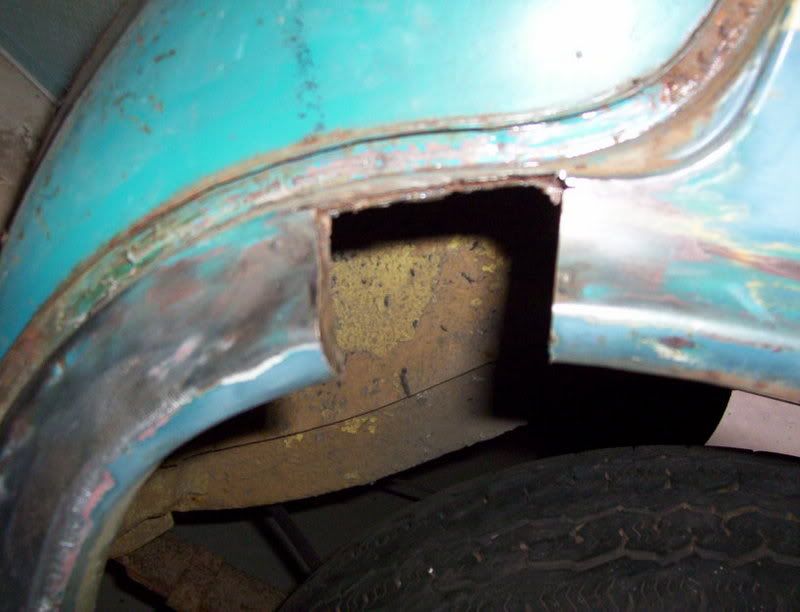
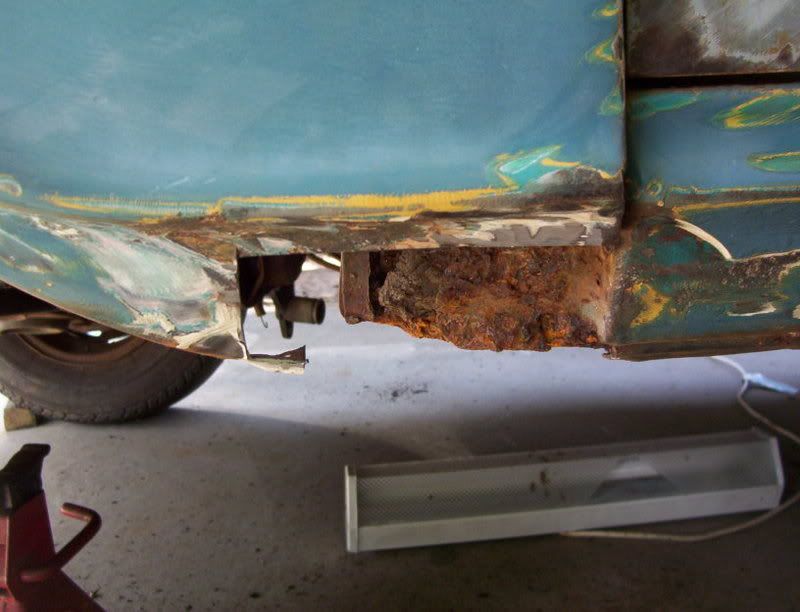
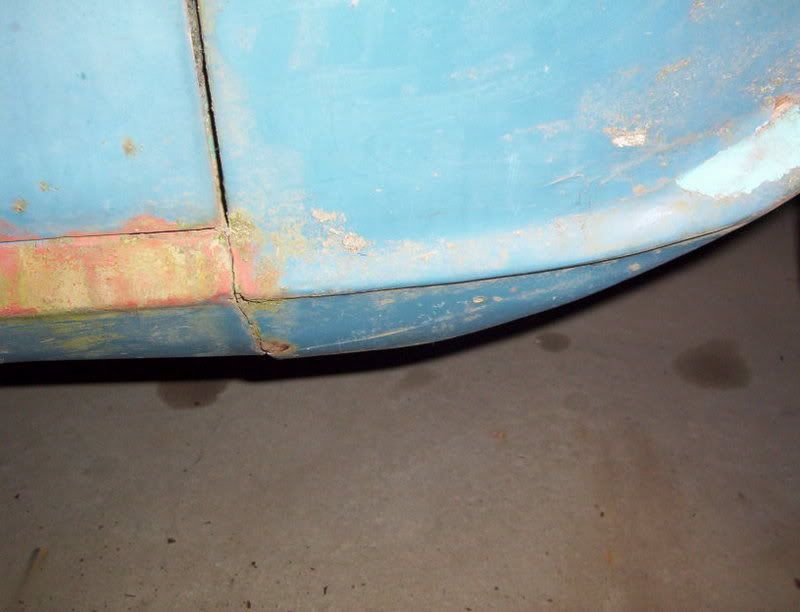
This is a bad reference photo because it would seem it has been just filled ,I did clean up the inner area that looks rusty and rust converted it also.
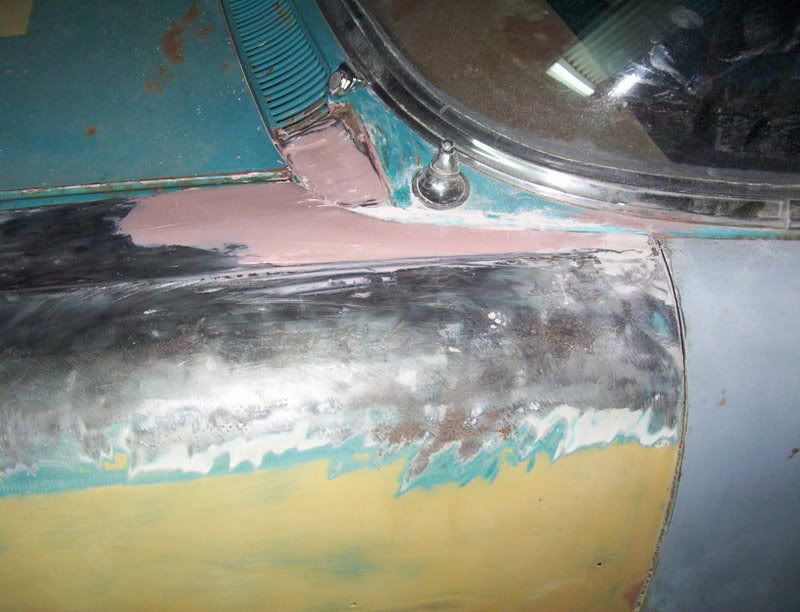
Image

Image
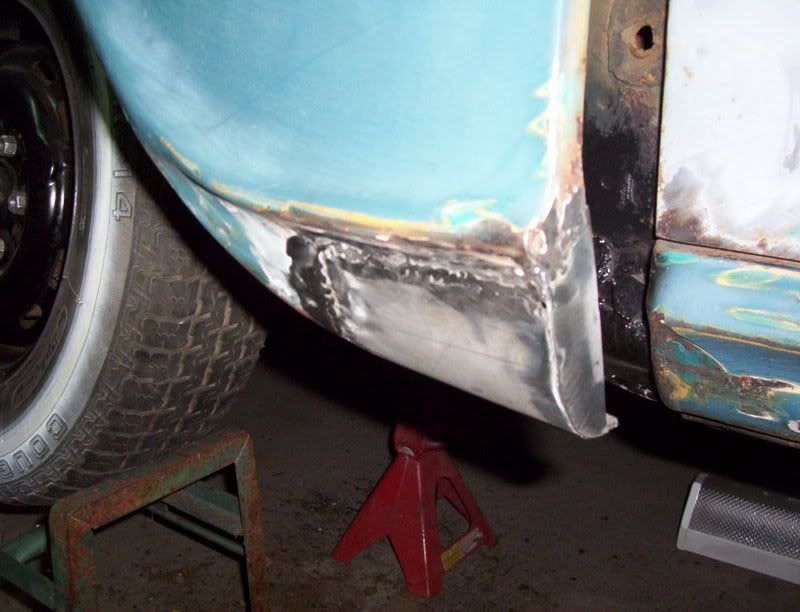
This area is a hard piece to form up due to its concave and rounded curves but fbbad on the forum had let me take ownership of this gem :lol:
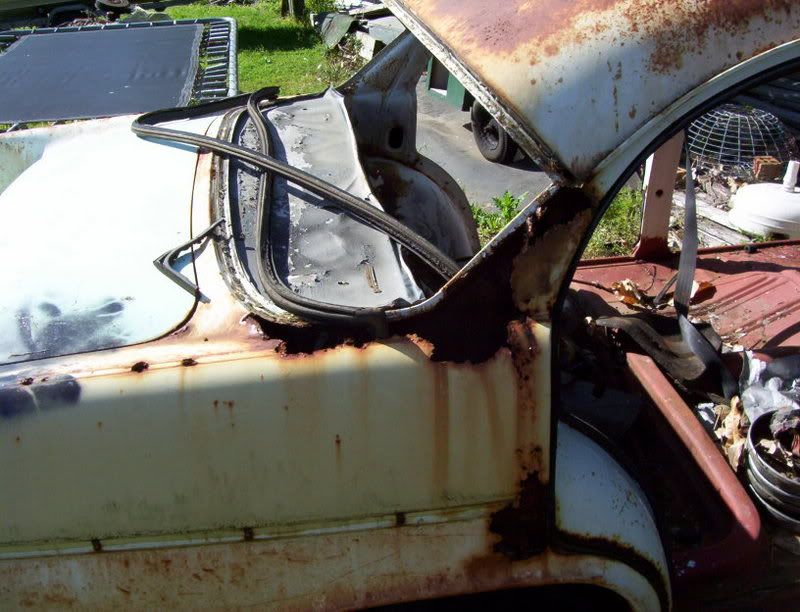
Image
which unexpectedly had a good piece but on the opposite guard
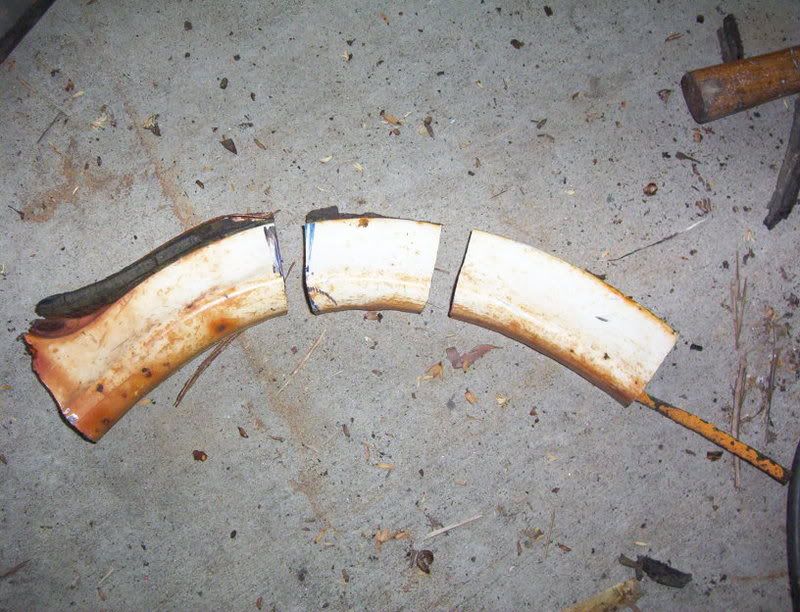
Image
Image
Here you can see I was hoping to use the inner guard section also but it didnt work out that way , The piece came from further up the guard where it was slightly different and the inner guard had become a different width .
Also the outer curve or radius had tightened up ,I hammered it a little and shortened it a little more than needed so I could build it up with solid weld and shape it instead - worked out awesome.
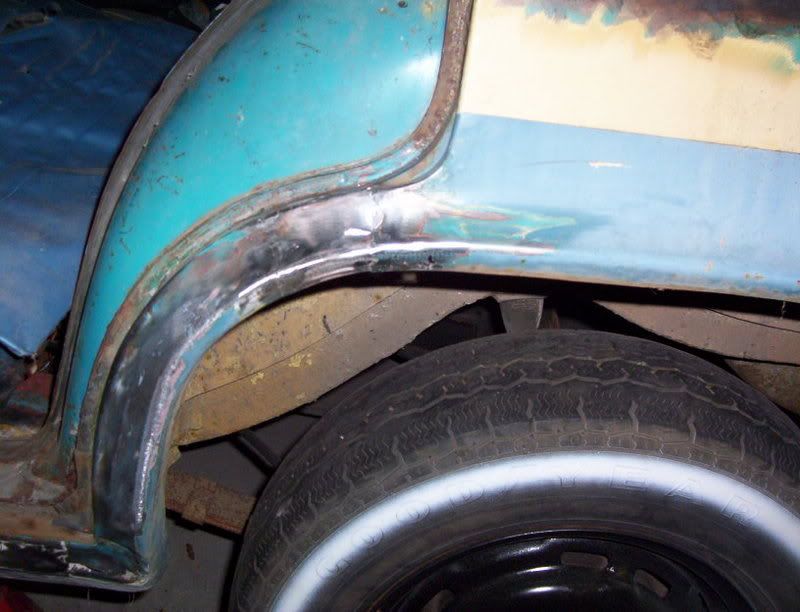
Image
more to follow..................................................................................
Last edited by Harko on Sun Jan 24, 2010 12:22 pm, edited 1 time in total.
Easily distracted angle manipulator extrordinaire.
mattymartin
Posts: 841
Joined: Fri Oct 06, 2006 12:49 pm
State: NOT ENTERED
Location: sydney

Post by mattymartin »

great work...

looks like your gunna be busy for a while mate...

any pic's of the finished plan...

matty martin
go the wagons....
User avatar
Devilrod
Posts: 7394
Joined: Fri Apr 30, 2004 12:55 pm
State: VIC
Location: Beaconsfield, Vic

Post by Devilrod »

Good Stuff I await more progress shots...
Speed and Style........... One day I'll get the speed bit.
captainbill
Posts: 264
Joined: Tue Jul 03, 2007 10:44 pm
State: NOT ENTERED
Location: Adelaide.sa

Post by captainbill »

Another project.Looks like you like keeping busy harko.You going to do it the same colour.
Harko
Posts: 2387
Joined: Fri Apr 07, 2006 9:36 pm
State: NOT ENTERED
Location: Shellharbour

Post by Harko »

Wont be the same color Captain bill ,It will be flat and candy but Ill reveal the color once Im set on it.

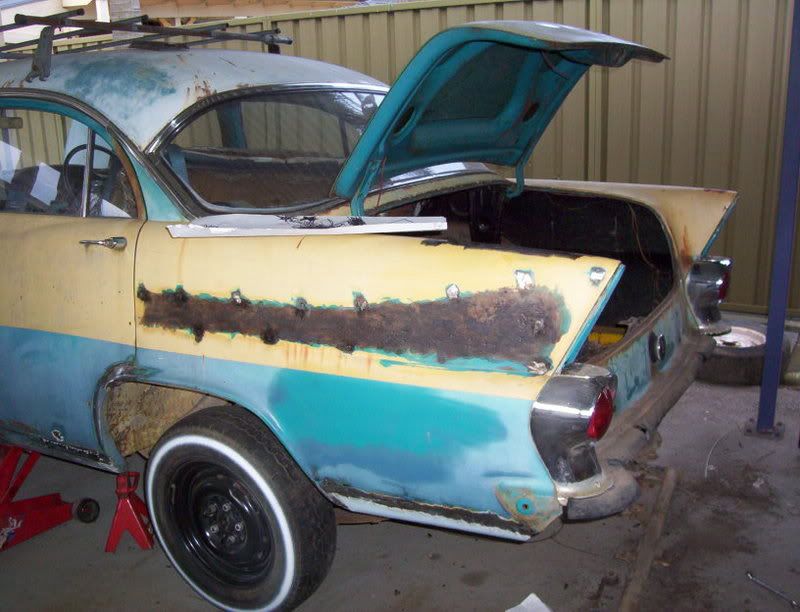
Heres more work in progress - Finishing the boot ...


Image
cleaned up for welding .

Image
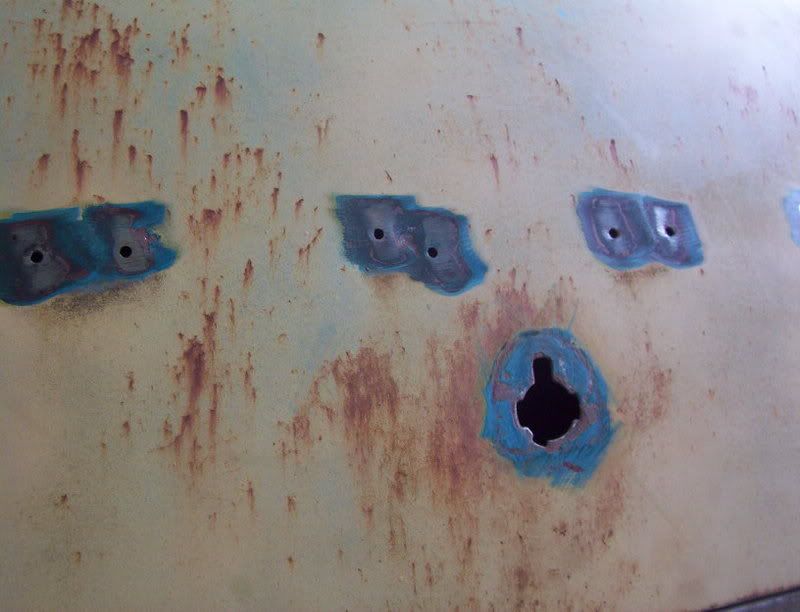
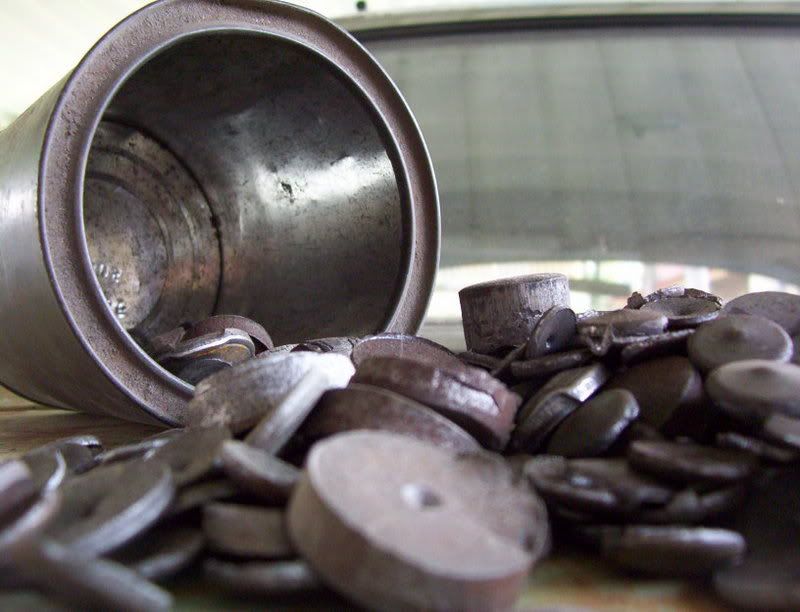
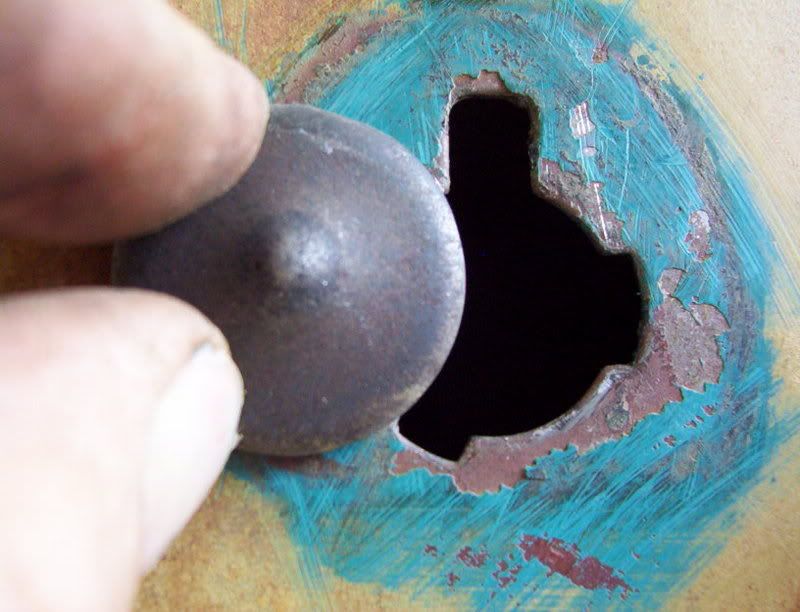
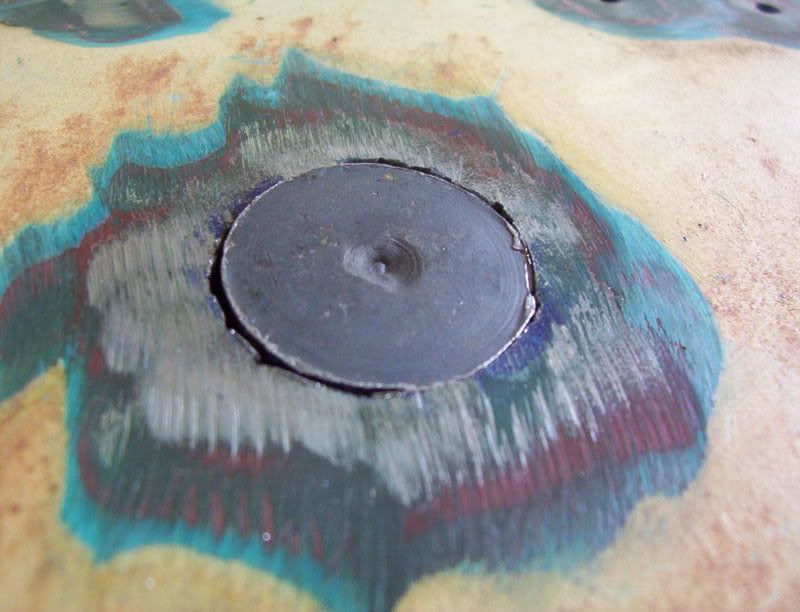
That boot lock leaves a pretty large hole so I grabbed a tin of holes to fill it back in . :)
Image
Image
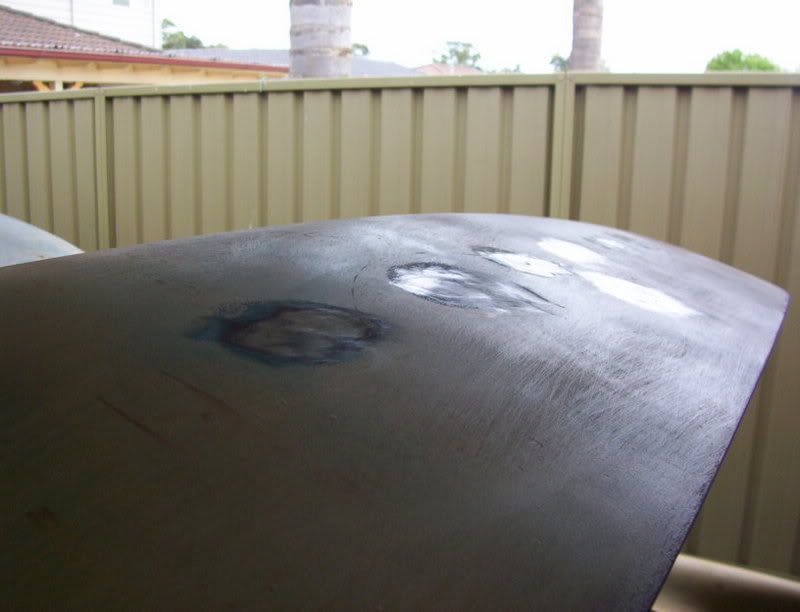
I trimmed it out using a jigsaw and flattened out the punched hole then set it in flush for welding ,got everything clean and zapped it in.
Image
Image
Easily distracted angle manipulator extrordinaire.
Mephious
Posts: 626
Joined: Thu May 10, 2007 10:01 pm
State: NOT ENTERED
Location: Sydney

Post by Mephious »

Great thread Harko !!!

Will be good seeing how this vechile evolves mate, having its roots on the site. Mick's pillarless coupe is spot on, it would be great to see another one........ blown !
captainbill
Posts: 264
Joined: Tue Jul 03, 2007 10:44 pm
State: NOT ENTERED
Location: Adelaide.sa

Post by captainbill »

A tin of holes.good work harko.
Harko
Posts: 2387
Joined: Fri Apr 07, 2006 9:36 pm
State: NOT ENTERED
Location: Shellharbour

Post by Harko »

Haha thought it might get a laugh.

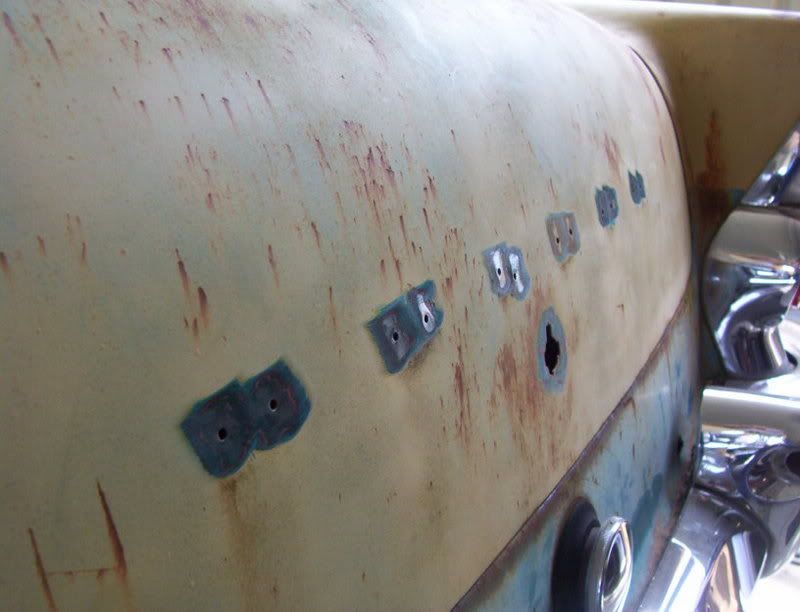
There were 26 holes in each guard and the quarters once had a Hollywood tilly kit on it so there were plenty of holes to weld up there too ,I think by the time I get the body in shape Ill be getting scared of the welding it takes to stretch the doors and roof :wink: .
Im going to drop the roof 3 inches on the front pillar and hopefully 3.5 at the rear depending on where it looks right ,Im using the rear glass and slicing between it and the boot and moving it forward then mating it back up to the roof , And although I toyed with the idea of pulling the pillars I think I will spread the roof so it allows the cut screen to fit right and also makes the roof square in shape rather than narrower at the front as per factory .
Id like to make some side glass surrounds from copper channel and have them chromed similar to XM XP falcon coupes ,Ill weld the frames to the roof as you did Ratbox and maybe add a lip to them to accomodate a rubber and the glass can butt up against it.
One area that bothers me is when looking along the doors the front flows out and the rears flow in - so the pillar is about 20mm too wide , Have a look down any EK window line and you will see what I mean.
So when I extend the front door it will head outward :shock: might be able to gain a bit of curve but not much , and I expect to have to cut the window edge off and run the same radius curve right the way along , Anywayz time will tell.
enough blabber heres some pics.

Image

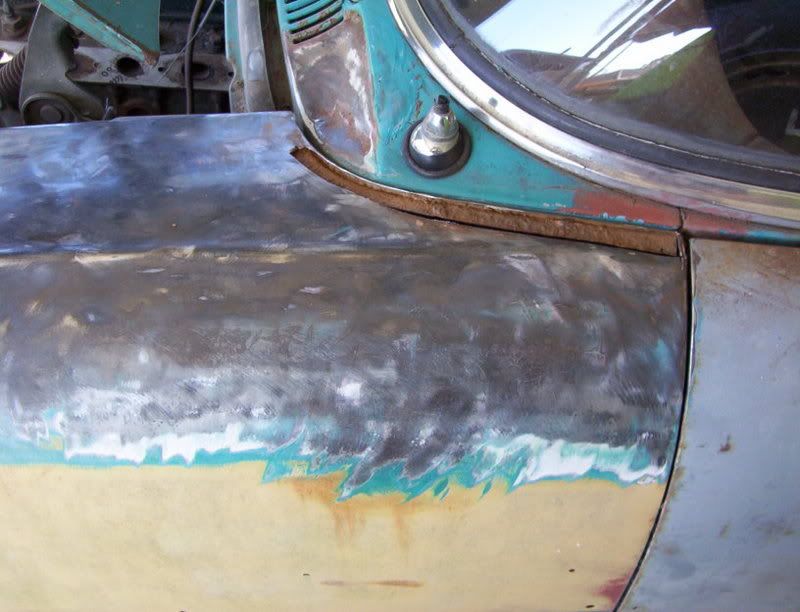
The tilly kit centre area seems to have been bare metalled and painted over with something porus ,Its pitted between the strips - wierd ,Ill get it blasted and smooth it with liquid metal.
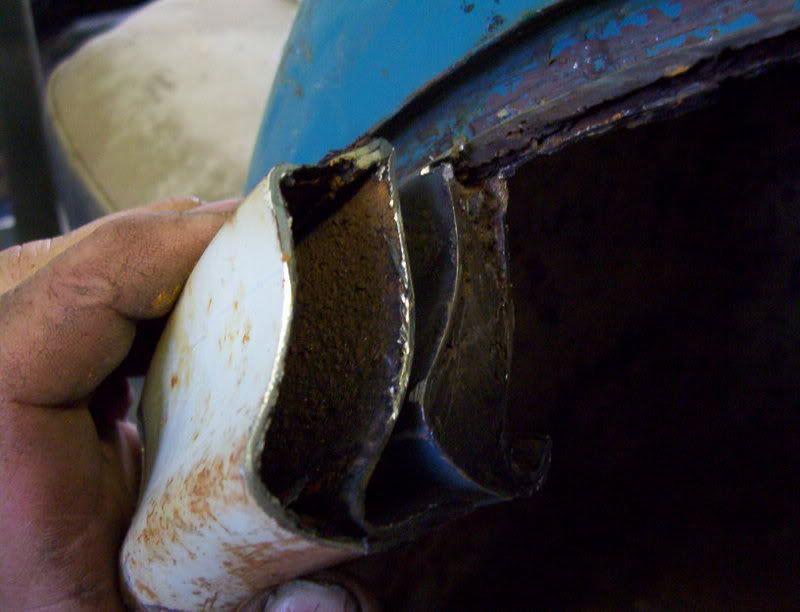
But in this pic you will also see the guards lower section has been repaired ,I didnt have any batteries in the camera so I was lucky to have this one ,I took templates of the shape then found something I could roll the metal around ,In this case an axe handle and small fire extinguisher gave me the correct shape :) rolled from metal cut out of an FC bonnet :shock: :twisted:
The inner section had rotted away aswell so I utilised a mates folder and some floor guage zinc coated metal so it will last a lifetime.
Ive split the tail lights and am going to extend the fins but not untill the roff comes down and window forward so I can eyeball it ,I like the idea of having the chrome trim a 57 chev has above the light so if anyone can find some please give us a yell


Image
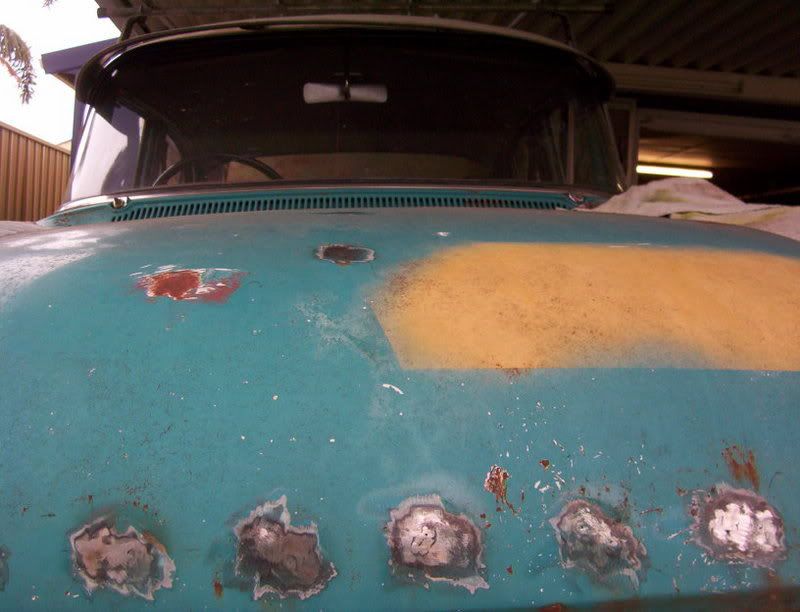
No more bonnet mascot or badges ,15 Holes right there :roll:

Image
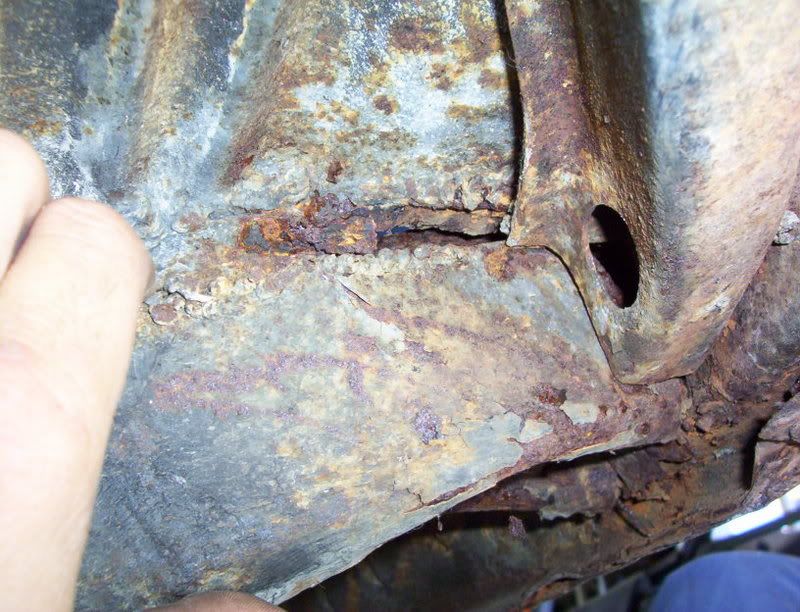
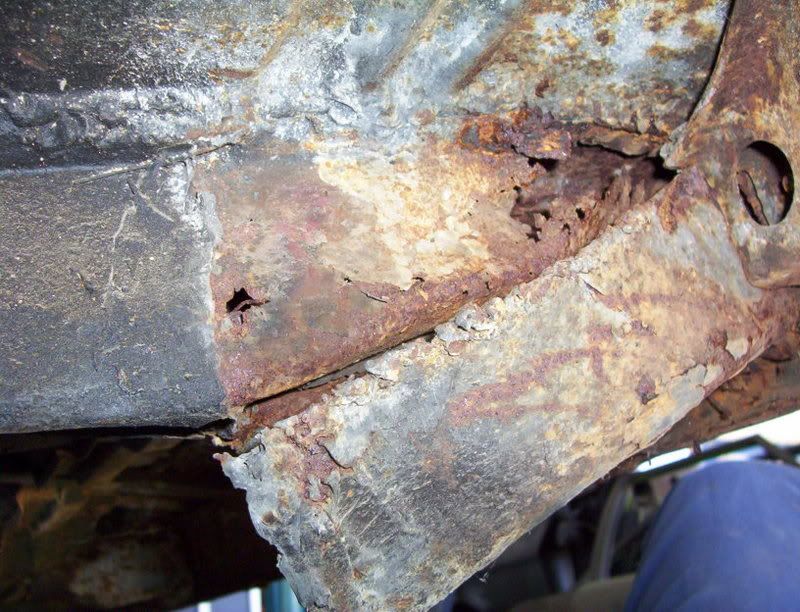
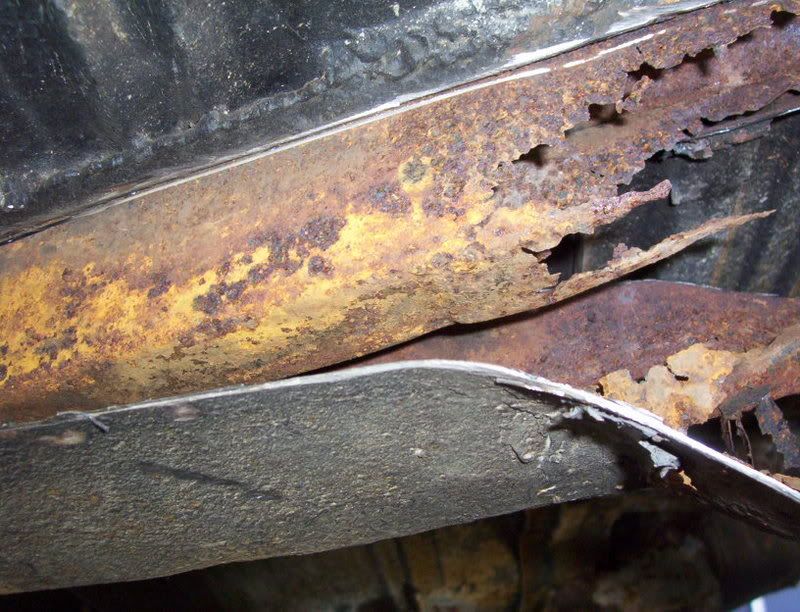
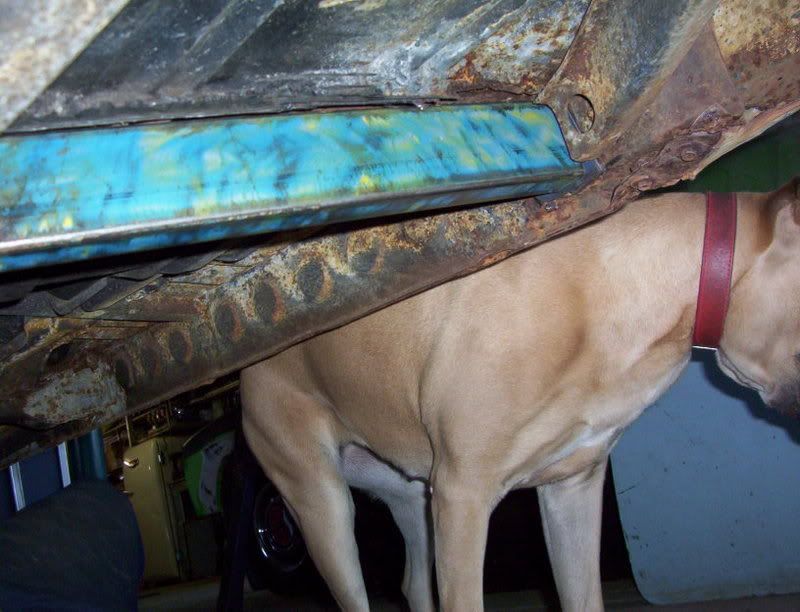
Then I went under the car / check this out , A hole heap of birdshit welding and nothing stuck , I just pulled it and it came loose but bare in mind this is the crossmember that holds the pickup points for the subframe - bloody scary
Image
Image
Heres what layed beneath ,Another crossmember ha ! Double thickness - strong as :lol:
Image
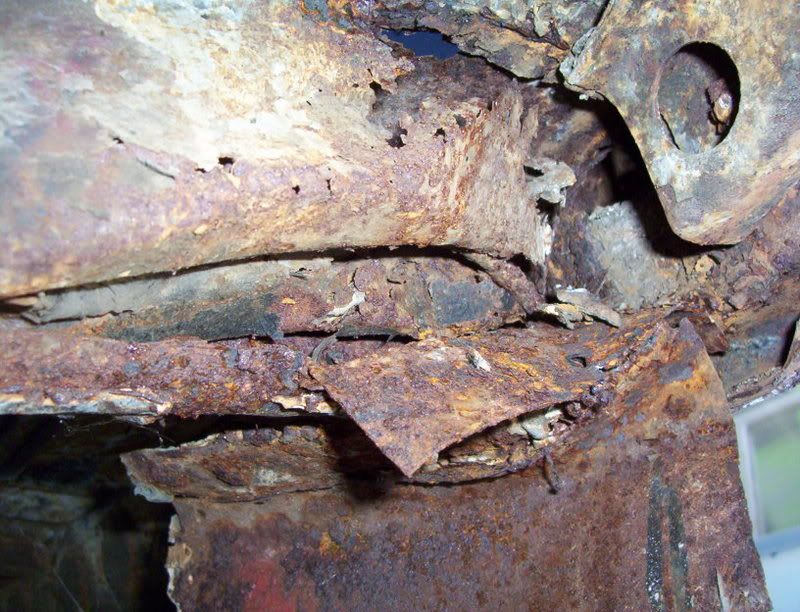
But wait theres more ! I cut that one away to reveal the original member still there and actually in not bad a shape - 3 layers must have been stronger :roll: Its easier just to get rid of the rust so it s"stops"
Image
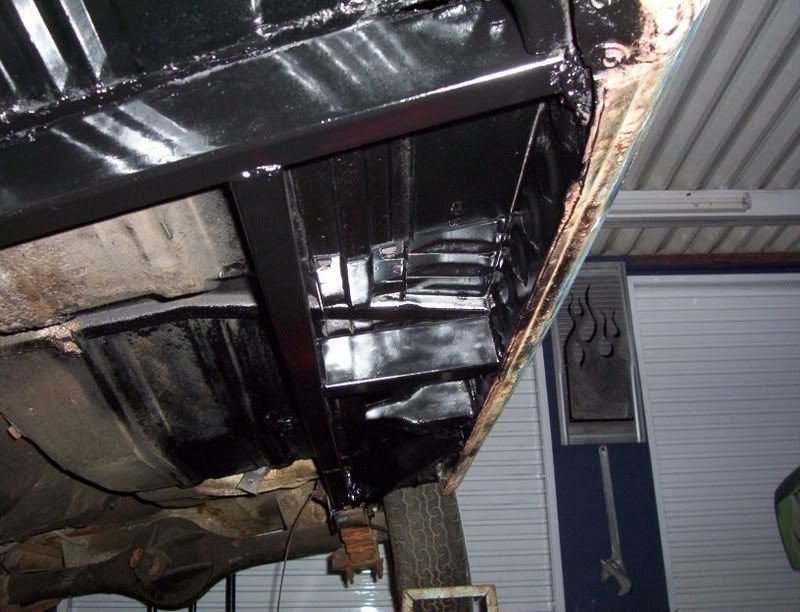
The new member trial fitted .

Image
And a strengthening kit welded in ,I made this from the old fence they pulled down at my last job ,you can see the yellow enamel remains from what I stripped off ,Its heavy sidewall and perfect for the job..
Last edited by Harko on Wed Oct 24, 2007 11:38 pm, edited 2 times in total.
Easily distracted angle manipulator extrordinaire.
EK283
Posts: 2403
Joined: Thu Mar 16, 2006 9:51 pm
State: NSW
Location: SYDNEY NSW

Post by EK283 »

Harko,

It is amazing what you can achieve when you have to!

Ive had a few months off now but when I look at photos like these it just starts motivating me again.

Good work!

Regards Greg
So many cars so little time!
mattymartin
Posts: 841
Joined: Fri Oct 06, 2006 12:49 pm
State: NOT ENTERED
Location: sydney

Post by mattymartin »

hey harko,

at this rate, you'll be ready for yamba... great work & awesome pic's

thanks
matty martin
go the wagons....
Harko
Posts: 2387
Joined: Fri Apr 07, 2006 9:36 pm
State: NOT ENTERED
Location: Shellharbour

Post by Harko »

Harko,

It is amazing what you can achieve when you have to!
When you want to :wink:
Cheers Matty ,I think about 2 weeks out is when I will commit myself to anything so I more than likely wont end up there due to payment up front and booking holidays etc.

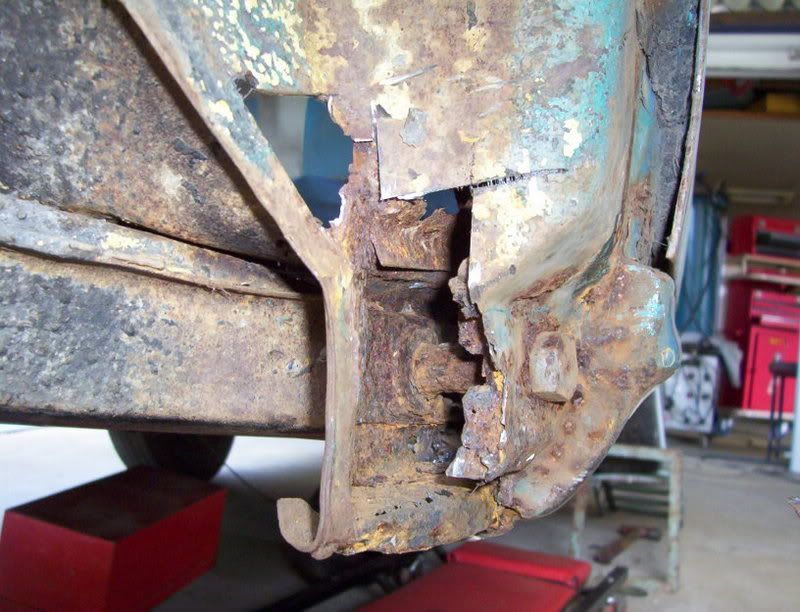
Both lower guard areas were dodgy so heres what I found on the left guard

Image
Image
I unbolted the rear of the guard and chocked it out to gain access for the repair , I cut the section off and look what else I found :D .

Image

So I stalled on the guard and kept the hole there to look through :) while I repaired the lower section of the cowl .
I love it though because I had to do more repairs than this cars on an FC I paid 4 grand for , Ive made these before :wink:


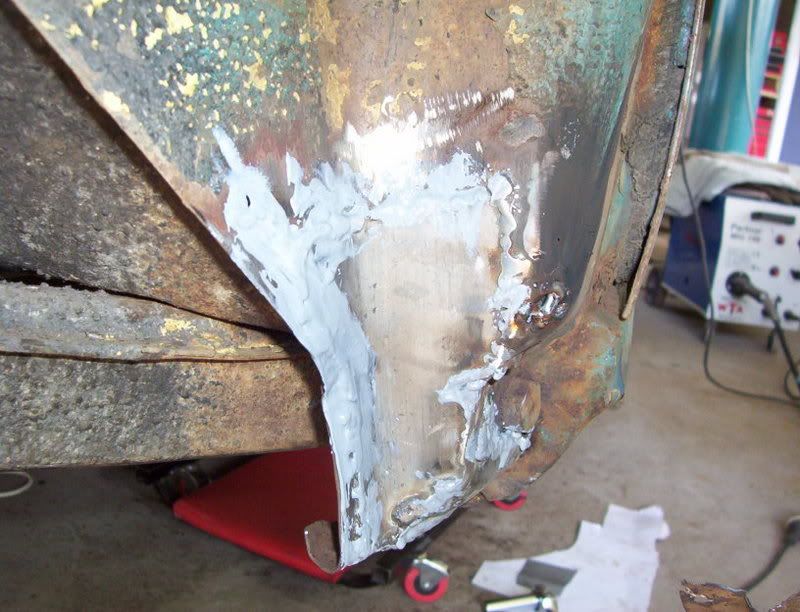
Image
This shows the new section in and metal putty incase of any pin holes ,These came from the zinc sheet aswell .

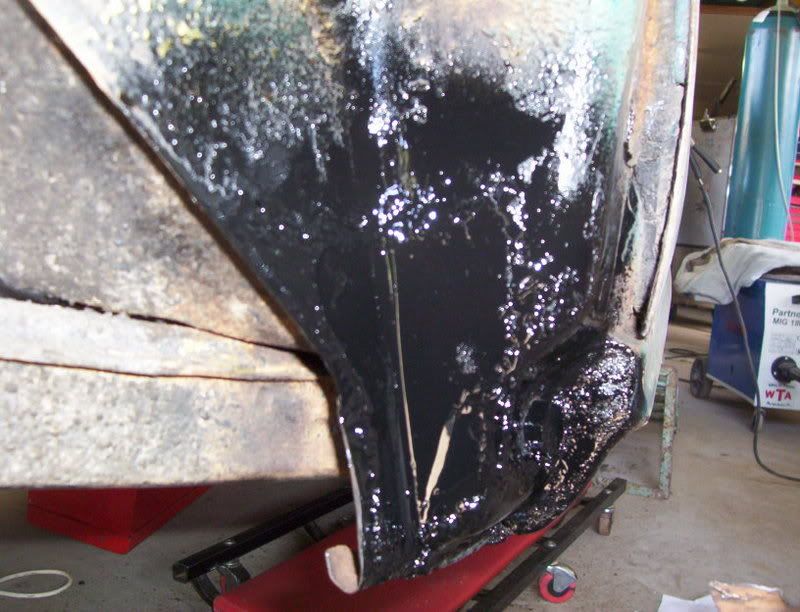
Image
mmmmm purdy

Image
And the guard bottom to button it up , I left the lip on the guard longer so I could slowly cut it down and allow it to have an awesome seal against the body .
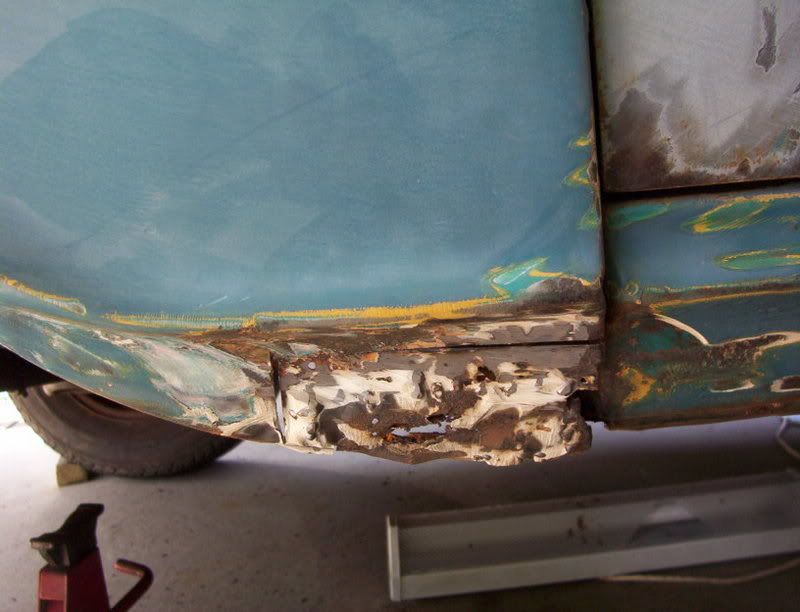
Ill be replacing this sides sill ,Its not that bad but its had a sill welded on wrong at some stage so it has lost the curve from the door edge down to the swage line , I need it right so when the rear door skin is welded in place it is right .

Image
Scary to look at when you know what to look at ... All bog , no gap .
Ill be cutting up the other sedan tomorrow so this will have to wait .
Easily distracted angle manipulator extrordinaire.
ValleyMistEK
Posts: 98
Joined: Tue Feb 03, 2004 8:43 pm
State: NOT ENTERED
Location: Melbourne
Contact:

Post by ValleyMistEK »

Harko, you MUST be the guy they're referring to in those For Sale ads that say "Restorer's Dream" and when you go to look at the car there's more rust than metal.

Bloody nice work!
Harko
Posts: 2387
Joined: Fri Apr 07, 2006 9:36 pm
State: NOT ENTERED
Location: Shellharbour

Post by Harko »

:D I aint no stinkin restorer :D
Yeah I dont mind doing it as long as the end product is something to be proud of and didnt break the bank .
Does anyone like my white walls ?
Easily distracted angle manipulator extrordinaire.
mattymartin
Posts: 841
Joined: Fri Oct 06, 2006 12:49 pm
State: NOT ENTERED
Location: sydney

Post by mattymartin »

LOL... love em


matty martin
go the wagons....
mrs ratbox

Post by mrs ratbox »

harko yor pissin' me off :shock: :lol: :lol:
i want so bad to do something else but lack of funds not being able to find a cheap enough starting point and not being alloud to sell the van to fund it :evil: :evil: :evil:
Post Reply