Fitting a hood lining
Posted: Fri May 15, 2009 11:10 pm
Appologies for not taking more pics 
1/ Lay the lining on the floor upside down (blanket under to stop marks or damage) and mark the centre (side to side) on the bow that is fixed to the centre roof support (the one with 2 small wires each side).
2/ Hang the lining and insert the "bows".
3/ Gather the lining like a "consetiner" and postion the centre mark on the centre roof support.
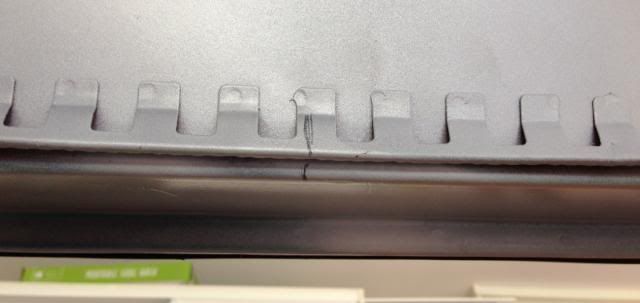
4/ Line up the centre of the lining with the roof centre line and hang the lining from the tags on the bar (this is the bar that the interior light fixes to on Sedan)., then pean over the tags on the centre support.
These are the "tags":
5/ locate the "bows" in their relevant holes.
6/ check that all is centred/lined up.
7/ spray upholstery adhesive on the edge of the rear window area and the same area on the lining, wait until it does not stick to you finger and then secure the lining, start from the centre and work your way out, keep reasonable tension on the material to remove "wrinkles".
TIP!!! ... only secure the lining on the edge so it can be easily pulled back to retention if you need to remove wrinkles.
8/ repeat the above for the front windscreen area, apply enough tension to remove "fore & aft" wrinkles.
9/ Do the same for each side, start from the centre and work your way out to each end (keep an eye on the material as you go so you don't have a big crease at the end!), keep reasonable tension to the side on the material to remove "wrinkles". .... remember that slowly wins the race when it comes to fitting hood linings!
10/ Once it is fitted and you are happy with the finish (no wrinkles) then proceed to fully secure the lining by folding it over edges and ensuring that it is "moulded" to the shape of the steel so your window rubbers fit correctly.
11/ After the contact glue has set for a while (a few hours) trim off the excess material and fit the internal trims and light.
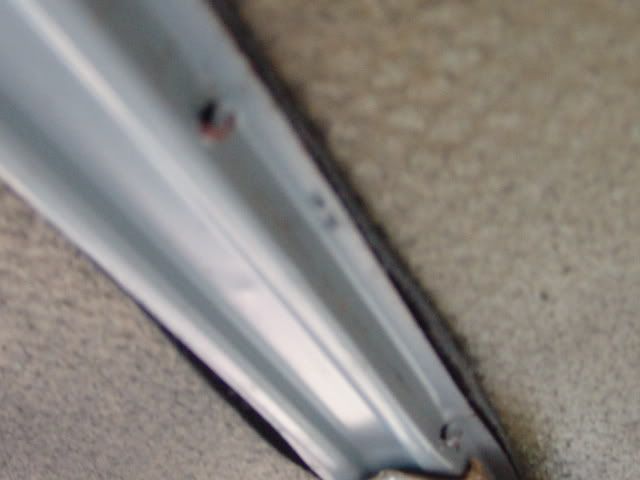
TIP No 2: only roll the lining over the "opposite side" (outside) of the front and rear screens about 3-4mm, also screw the "visor screws" into postion so they are easy to locate and cut (small cut on each screw), much easier than looking for the screw hole!!
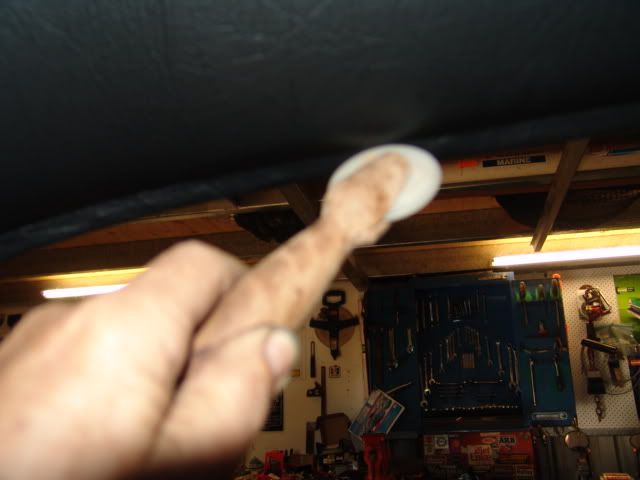
3-4mm overlap:
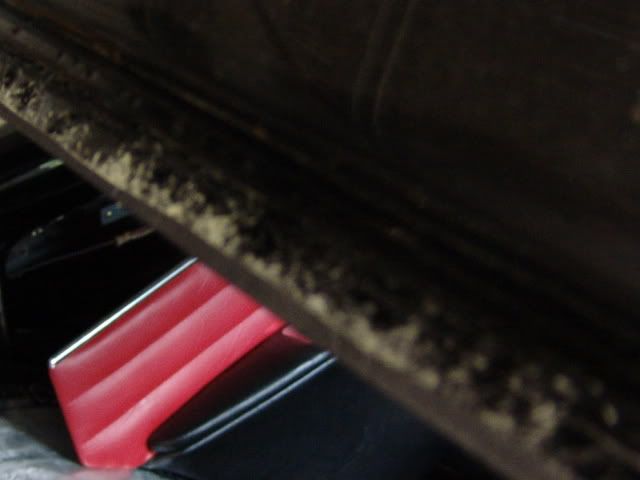
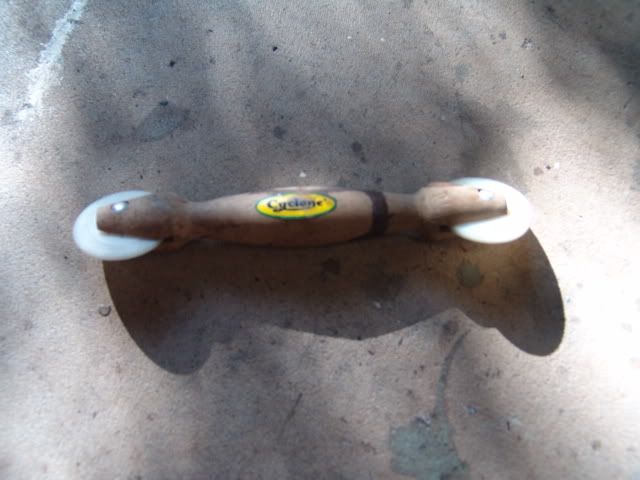
I used a "screendoor flywire roller" to set the lining into place were the window rubber fits in:
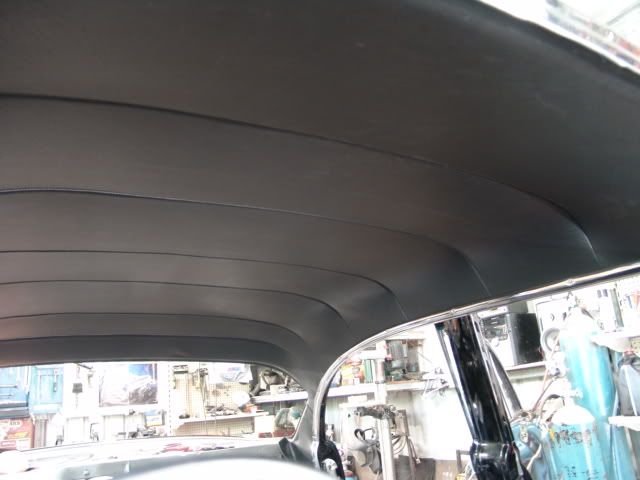
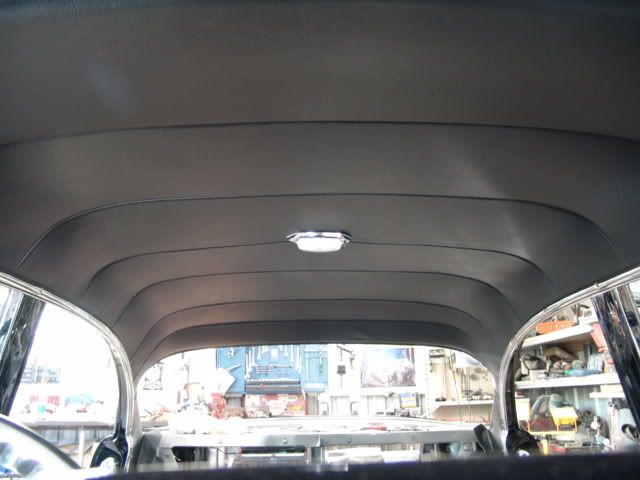
Finished Lining:
Clean off excess glue with petrol or turps on a rag.
Hope it helps.....................
1/ Lay the lining on the floor upside down (blanket under to stop marks or damage) and mark the centre (side to side) on the bow that is fixed to the centre roof support (the one with 2 small wires each side).
2/ Hang the lining and insert the "bows".
3/ Gather the lining like a "consetiner" and postion the centre mark on the centre roof support.
4/ Line up the centre of the lining with the roof centre line and hang the lining from the tags on the bar (this is the bar that the interior light fixes to on Sedan)., then pean over the tags on the centre support.
These are the "tags":
5/ locate the "bows" in their relevant holes.
6/ check that all is centred/lined up.
7/ spray upholstery adhesive on the edge of the rear window area and the same area on the lining, wait until it does not stick to you finger and then secure the lining, start from the centre and work your way out, keep reasonable tension on the material to remove "wrinkles".
TIP!!! ... only secure the lining on the edge so it can be easily pulled back to retention if you need to remove wrinkles.
8/ repeat the above for the front windscreen area, apply enough tension to remove "fore & aft" wrinkles.
9/ Do the same for each side, start from the centre and work your way out to each end (keep an eye on the material as you go so you don't have a big crease at the end!), keep reasonable tension to the side on the material to remove "wrinkles". .... remember that slowly wins the race when it comes to fitting hood linings!
10/ Once it is fitted and you are happy with the finish (no wrinkles) then proceed to fully secure the lining by folding it over edges and ensuring that it is "moulded" to the shape of the steel so your window rubbers fit correctly.
11/ After the contact glue has set for a while (a few hours) trim off the excess material and fit the internal trims and light.
TIP No 2: only roll the lining over the "opposite side" (outside) of the front and rear screens about 3-4mm, also screw the "visor screws" into postion so they are easy to locate and cut (small cut on each screw), much easier than looking for the screw hole!!
3-4mm overlap:
I used a "screendoor flywire roller" to set the lining into place were the window rubber fits in:
Finished Lining:
Clean off excess glue with petrol or turps on a rag.
Hope it helps.....................