Page 6 of 24
Posted: Sun Aug 10, 2008 7:59 pm
by Trev
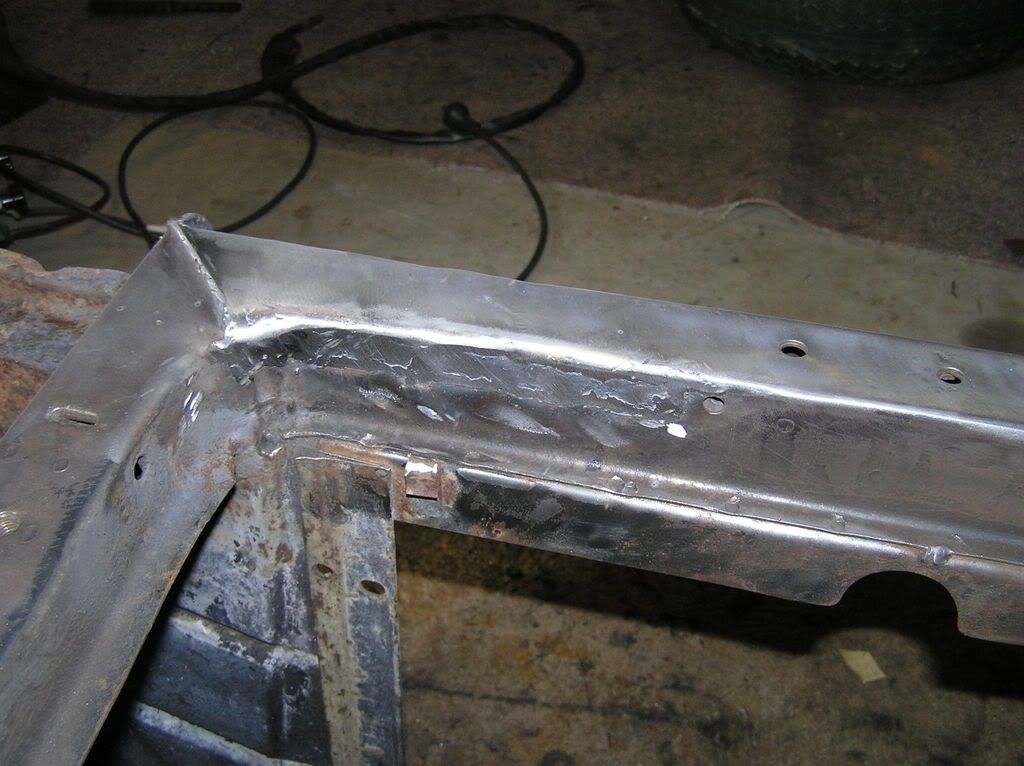
Too low? Nup

.
Looking good, Trev

.
Posted: Sun Aug 10, 2008 8:05 pm
by robbyr
Looking good mate,Dont think she will rust in a hurry

Posted: Mon Aug 11, 2008 4:33 pm
by EK JAY

some really good progress there mate

Posted: Sun Aug 17, 2008 3:34 pm
by EKSPCL
Only had a couple o' hours spare this weekend,
but did get the passengers front floor in
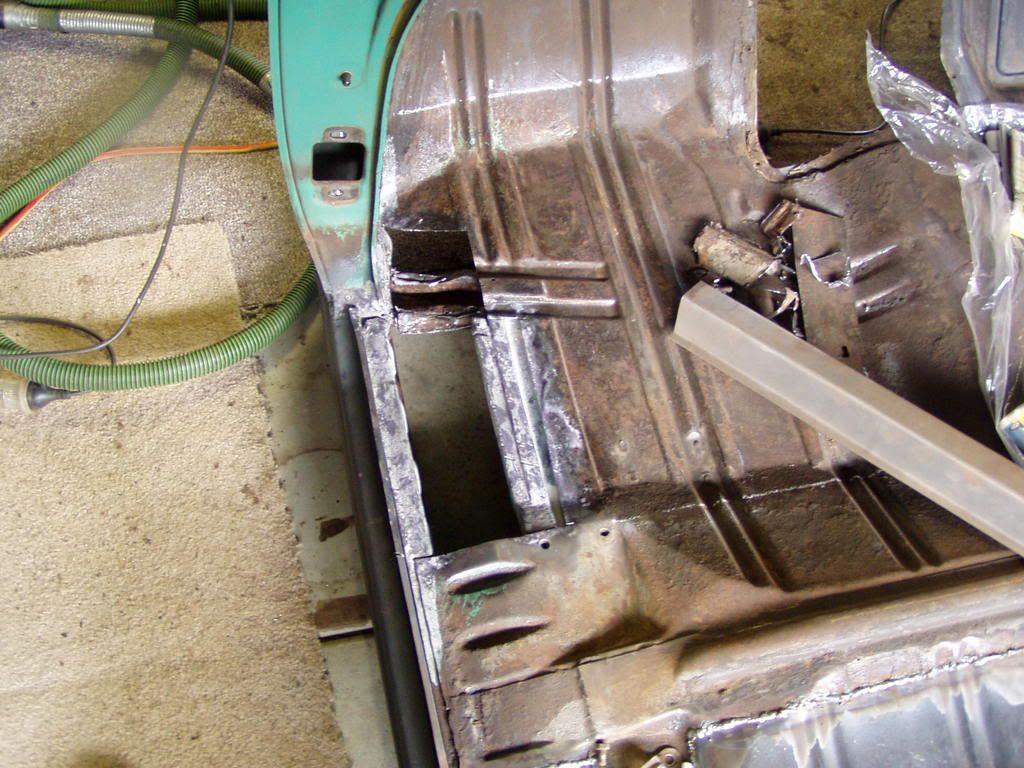
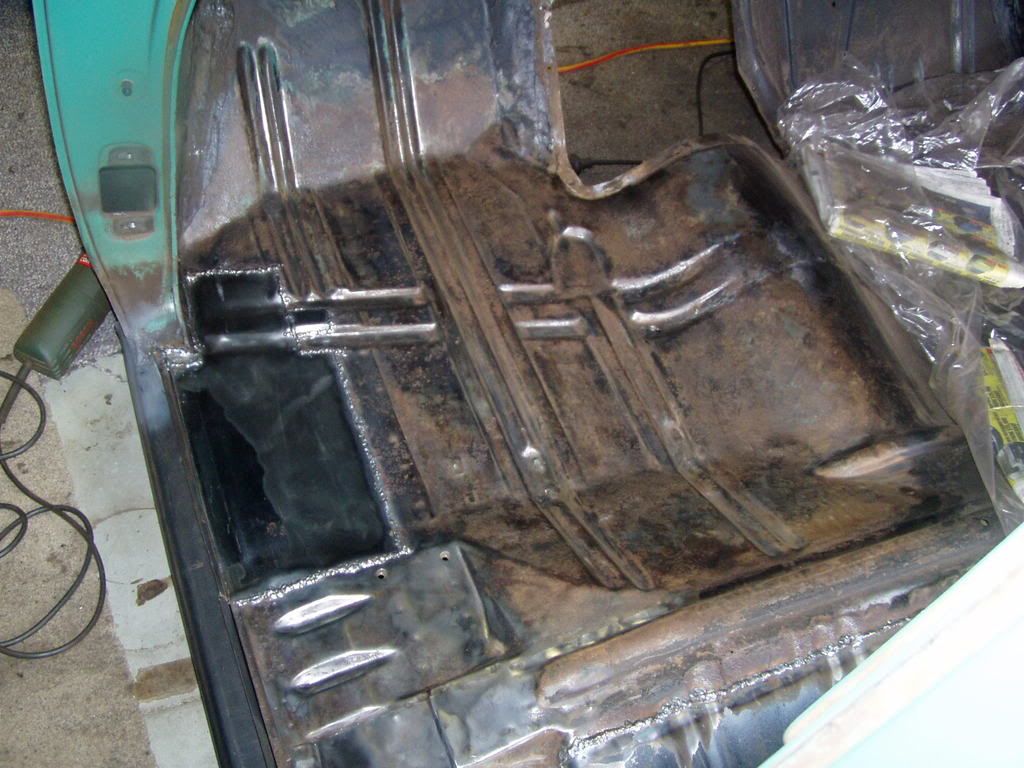
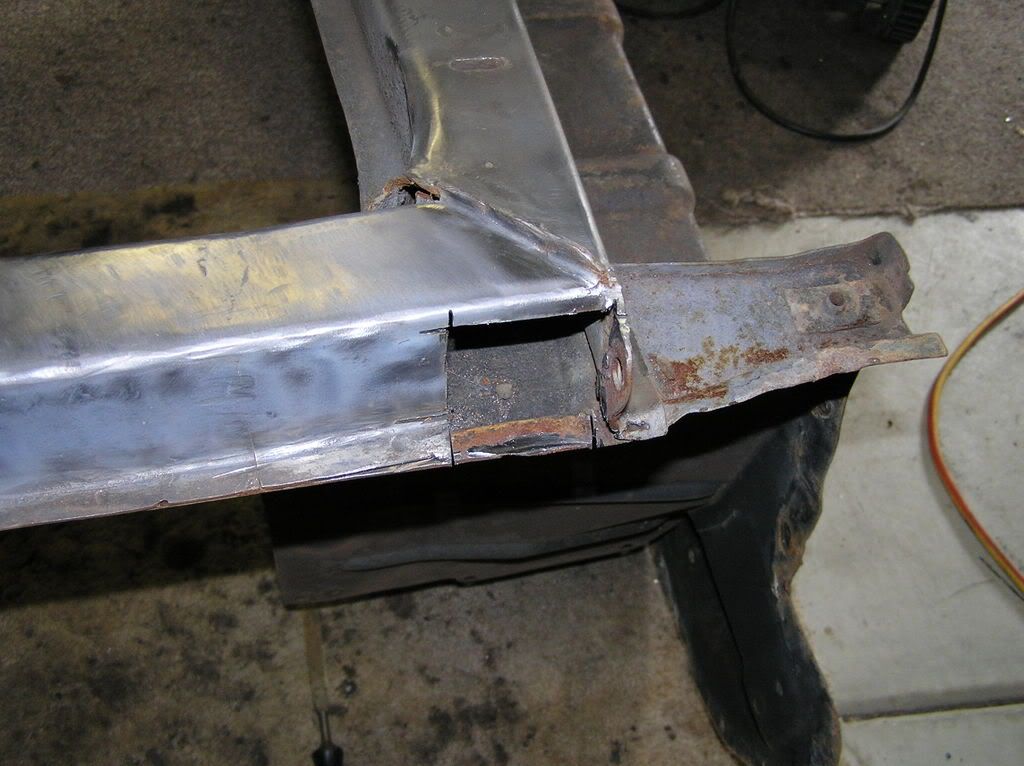
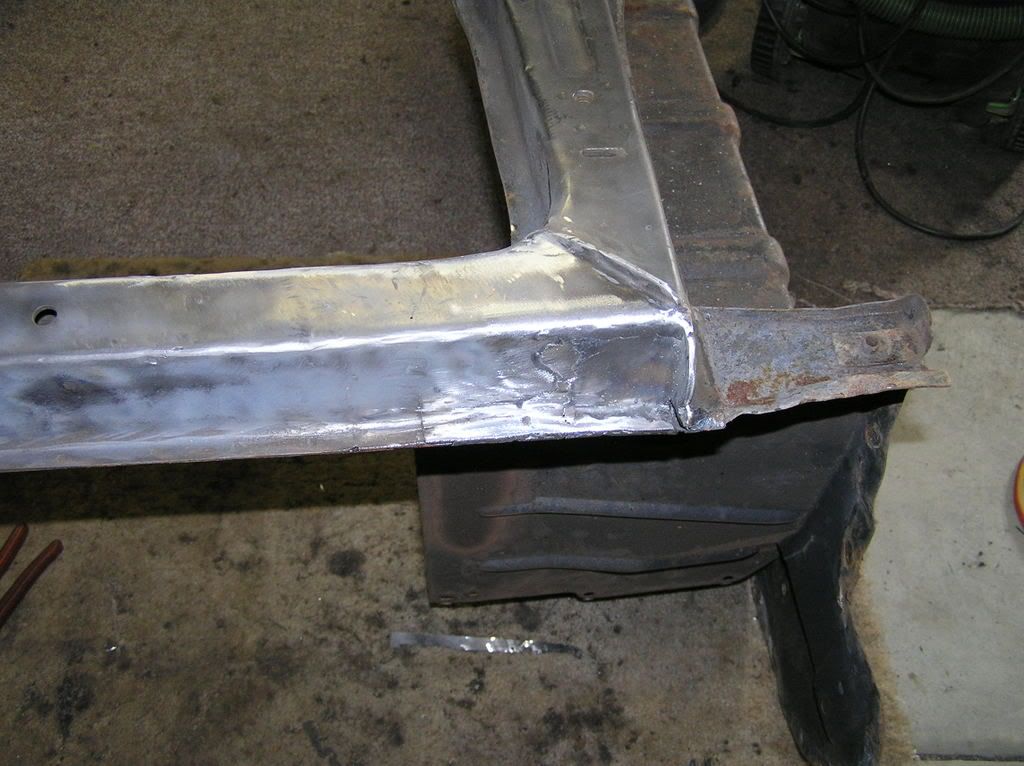
Time to flip it back on it's side and put the other half of the crossmember in.
Next weekend though

Posted: Sat Aug 23, 2008 8:50 pm
by EKSPCL
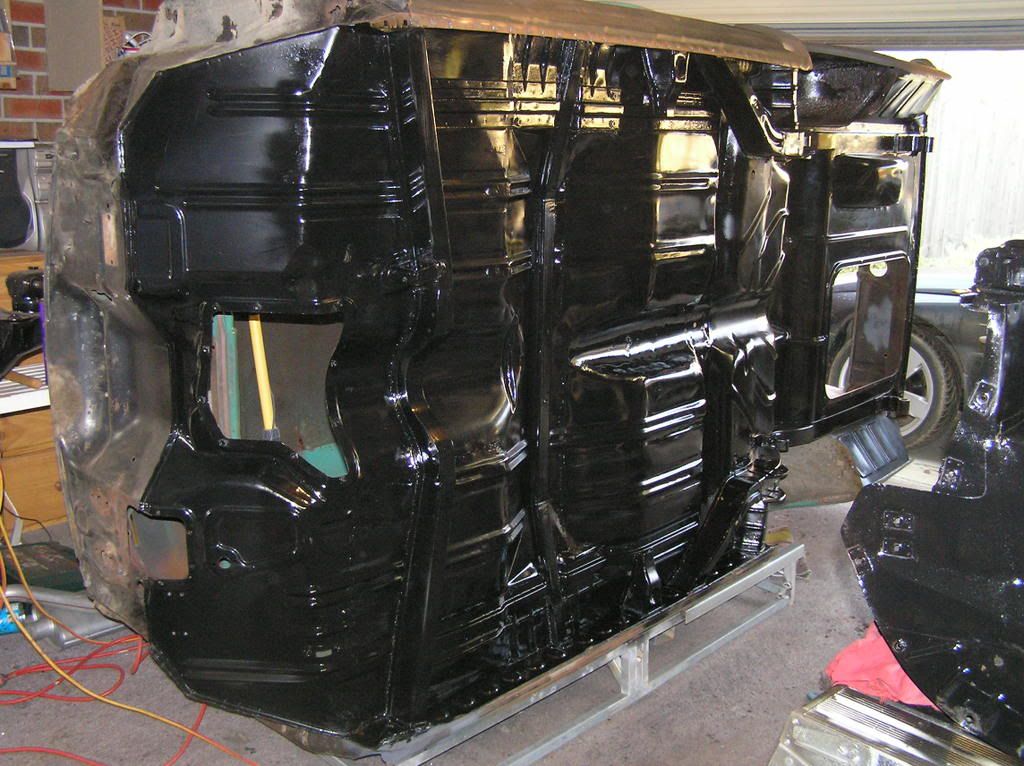
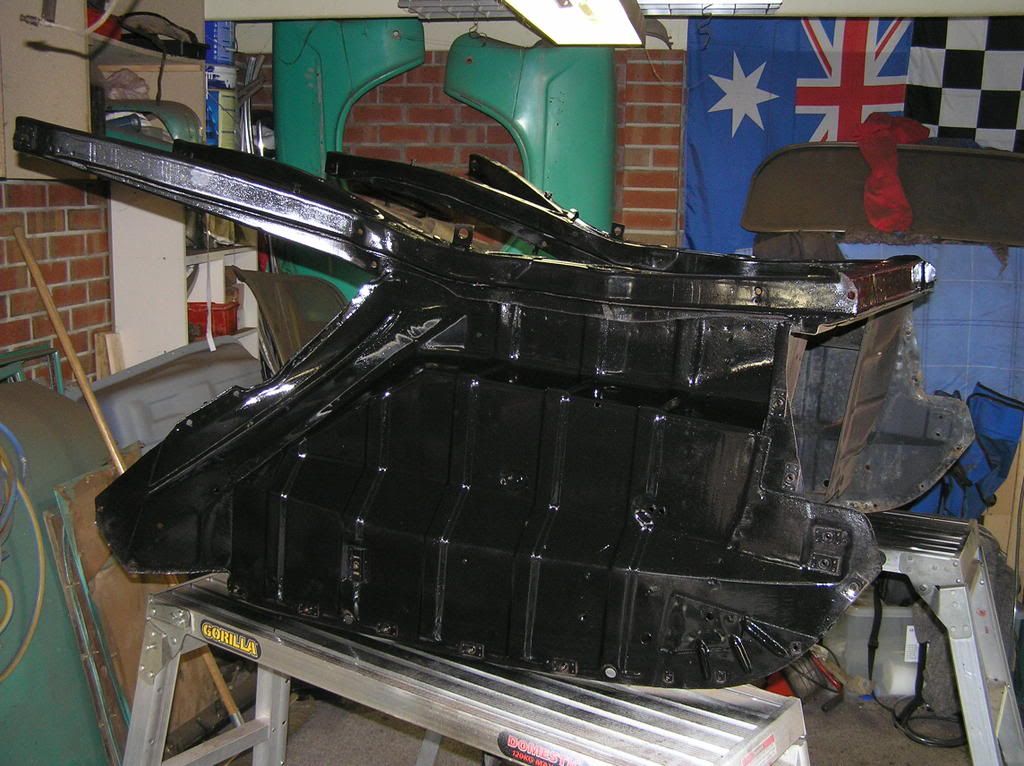
Finally the all the floor and new crossmember is in

I reckon I've spent more on grinding and cutting discs than I payed for the car
Rust converted floor........
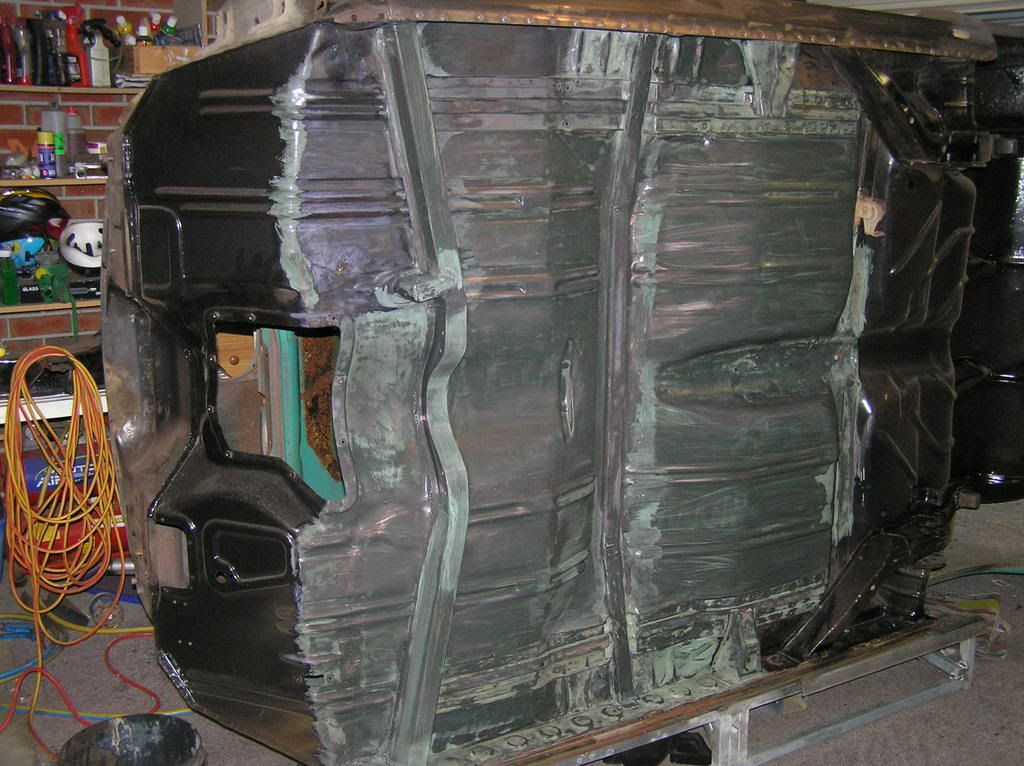
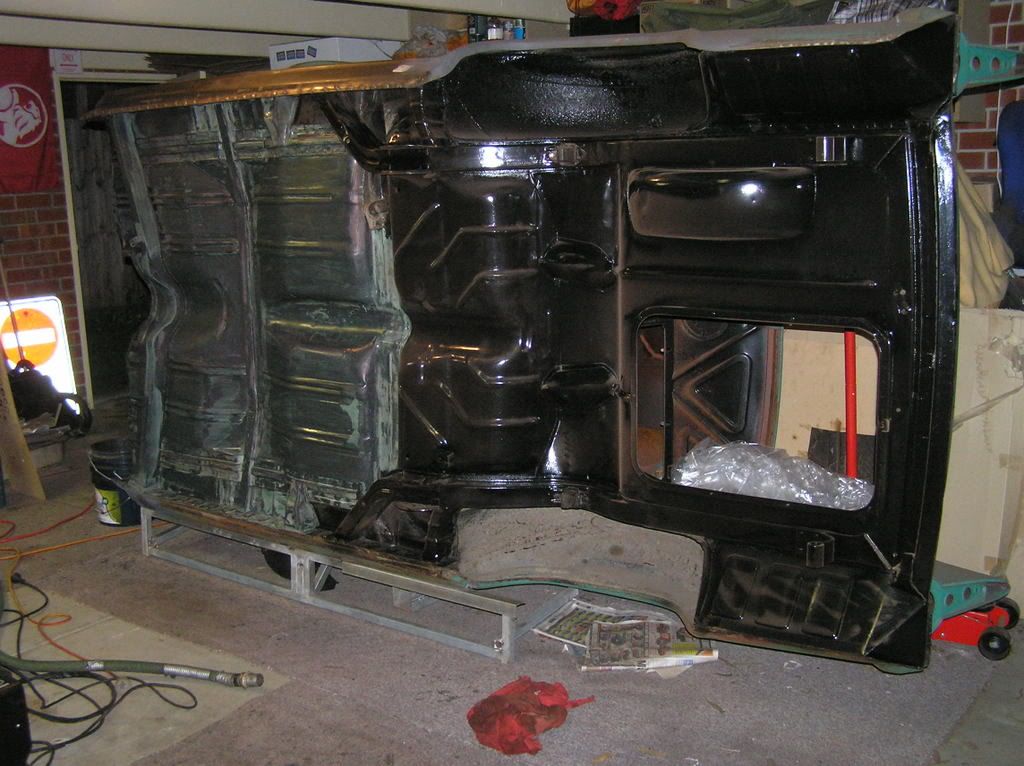
Coat of 'rust kill' enamel tomorrow and all ready for deadener
Posted: Sat Aug 23, 2008 9:54 pm
by NoMAD
nice work EKSPCL,
keep it up mate, nice work that no one will see, but gives you great re-assurance, that your seats not going to fall through!
cheers
NoMAD
Posted: Sat Aug 23, 2008 11:15 pm
by EKSPCL
Posted: Sun Aug 24, 2008 1:23 pm
by Dee
Hi EKSPCL,
you are doing a great job of this - well done.
Just one point - and I'm sure it has been added - didn't see the other sub-frame mount on the top hat section crosspiece - driver's side, for it to bolt to?
Dee
Posted: Sun Aug 24, 2008 6:17 pm
by EKSPCL
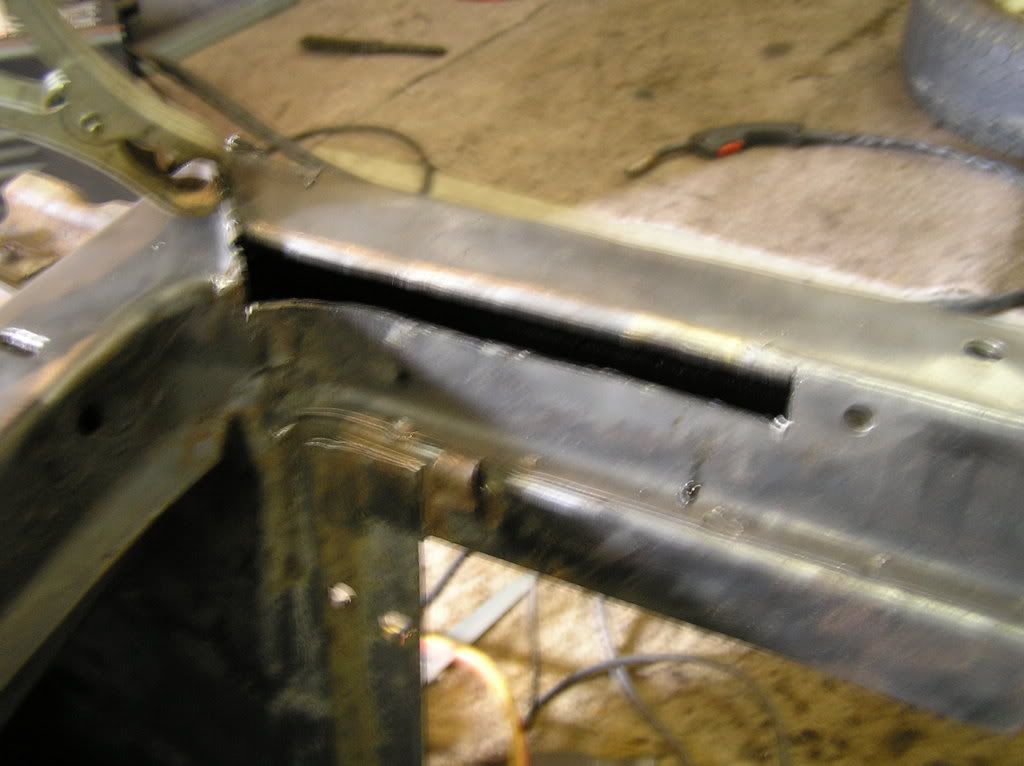
I'll fit this back on when I fit the front back on,
I think this will be easier than welding it on and finding that it's out
I didn't change the entire front passenger's floor,
so I left that one in place and fitted the subframe up to it.
Posted: Sun Aug 24, 2008 6:26 pm
by EKSPCL
Posted: Sun Aug 24, 2008 7:34 pm
by Devilrod
Making some real good progress. Looks good.
Posted: Wed Sep 03, 2008 5:52 pm
by EKSPCL
I've been playing during the week with the wiper motor.
Started with "I'll give it a clean up and a quick spray"

Ended up noticing the wiring was a bit shabby
This is now what I have.......
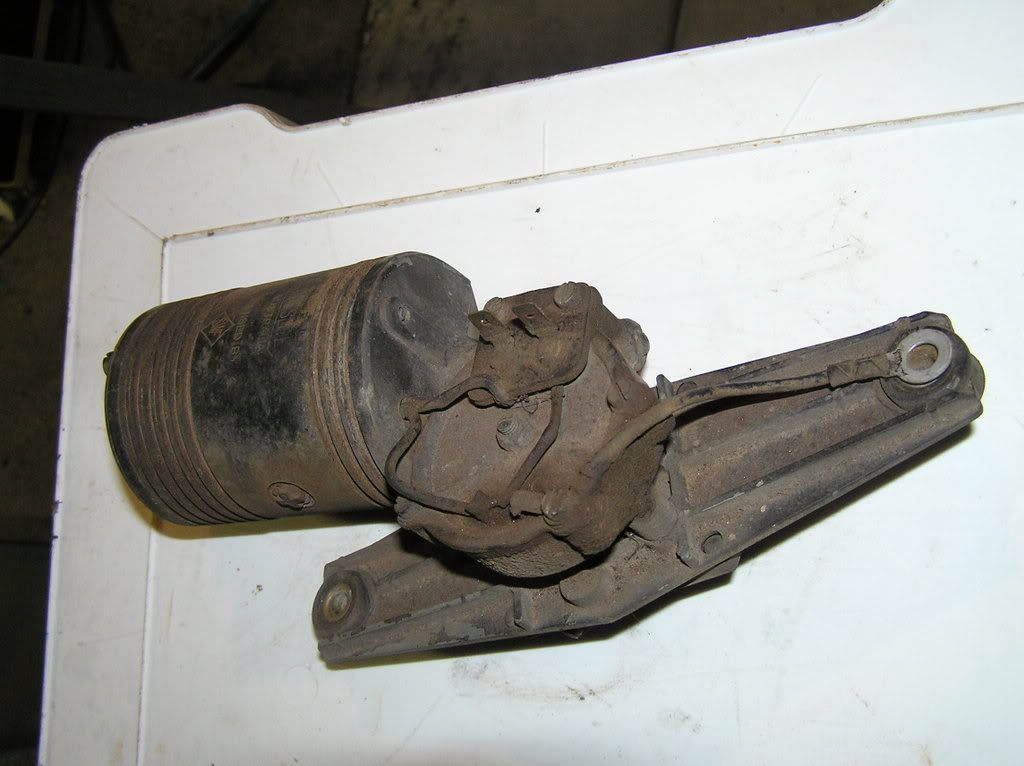
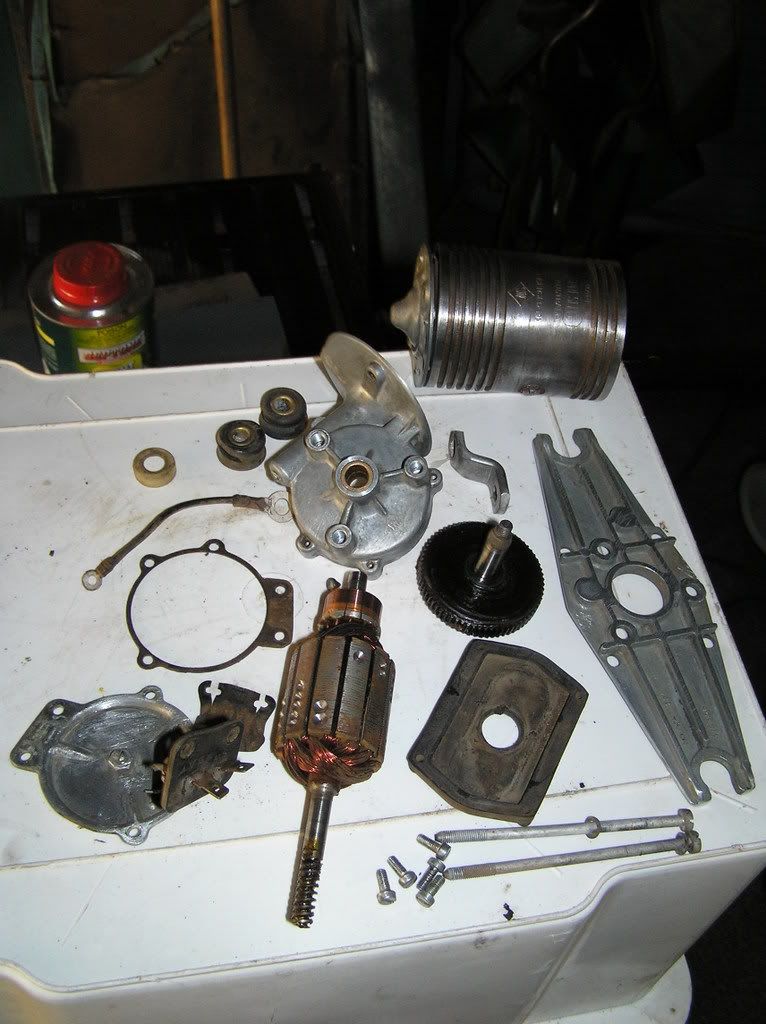
I'll give it a re-wire and some paint this weekend
(Glad I took photos as I pulled it apart
)
Posted: Wed Sep 03, 2008 6:40 pm
by t950cat
man i love perfection.I am getting alot of great ideas of your resto.Keep up the good work mate.
Tony
Posted: Fri Sep 05, 2008 9:03 pm
by Craig
A man after my own heart
some serious balancing has gone on with that armature
Posted: Fri Sep 05, 2008 10:55 pm
by EKSPCL
Thanks peoples
It's amazing how motivating it is when you know you can show other like minded people what your doing and hear they're thoughts
I get something done on the car and I'm straight in to the computer that night posting it on here
I've given the wiper motor a re-wire, a coat of etch primer and a couple of coats of primer
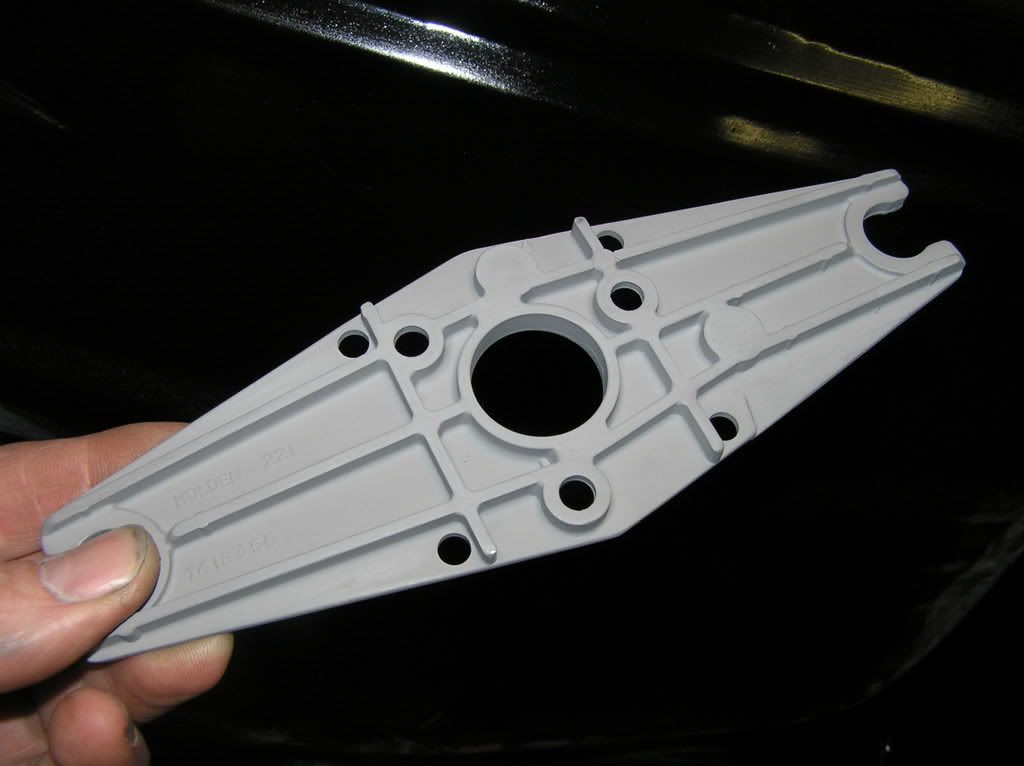
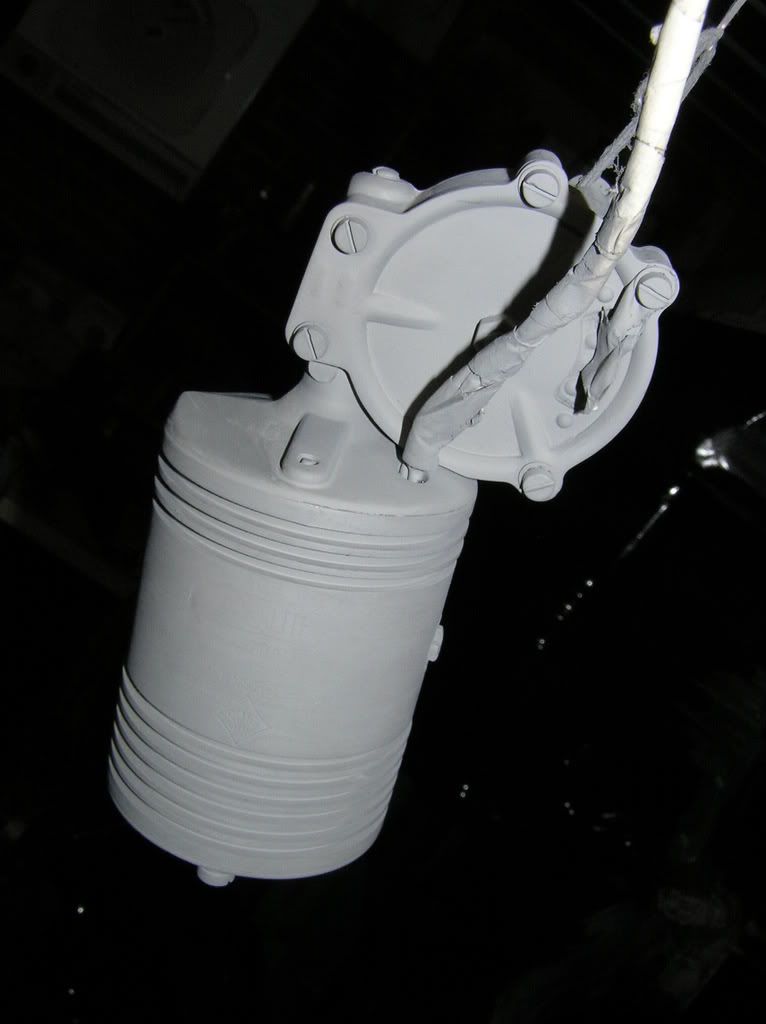
Now for a coat of 'Grecian White' and she's all ready to go