Page 5 of 65
Posted: Tue Sep 02, 2008 6:43 am
by mrs ratbox
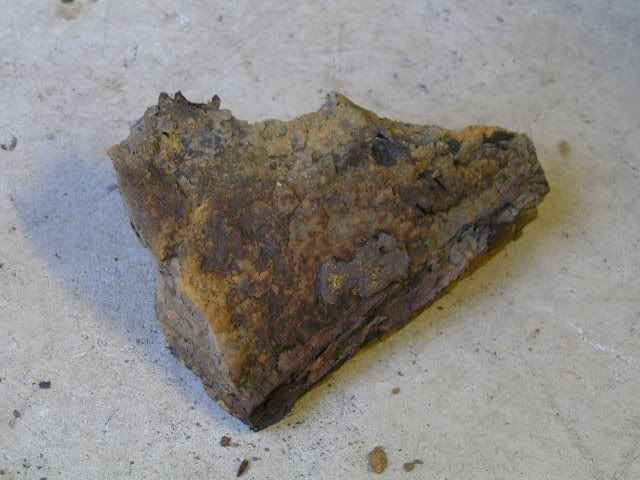
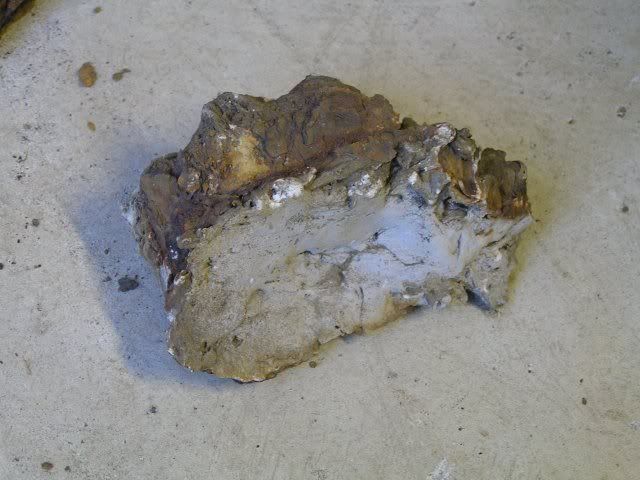
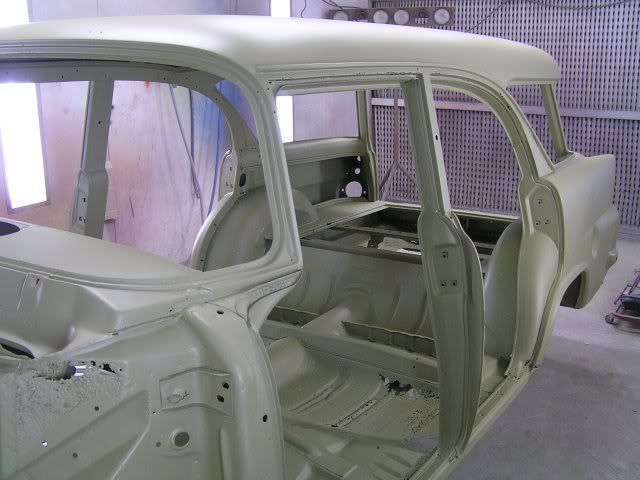
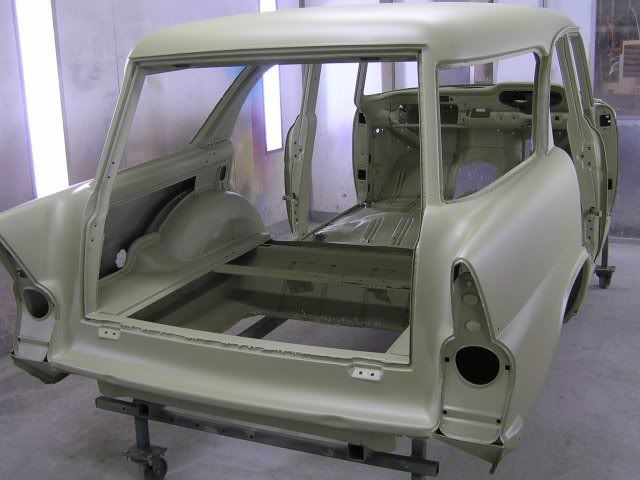
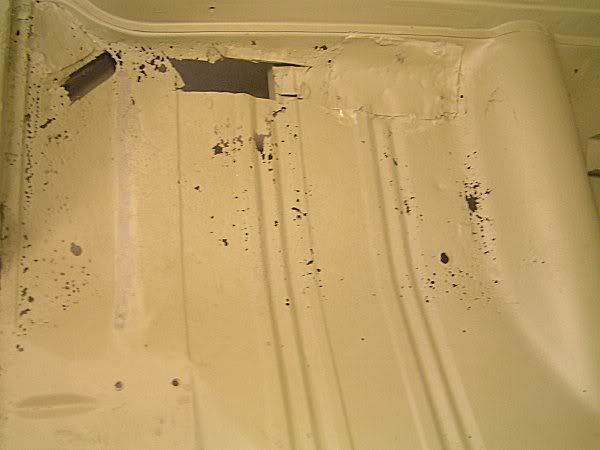
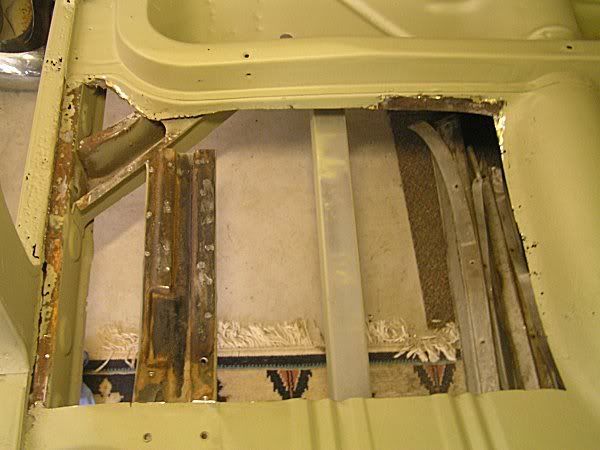
yes EKSPCL, i've kinda mentioned that before i think some people myself included would be quite surprised at what some cars would look like once stripped to this stage
from what i was told about the wagon that i have now it was suposed to be an untouched car, but it had been repaired and painted atleast once before
Posted: Mon Sep 08, 2008 7:33 pm
by parisian62
Posted: Mon Sep 08, 2008 7:44 pm
by t950cat
Hi Stewart
I got quoted $2200.00 to do my sedan.How did that come up against your price?I am doing it all myself to save some $$$$$ and spend extra in other places.I dont have the holes you have but i havent finished yet.
Cheers
Tony
Posted: Mon Sep 08, 2008 8:48 pm
by EKSPCL
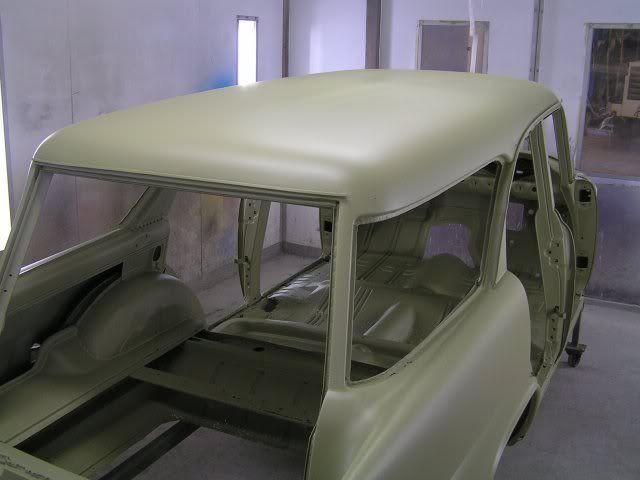
That primer does makes a lot of difference to the look doesn't it

Great progress Parisian62
Keep 'em coming

rebuilding of oldtimer
Posted: Tue Sep 09, 2008 11:07 am
by Malcolm
Hi Stewart,
Good to see some good progress, its the only way to go stripping them back to nothing like that, it uncovers everything.
At least now you know what you got and you can get stuck into it.
Cheers
progress
Posted: Tue Sep 09, 2008 1:22 pm
by Dee
Hi Stewart,
you know you are doing the right thing - no surprises later on......
I'd be a bit reluctant in posting those first two pix - DMR might want it returned to the point (s) of origin
Keep going, loving this...
Dee
Posted: Tue Sep 09, 2008 7:43 pm
by minifb
Looking good Mate..Cheers Mark
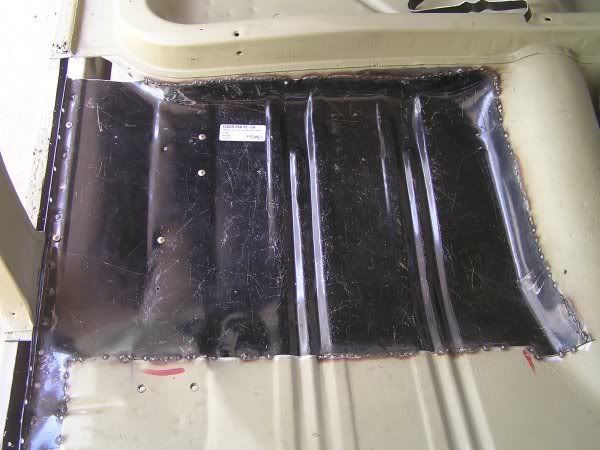
Posted: Tue Oct 07, 2008 8:40 pm
by parisian62
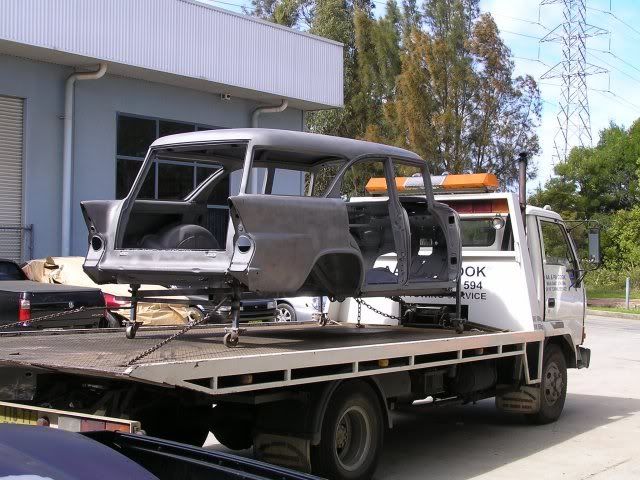
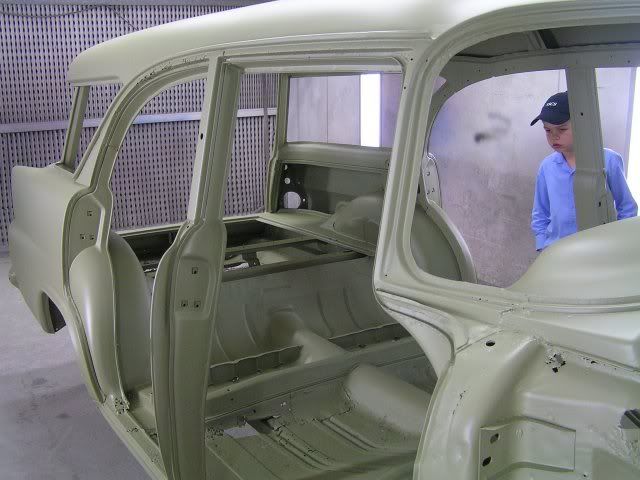
thanks everyone. Tony - that quote sounds about right. Spot on Mal - with a rust bucket like this one the stripping really helped show what work had to be done
We've now moved into Jan 2008 when finally some real steel began to be welded back in by Loui...beginning with the right side rear floor pan...
This pic seems fairly ordinary but shows the first bit of welded steel being dressed up...one small step for man one giant leap for the EK...
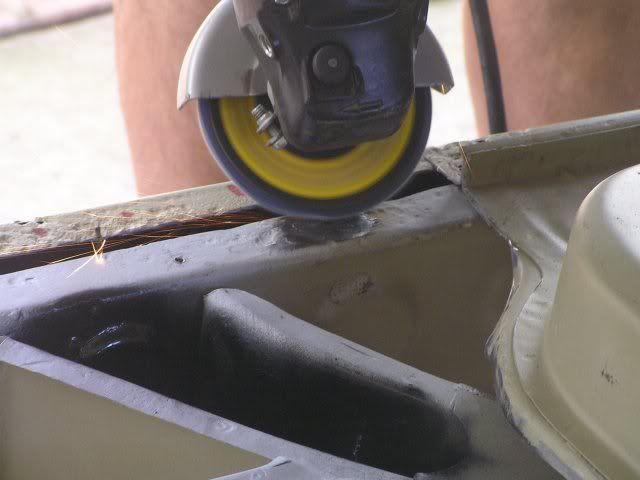
what we started with
cut out...
cleaned up...
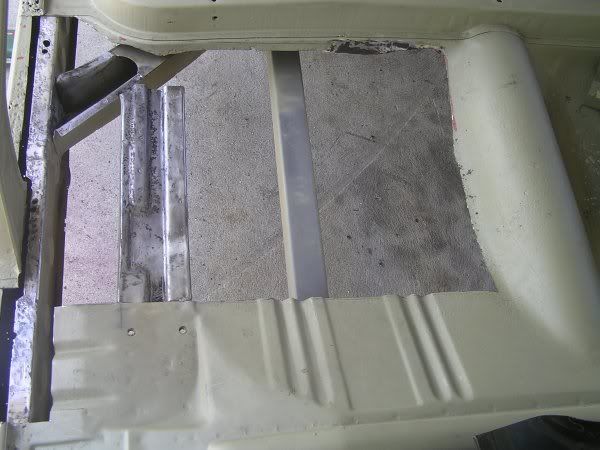
painted...
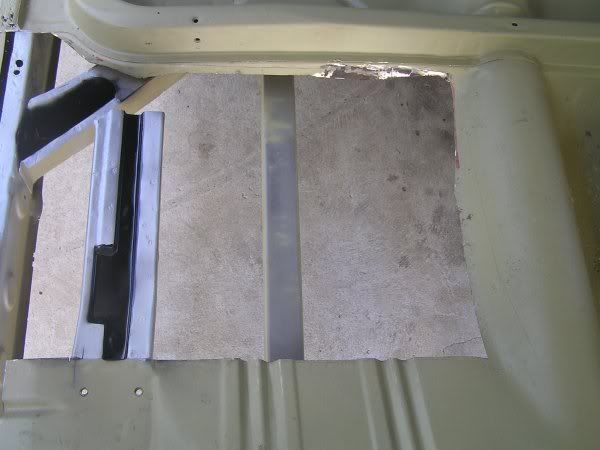
fitting pan...
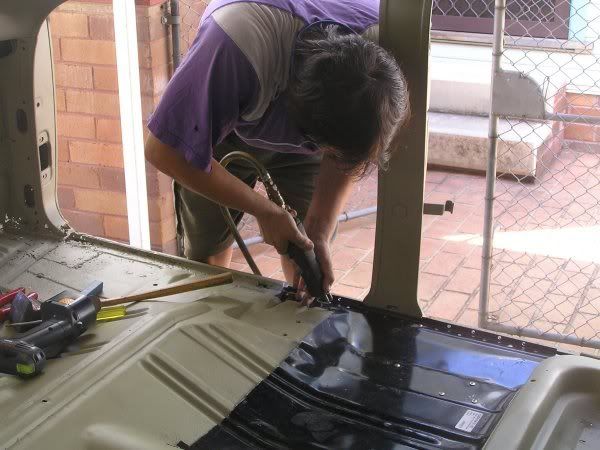
welding...
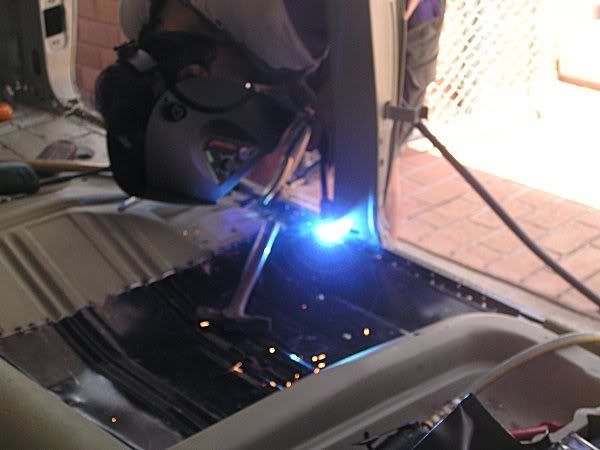
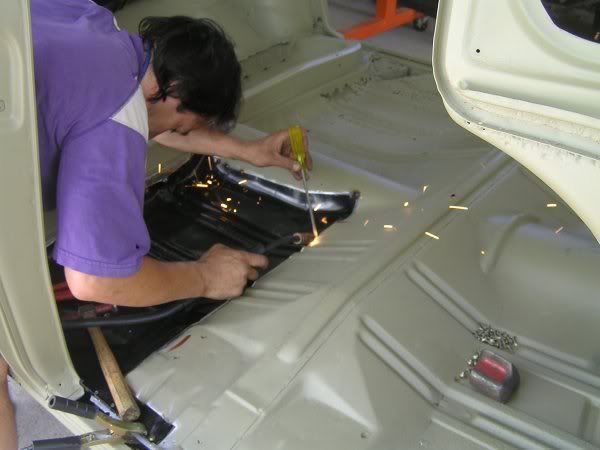
tacked in with some more welding to do...bew-di-ful!!!
Posted: Tue Oct 07, 2008 9:11 pm
by dave68
Posted: Tue Oct 07, 2008 10:13 pm
by lulu
Ohhh making great progress there...nice one!
Lulu
Posted: Tue Oct 07, 2008 10:40 pm
by Sunnymick
Hey Stewart loving the progress keep it up.

Posted: Tue Oct 07, 2008 11:10 pm
by EKSPCL
Nice work
Looks like the same protective gear I used when I welded

Posted: Wed Oct 08, 2008 11:44 am
by oldnek
Posted: Wed Oct 08, 2008 12:29 pm
by Devilrod
Good stuff Stewart, those floor pans do make it so much easier.
Posted: Wed Oct 08, 2008 4:56 pm
by mrs ratbox
i won't have to put up pics when we do the floors in the sedan just a link to here

has the wagon got a chassis kit in it