Page 38 of 83
Re: Chev EK
Posted: Fri Apr 12, 2019 6:17 am
by Harv
That dizzy makes me jealous... not sure I can get mine out without pullng the engine.
The dipped panels look really neat.
Cheers,
Harv
Re: Chev EK
Posted: Sat Apr 13, 2019 9:15 pm
by EK283
Epoxy and stone guard today
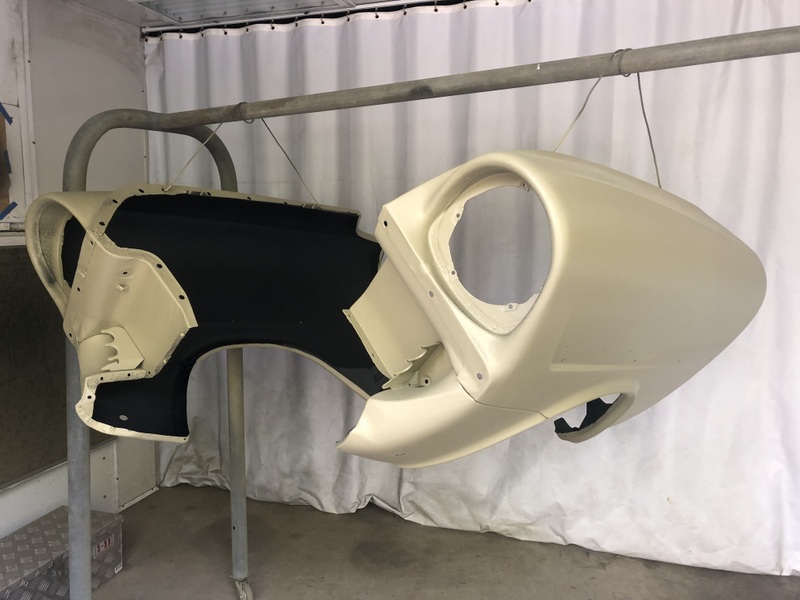
- IMG_0173.JPG (113.11 KiB) Viewed 974 times
More tomorrow !!
Re: Chev EK
Posted: Sun Apr 14, 2019 7:44 am
by FireKraka
Hey Greg those panels are pretty awesome mate bet you are happy getting to this point you must be getting ready to start assembling soon and did you get your engine started mate.
Neil
Re: Chev EK
Posted: Thu Apr 18, 2019 2:36 pm
by EK283
FireKraka wrote: Sun Apr 14, 2019 7:44 am
Hey Greg those panels are pretty awesome mate bet you are happy getting to this point you must be getting ready to start assembling soon and did you get your engine started mate.
Neil
Thanks Neil, still a shit load of work to prep and paint, no engine start yet I thought about using the original loom for a split second and decided to go a new harness with a painless fuse panel. So as soon as I finish the wiring it well get a kick !
Painted the boot lid today looks better than what it is, need to sand and buff to get the slight orange peel out but I am happy with the results so far.
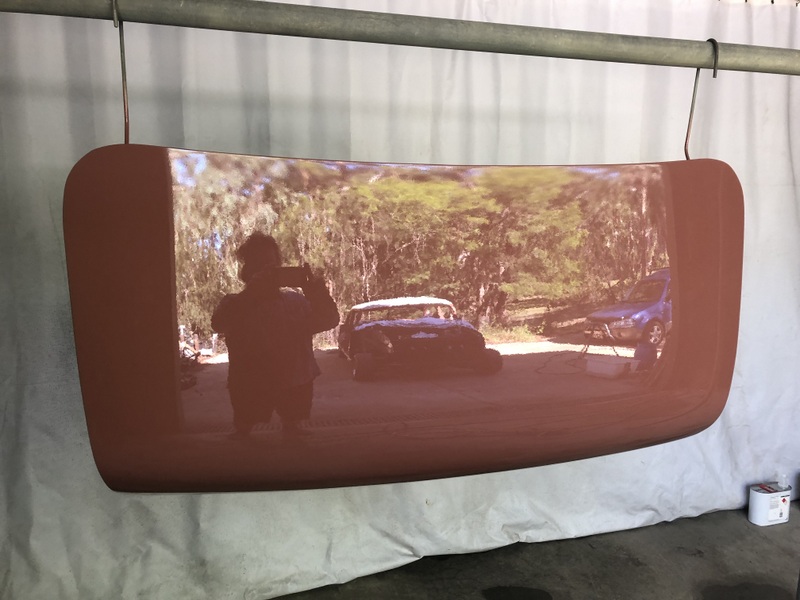
- IMG_0179.JPG (124.41 KiB) Viewed 933 times
The owner is lurking in the back ground waiting for it to be put back on !!!
Greg
Re: Chev EK
Posted: Thu Apr 18, 2019 7:34 pm
by gpi
So good Greg!
Re: Chev EK
Posted: Fri Apr 19, 2019 10:09 am
by EK JAY

nice Greg
Re: Chev EK
Posted: Sun Apr 21, 2019 3:12 pm
by greenwagon62
Very nice
Re: Chev EK
Posted: Tue Apr 23, 2019 3:07 pm
by thebrotherj
looking great Greg!
Re: Chev EK
Posted: Fri Apr 26, 2019 3:16 pm
by EK283
Been plugging away slowly,
Got some wiring done and want to finish that off this weekend.
A bit more paint, and honestly this has really slowed me heaps, just learning the ropes, shortcuts and technique.
I am satisfied with the way its coming out but boy its been a steep learning curve !!!!

- IMG_0186-001.JPG (145.46 KiB) Viewed 815 times
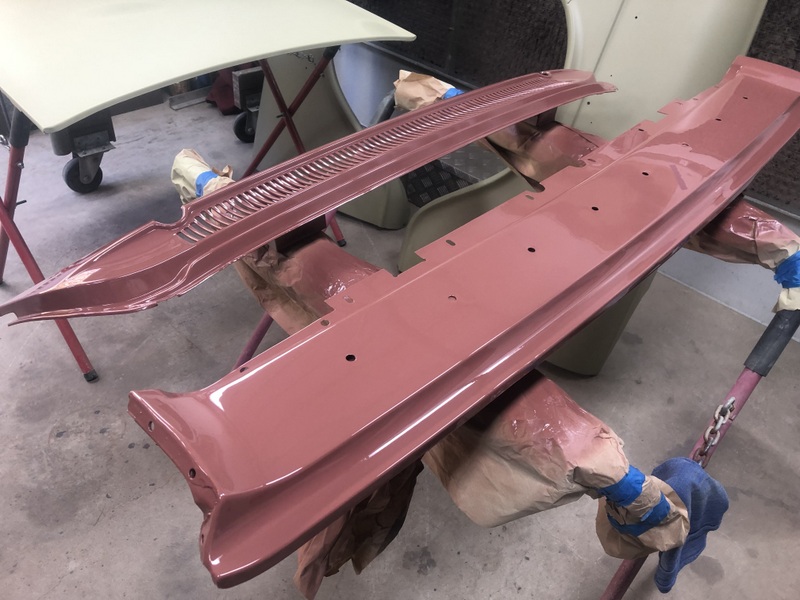
- IMG_0189.JPG (149.45 KiB) Viewed 815 times
I have wet rubbed the body in prep for polishing, boot stone tray and cowl are off the gun, getting better at that as well experimenting with reducer hardener etc.
My chrome is in 2 shops at the moment and has been there since December, I keep thinking about the time this is taking and then look at the pros they seem to be snowed under as well !!!!
Wiring diagram after the weekend.
Greg
Re: Chev EK
Posted: Fri Apr 26, 2019 6:09 pm
by gpi
Wow! What a cracker! Keep it up!
Re: Chev EK
Posted: Fri Apr 26, 2019 10:37 pm
by Blacky
Looking great mate

Re: Chev EK
Posted: Sat Apr 27, 2019 7:07 am
by FJWALLY
Looking great Greg - It's a frustrating journey - the time flies past and progress seams terribly slow and even mores when you get to the final steps - little delays just keep popping up - keep at it - you will have a killer car for sure.
Re: Chev EK
Posted: Sat Apr 27, 2019 8:27 am
by Errol62
Nice job off the gun Greg

Sent from my iPhone using Tapatalk
Re: Chev EK
Posted: Sat Apr 27, 2019 9:50 am
by FireKraka
Hey mate your car is looking great and I take my hat off to you for even attempting to paint your own car
and I feel your pain re the wiring it will all pay off in the end I still have to tidy up my wiring and I keep procrastinating about it but it one of those jobs that just has to be done.
Can't wait to see this finished.
Regards
Neil
Re: Chev EK
Posted: Sun Apr 28, 2019 8:35 am
by EK283
Thanks for the inspiration guys !!
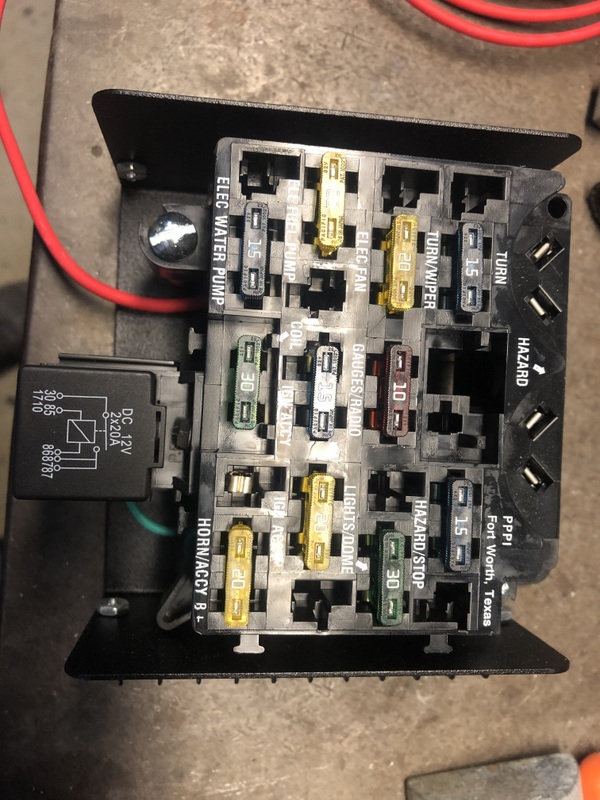
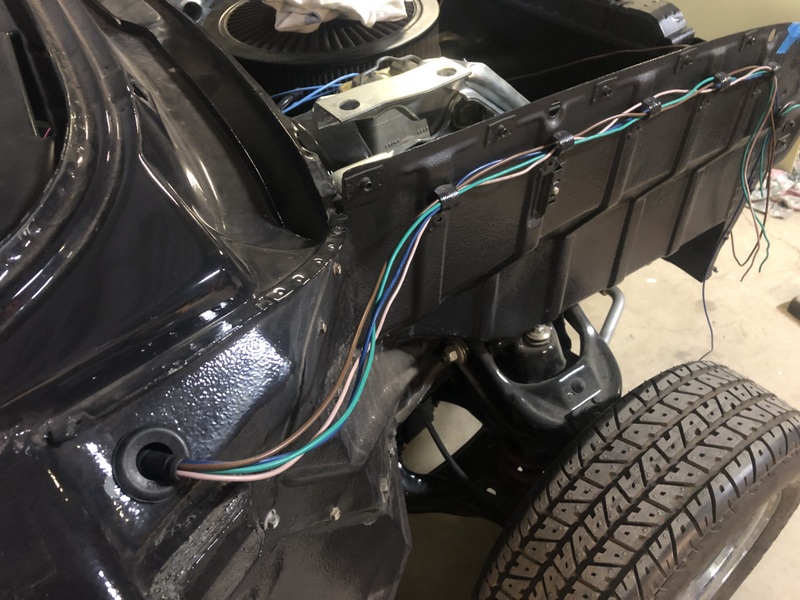
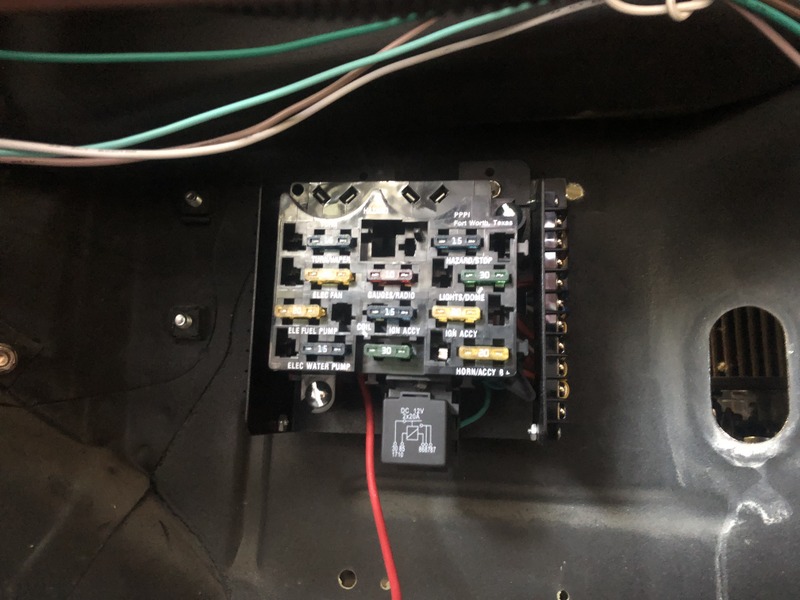
Got some more wiring done yesterday, its a bit messy at first but once you start running everything its not so bad.
So I used a painless wiring fuse box (expensive but easy) and I bought a loom off ebay that pretty much does everything I need. Just a word of warning the non painless wiring looms are designed for left hand drive which suited my fuse location but there will be a couple of wires that end up short because of the steering column opposite location.
I also need to have the computer for the injection spliced in with a couple of triggers so I decided to mount that under the passenger seat, there is enough loom with the holley kit for that location.
No work today family time !!
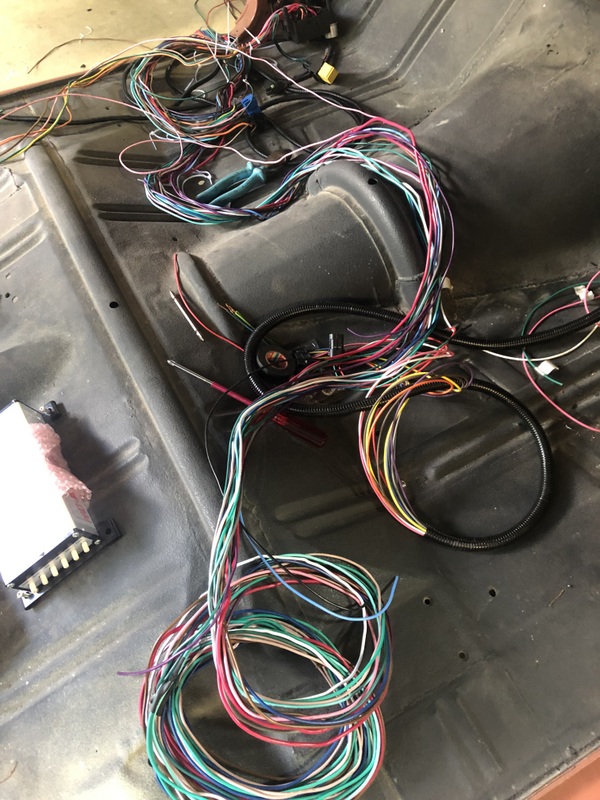
- IMG_0180.JPG (195.97 KiB) Viewed 1185 times
- IMG_0190.JPG (179.01 KiB) Viewed 1185 times

- IMG_0191.JPG (166.93 KiB) Viewed 1185 times

- IMG_0192.JPG (188.08 KiB) Viewed 1185 times
- IMG_0193.JPG (172.49 KiB) Viewed 1185 times
- IMG_0195.JPG (108.72 KiB) Viewed 1185 times
Greg