Had some time over the last few weeks, sick of rust, so got stuck into the front doors.
Ordered electric crank switches, flat glass power windows, 1 touch auto stop module, and central locking from AutoLoc. There was a good price on Amazon Prime (last 1 in stock) - ordered at Christmas. Received 1 item (1 touch auto stop module), but nothing else came. 6 weeks pass, cancel order and get refund. A slightly more expensive package is listed - 4 in stock. Order, wait, nothing. Then an email cancelling my order. No explanation, and Amazon help were no help so I moved on paid even more from Summit Racing including $250 shipping and duties. Arrived in 3 days so there's that at least. Had the front speakers sitting in a box so added that to the mix.
Decided to set myself up with both doors and do everything twice, mirroring all the work.
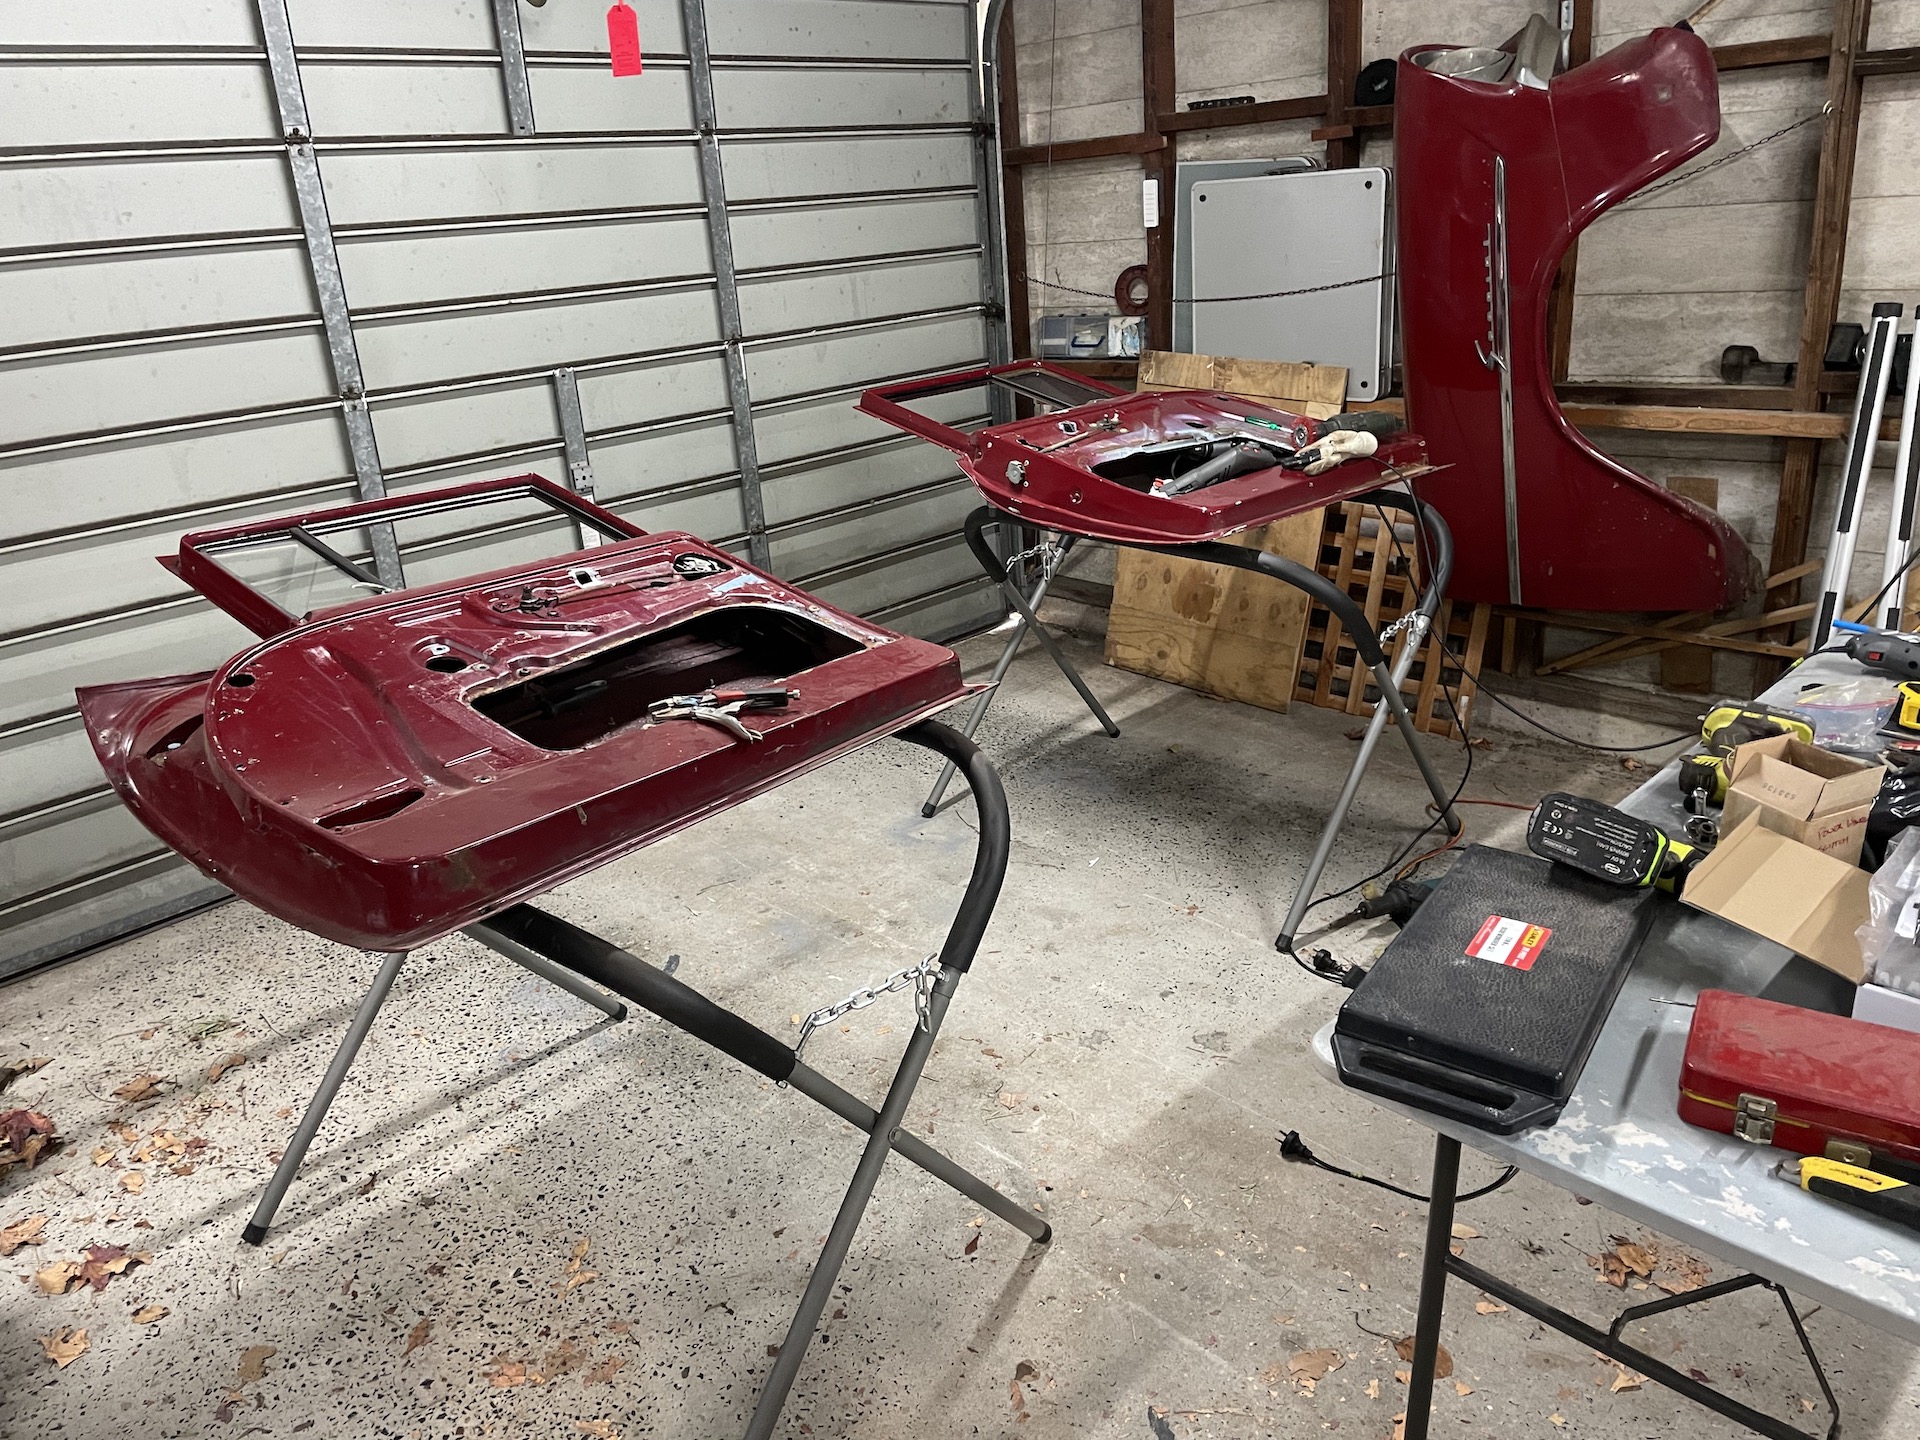
- IMG_1784.jpeg (1.01 MiB) Viewed 1940 times
For reasons that may make sense, I had to jump around a bit as I had to fit the central locking to make sure it cleared the window, the window switch needed to clear the motor, and the motor had to be clear of the speaker. I also get distracted by shiny things and solving problems that don't exist. After a few of days I had this for each door.
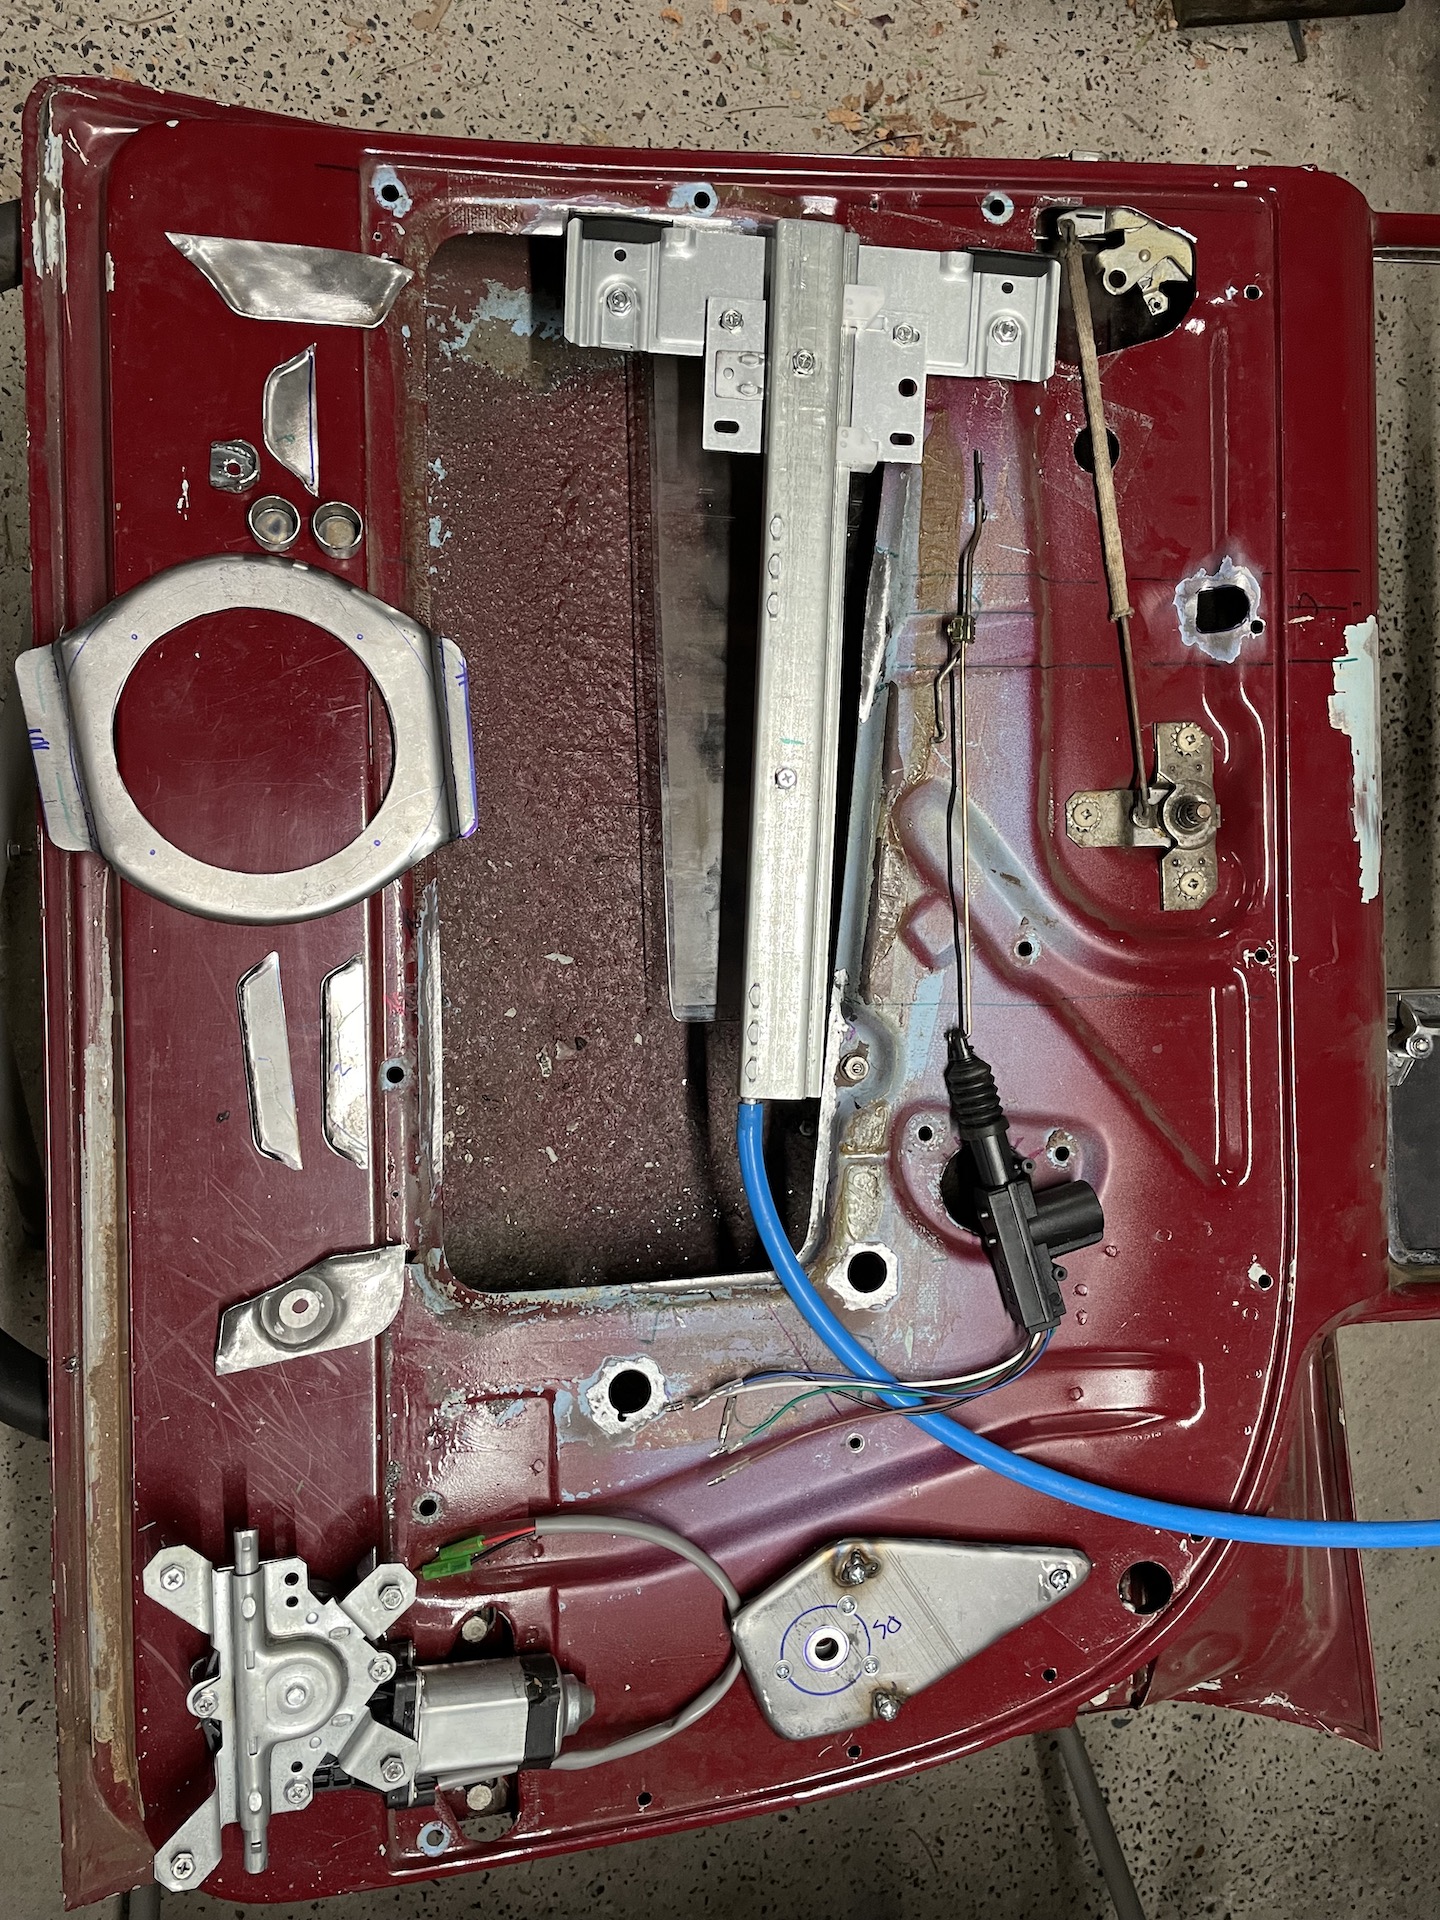
- IMG_1817.jpeg (1.04 MiB) Viewed 1940 times
Then after a fun day of welding and a bit of grinding I had this. Window rail is partially mounted and the plan was to finish in the morning.
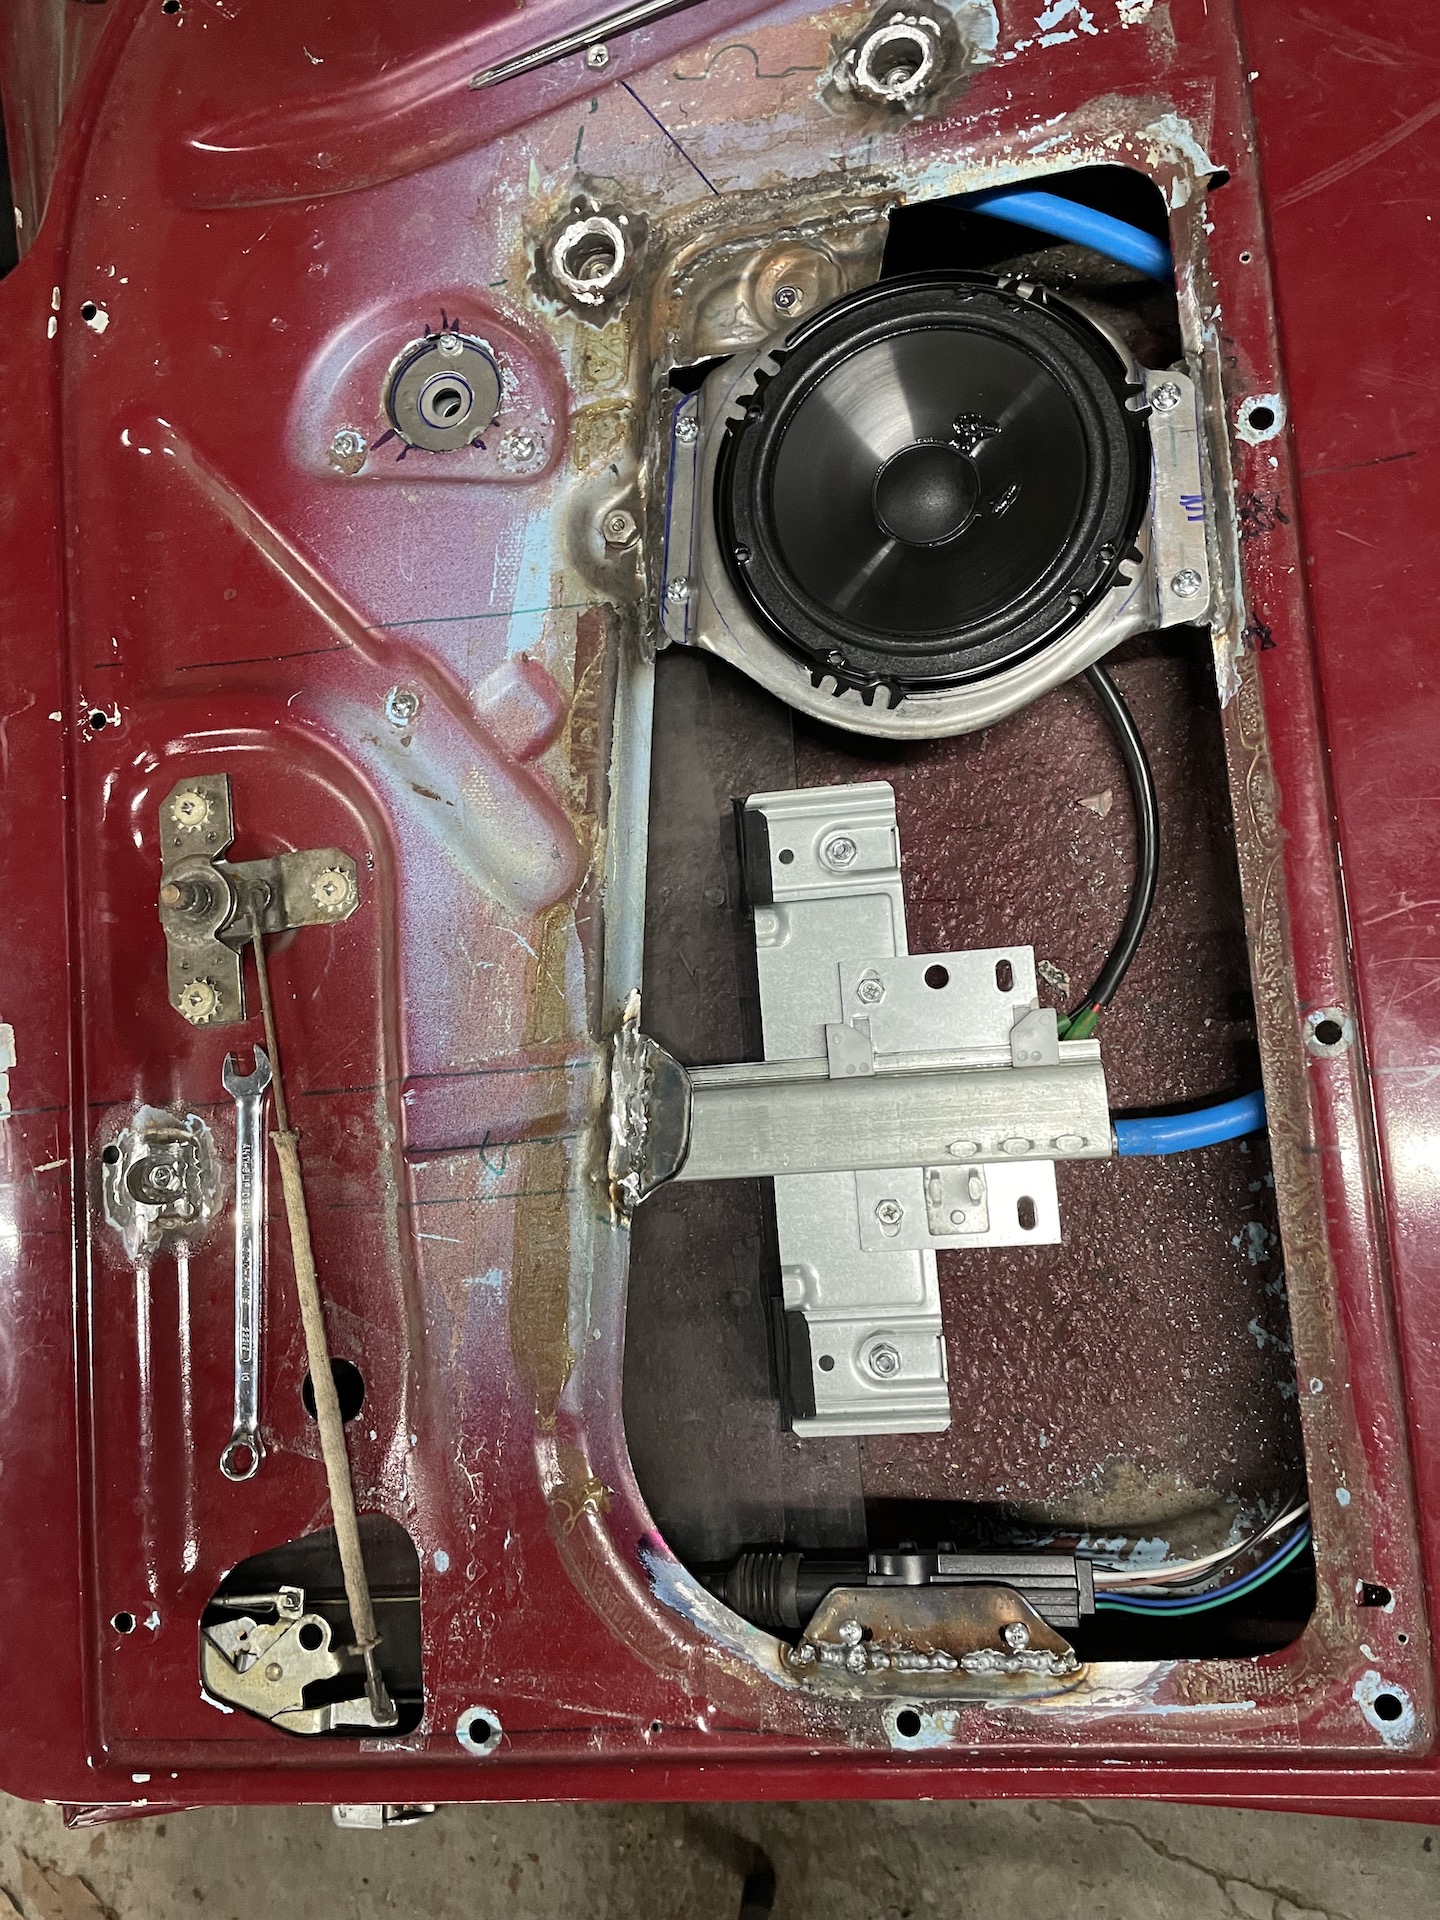
- IMG_1837.jpeg (1007.94 KiB) Viewed 1940 times
Oh how wrong I was.........
Power Window Installation
Came out the next day to fit the bottom mount on the window guide rail. To do this I need to run the window up and down the channel. Connected the battery charger to the motor and window moves half an inch up and stops. What the?!? Then, after 5 days of positioning, trial fitting and fabrication, it finally dawns on me. Everything I have done has been measured and trialed with the window down. Window needs cable running through motor to go up. Duh!. I mounted the motor at the very end of the cable.
What a dope. Look, the instructions are sparse at best, and they do state that the motor can be mounted remotely and include a separate guide with pictures for cutting and mounting. What they don't state is to make sure you leave enough cable to allow the window to fully raise. Guess that is implied

Measure twice cut once? Measure many times, cut and fabricate twice, once for each door.
Not the end of the world, just have to reposition the motor. But a lot of work and fab went into that motor, tucking it up out of the way.
You will see that fabrication in various stages in the images here. Ignore it - I know I am trying to.
So back to the start.....
First mock up.
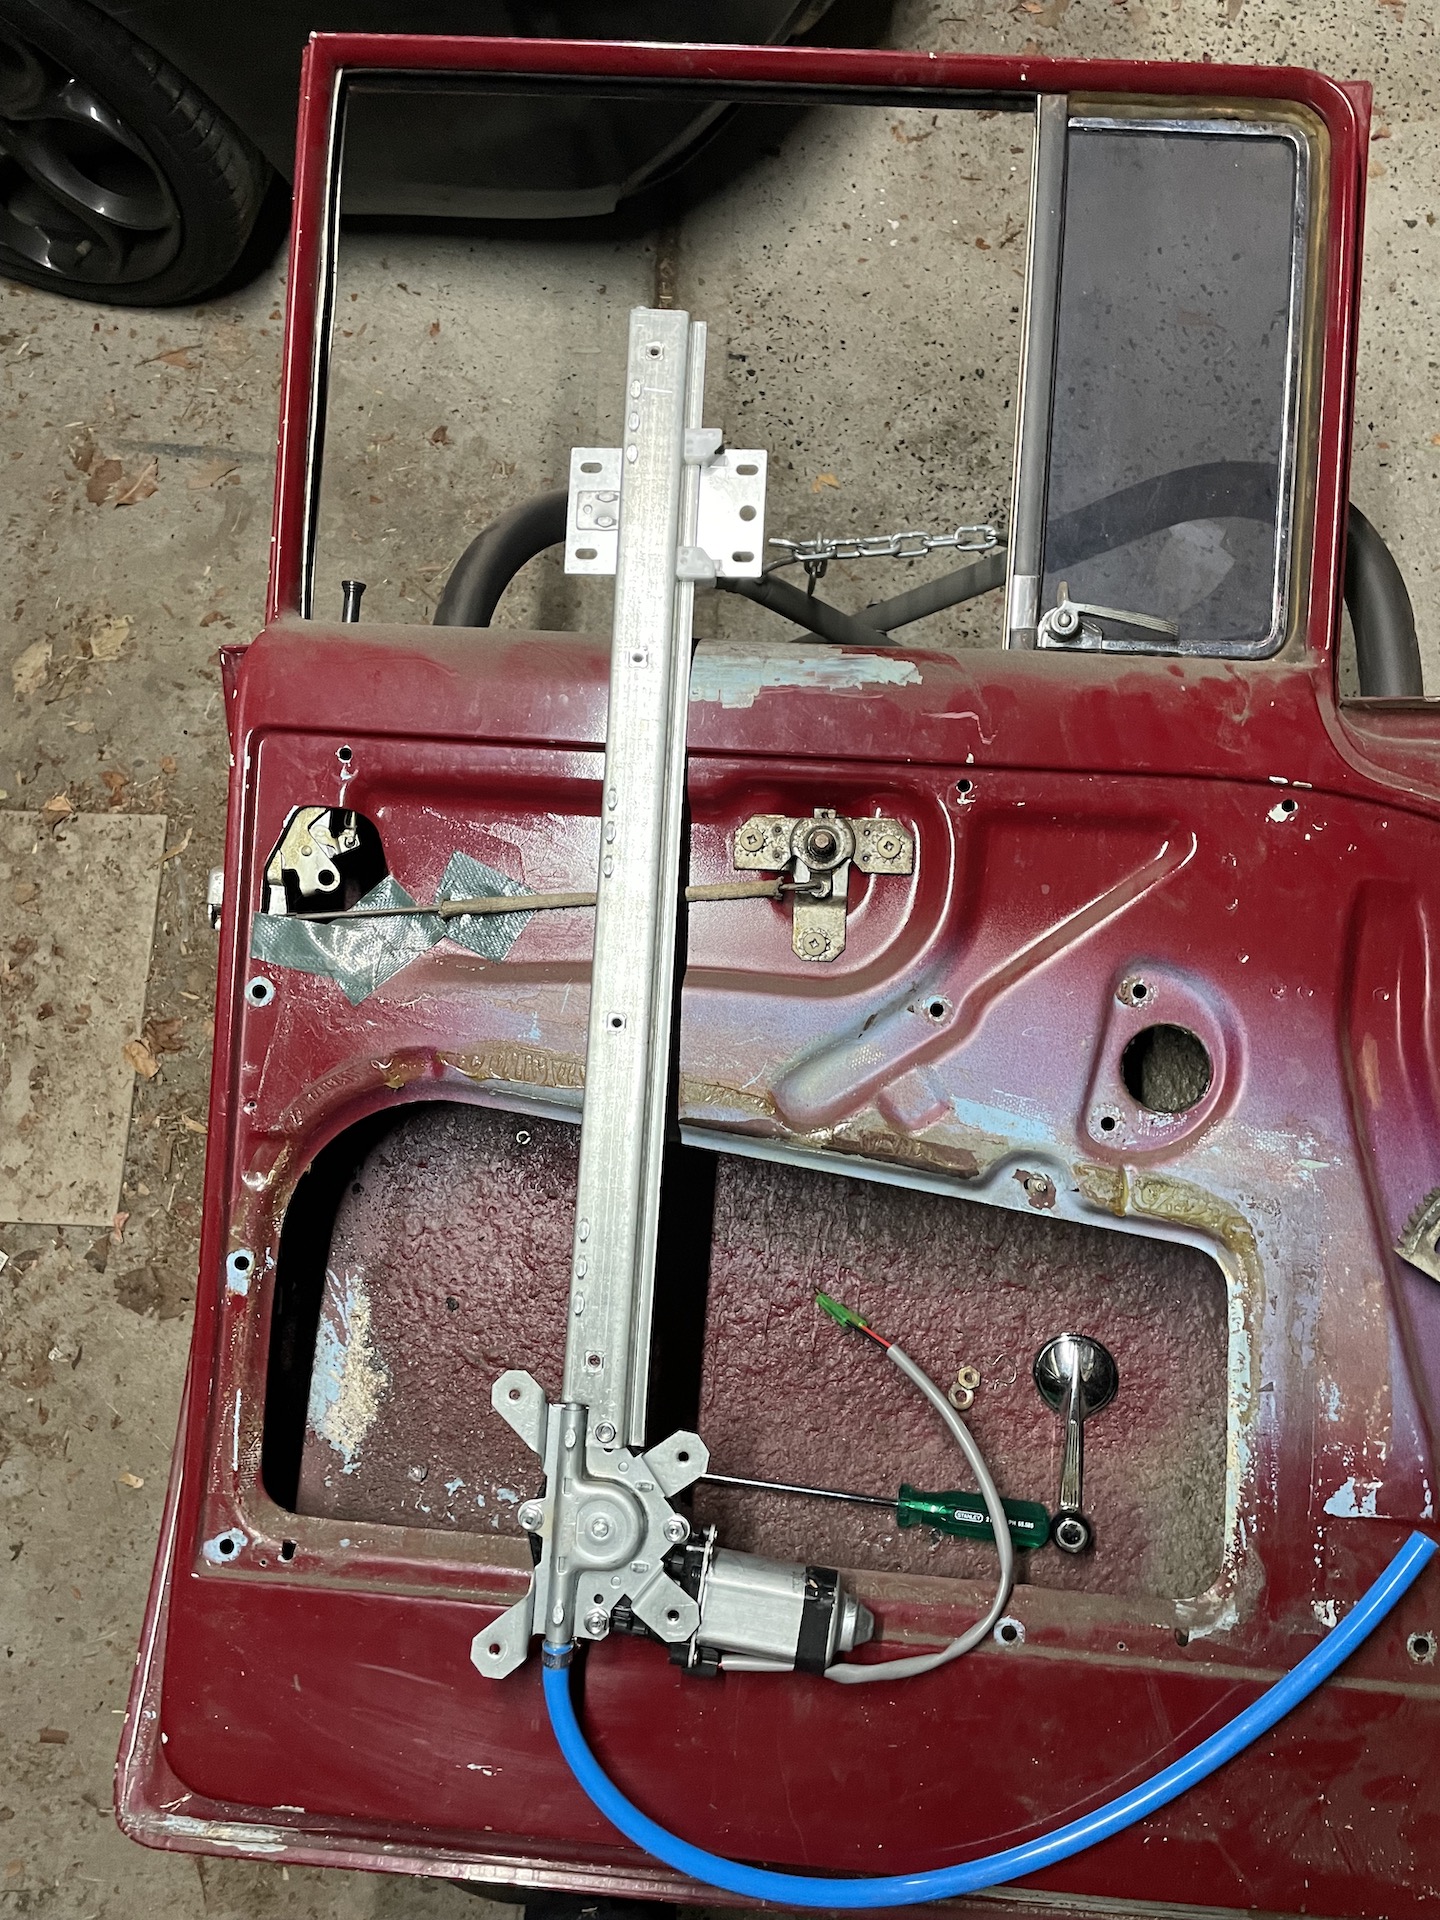
- IMG_1726.jpeg (966.52 KiB) Viewed 1940 times
Rail was always going to be cut at the top but I was hoping to fit the motor in the bottom of the door. Instructions state that the blue cable guide can be bent as long as it doesn't kink. This would be close. Had to fit glass and test.
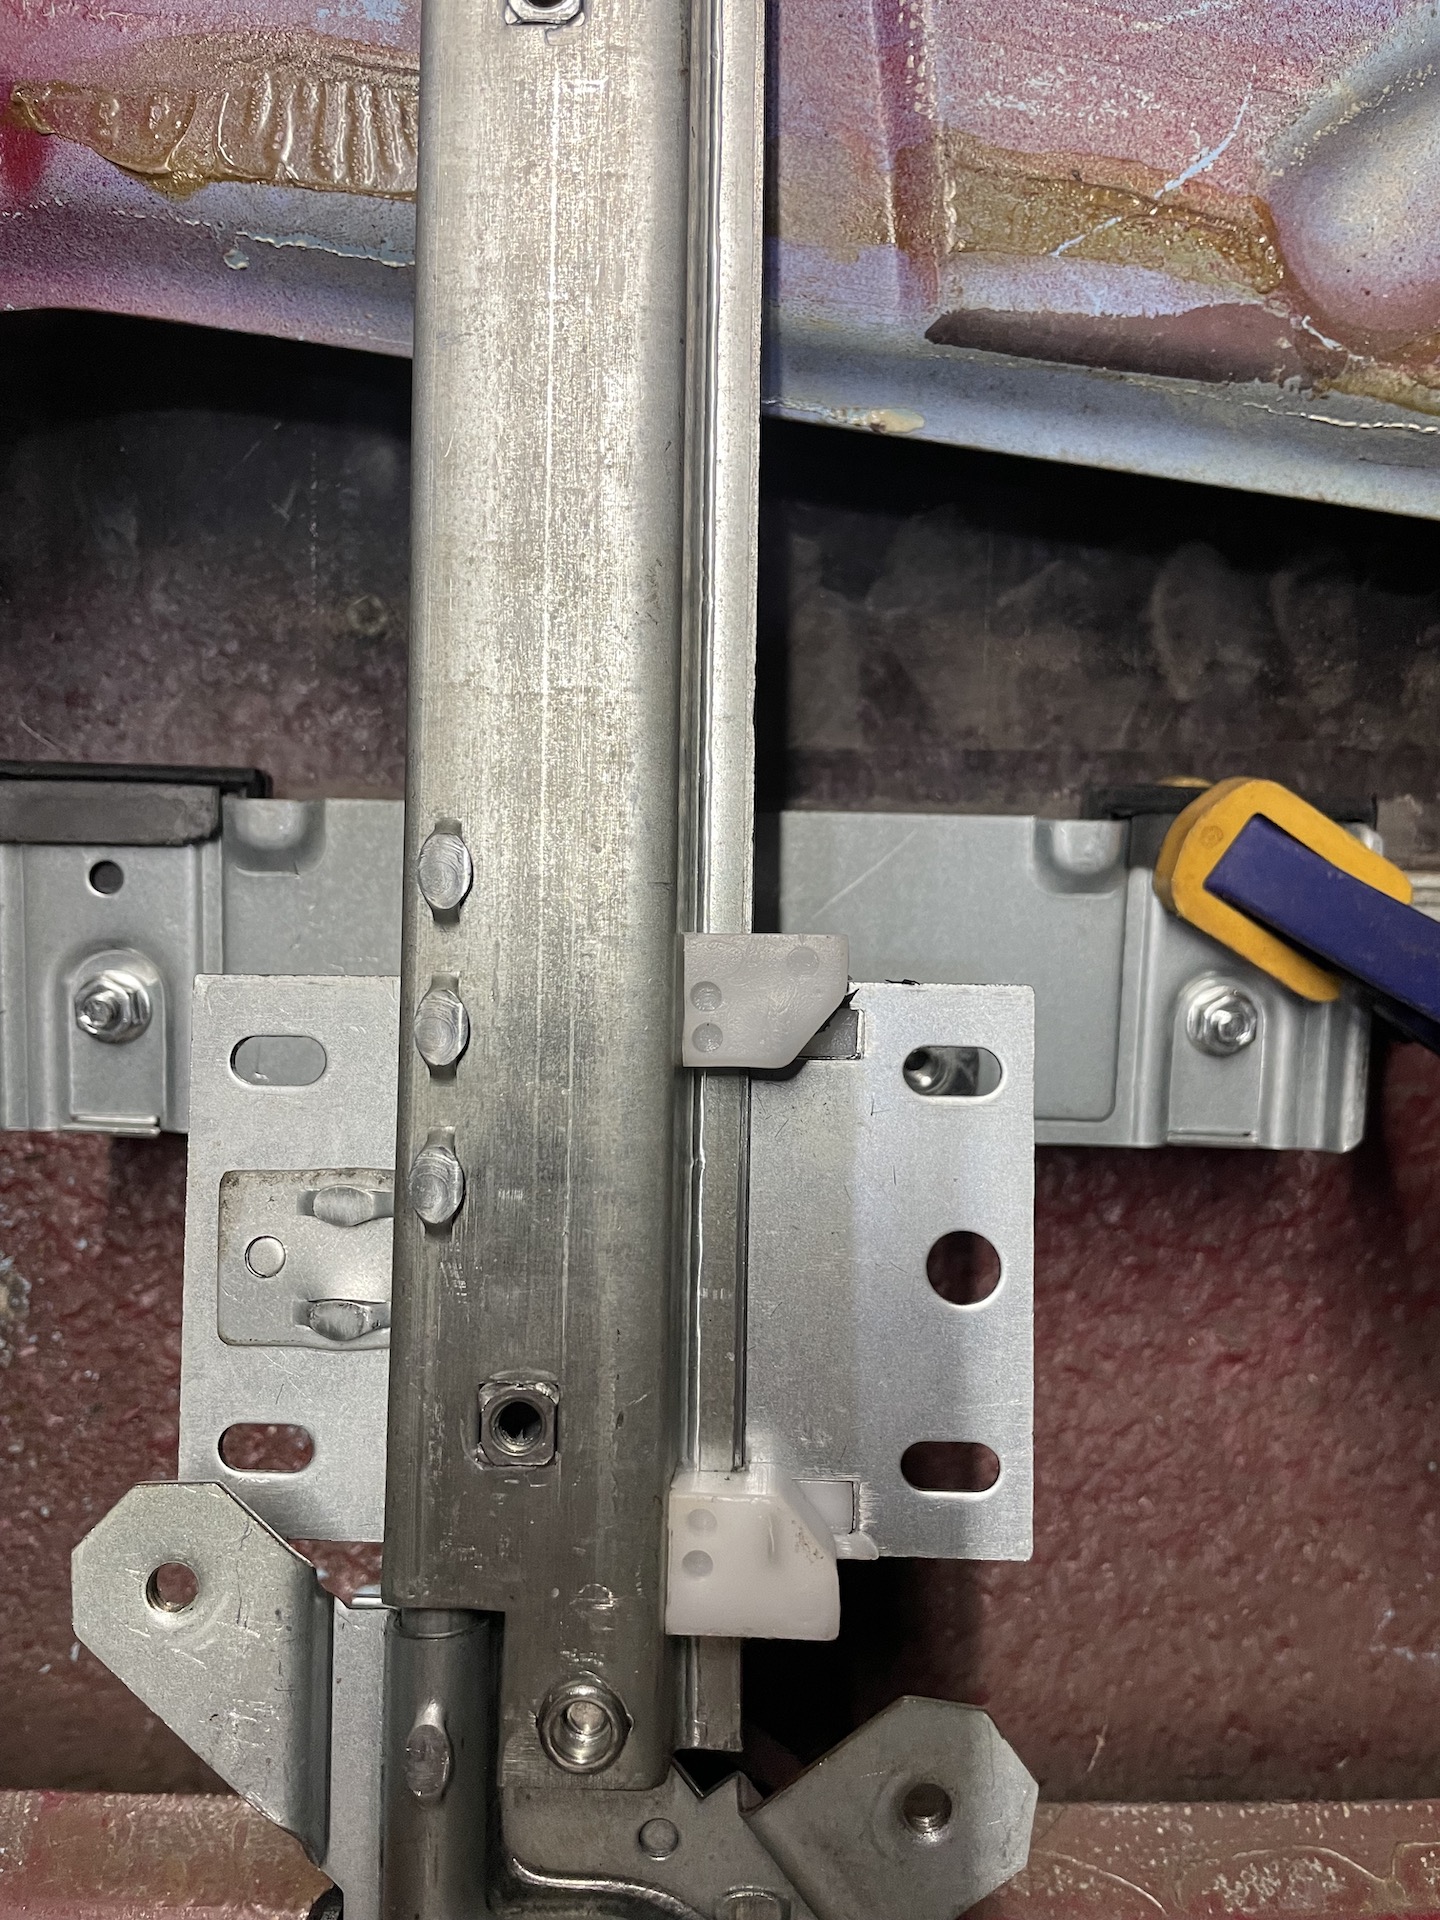
- IMG_1728.jpeg (859.46 KiB) Viewed 1940 times
With glass in lowest position, motor sits here which is too low. Contemplated using the bottom holes on the actuator, but then I would need custom glass that was longer to allow the window to close without the clamp hitting the top of the door.
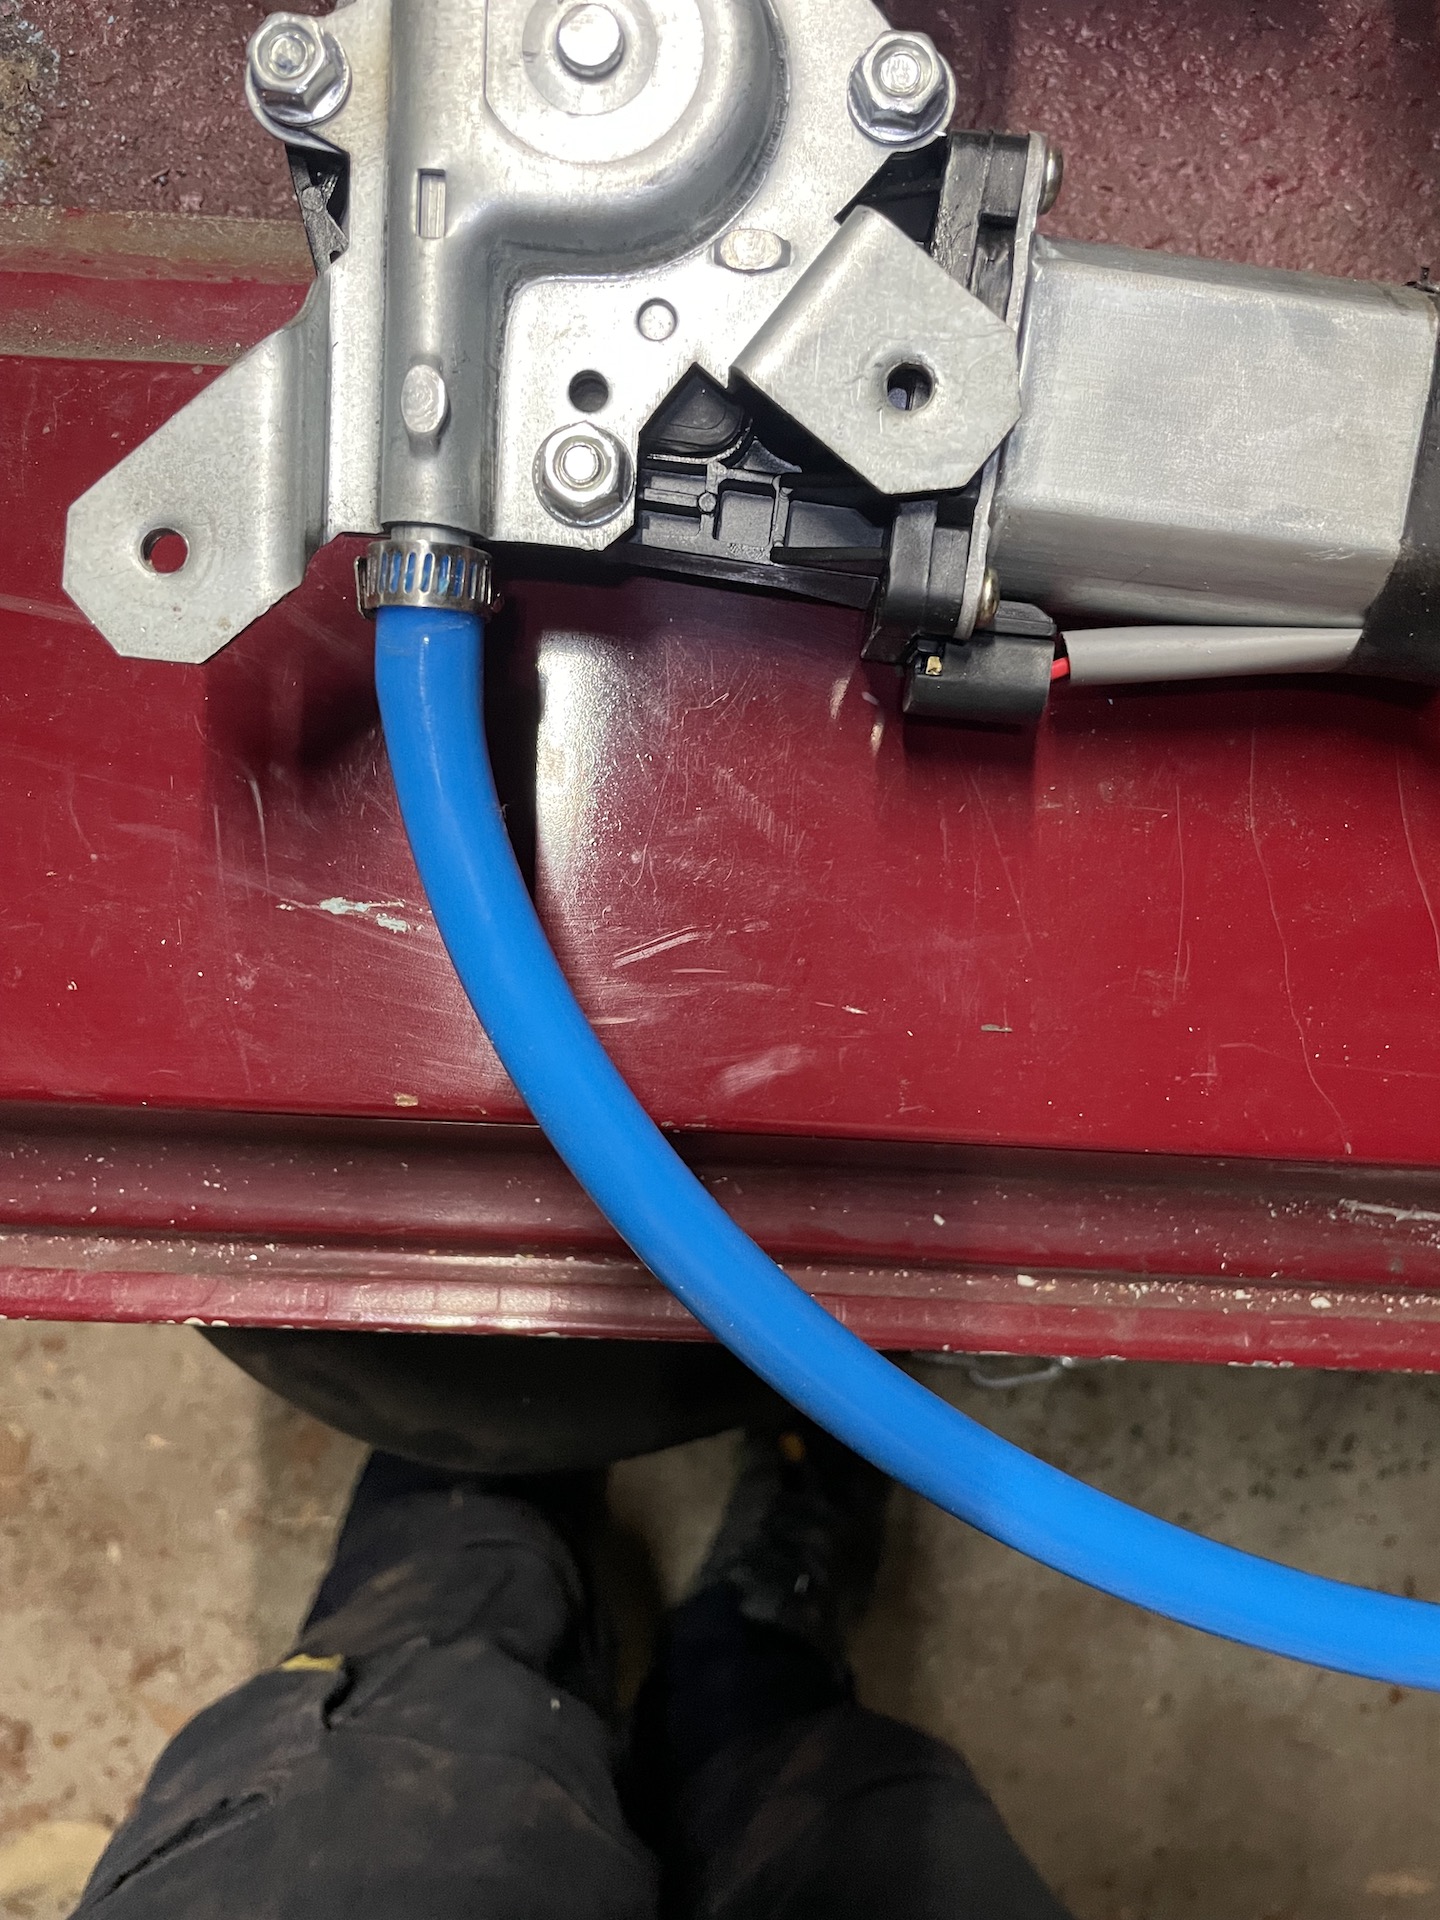
- IMG_1729.jpeg (703.84 KiB) Viewed 1940 times
Remove motor. Motor mount has to be cut off the rail.
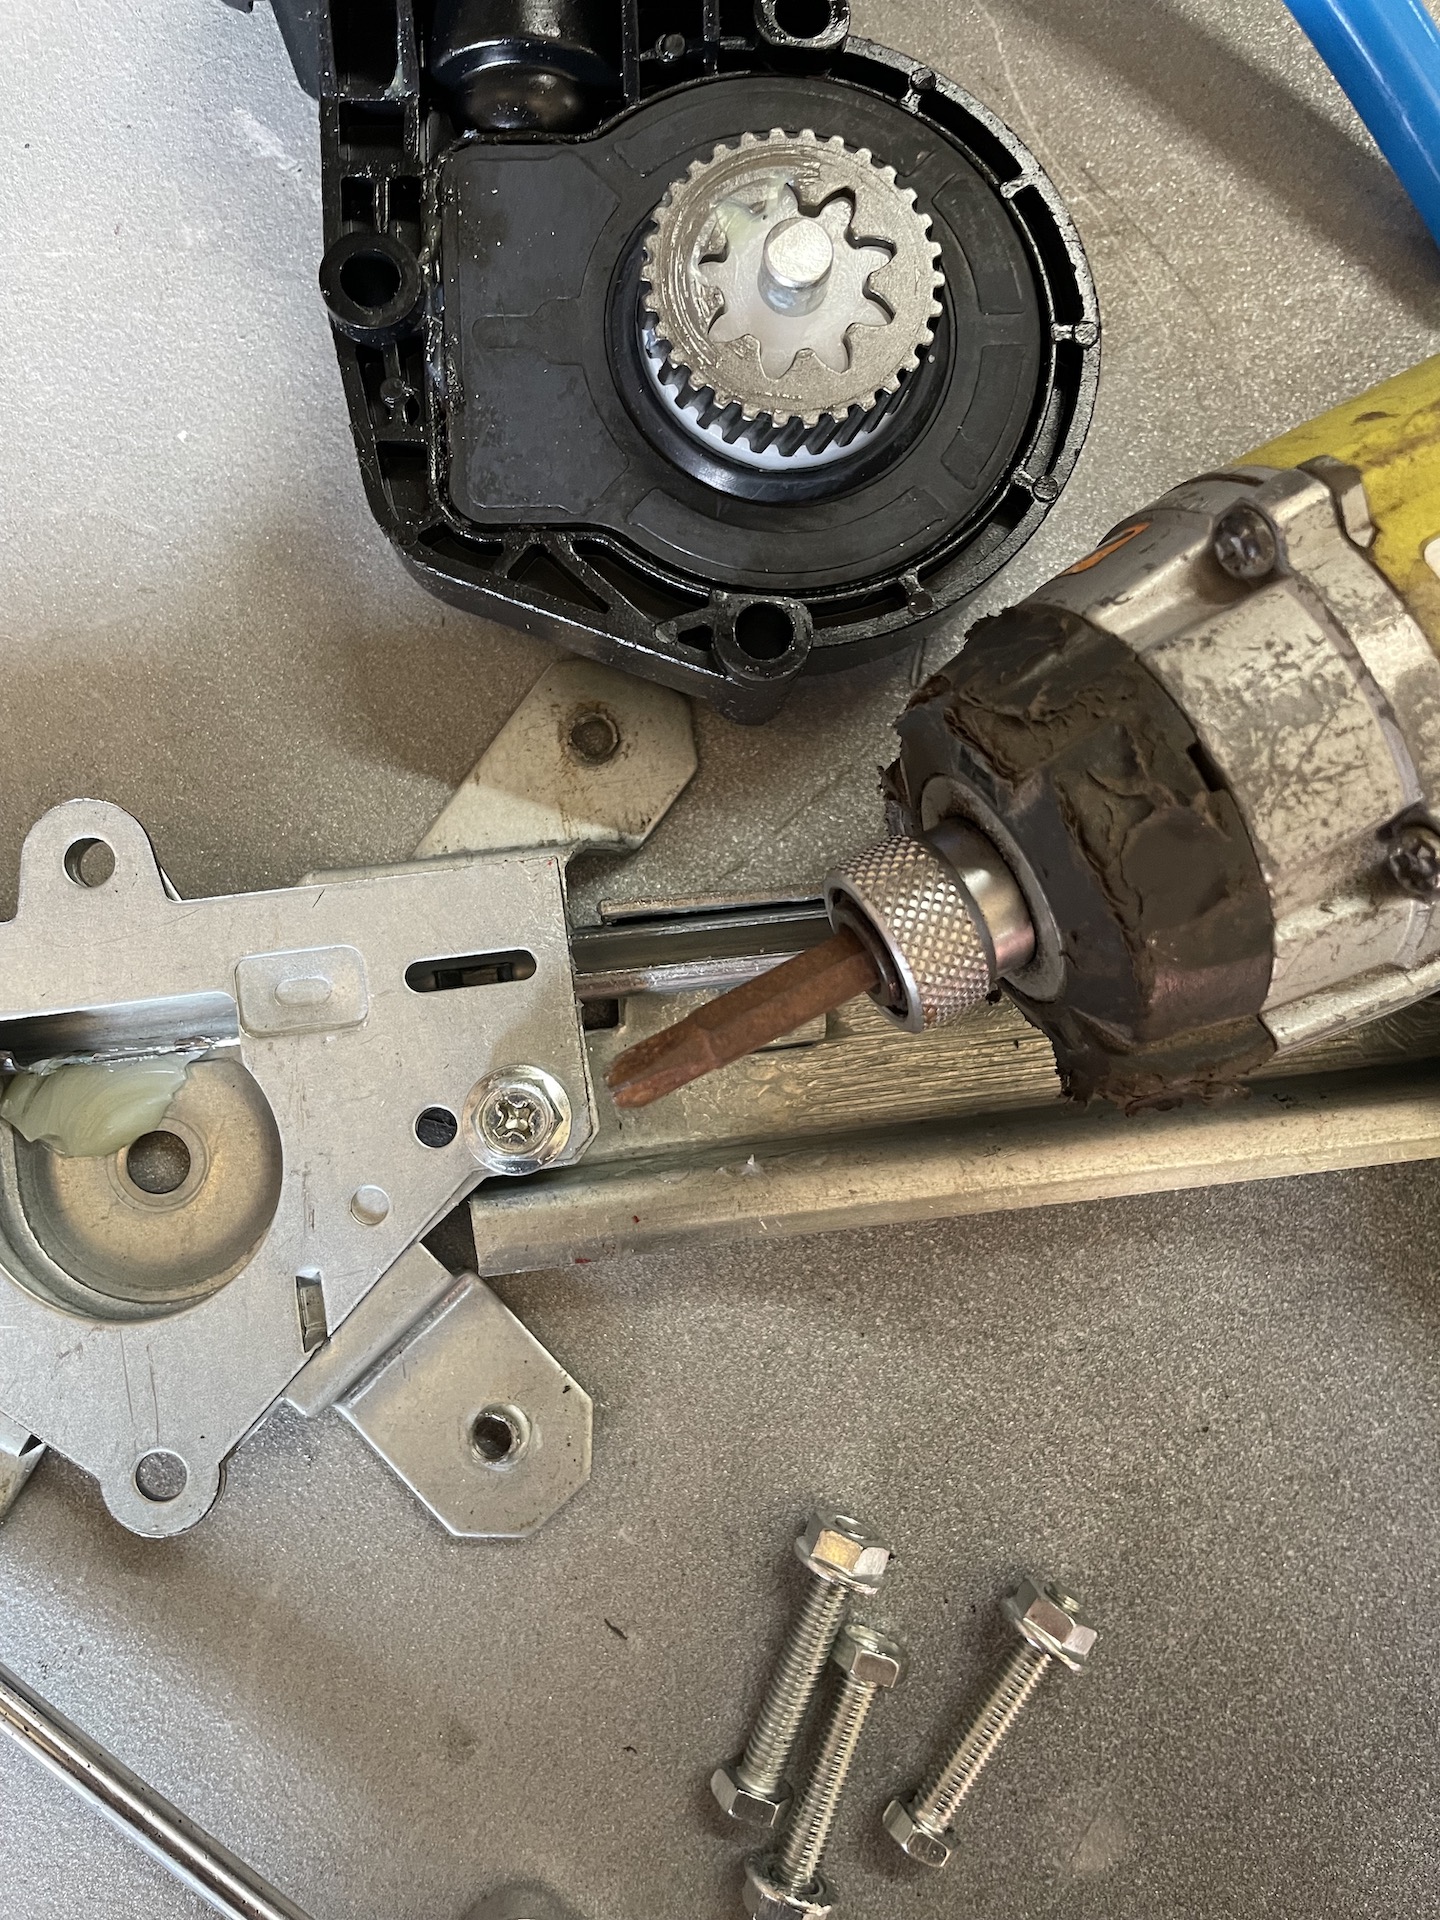
- IMG_1758.jpeg (1.01 MiB) Viewed 1940 times
So you cut an inch up from the bottom, this leaves an inch of cable channel feeding out of the motor to attach the blue hose to. Then cut an inch higher, being careful not to cut the cable channel. I cut around it then wiggled it till the waste snapped off. Here is a before and after. Should have flipped them over.
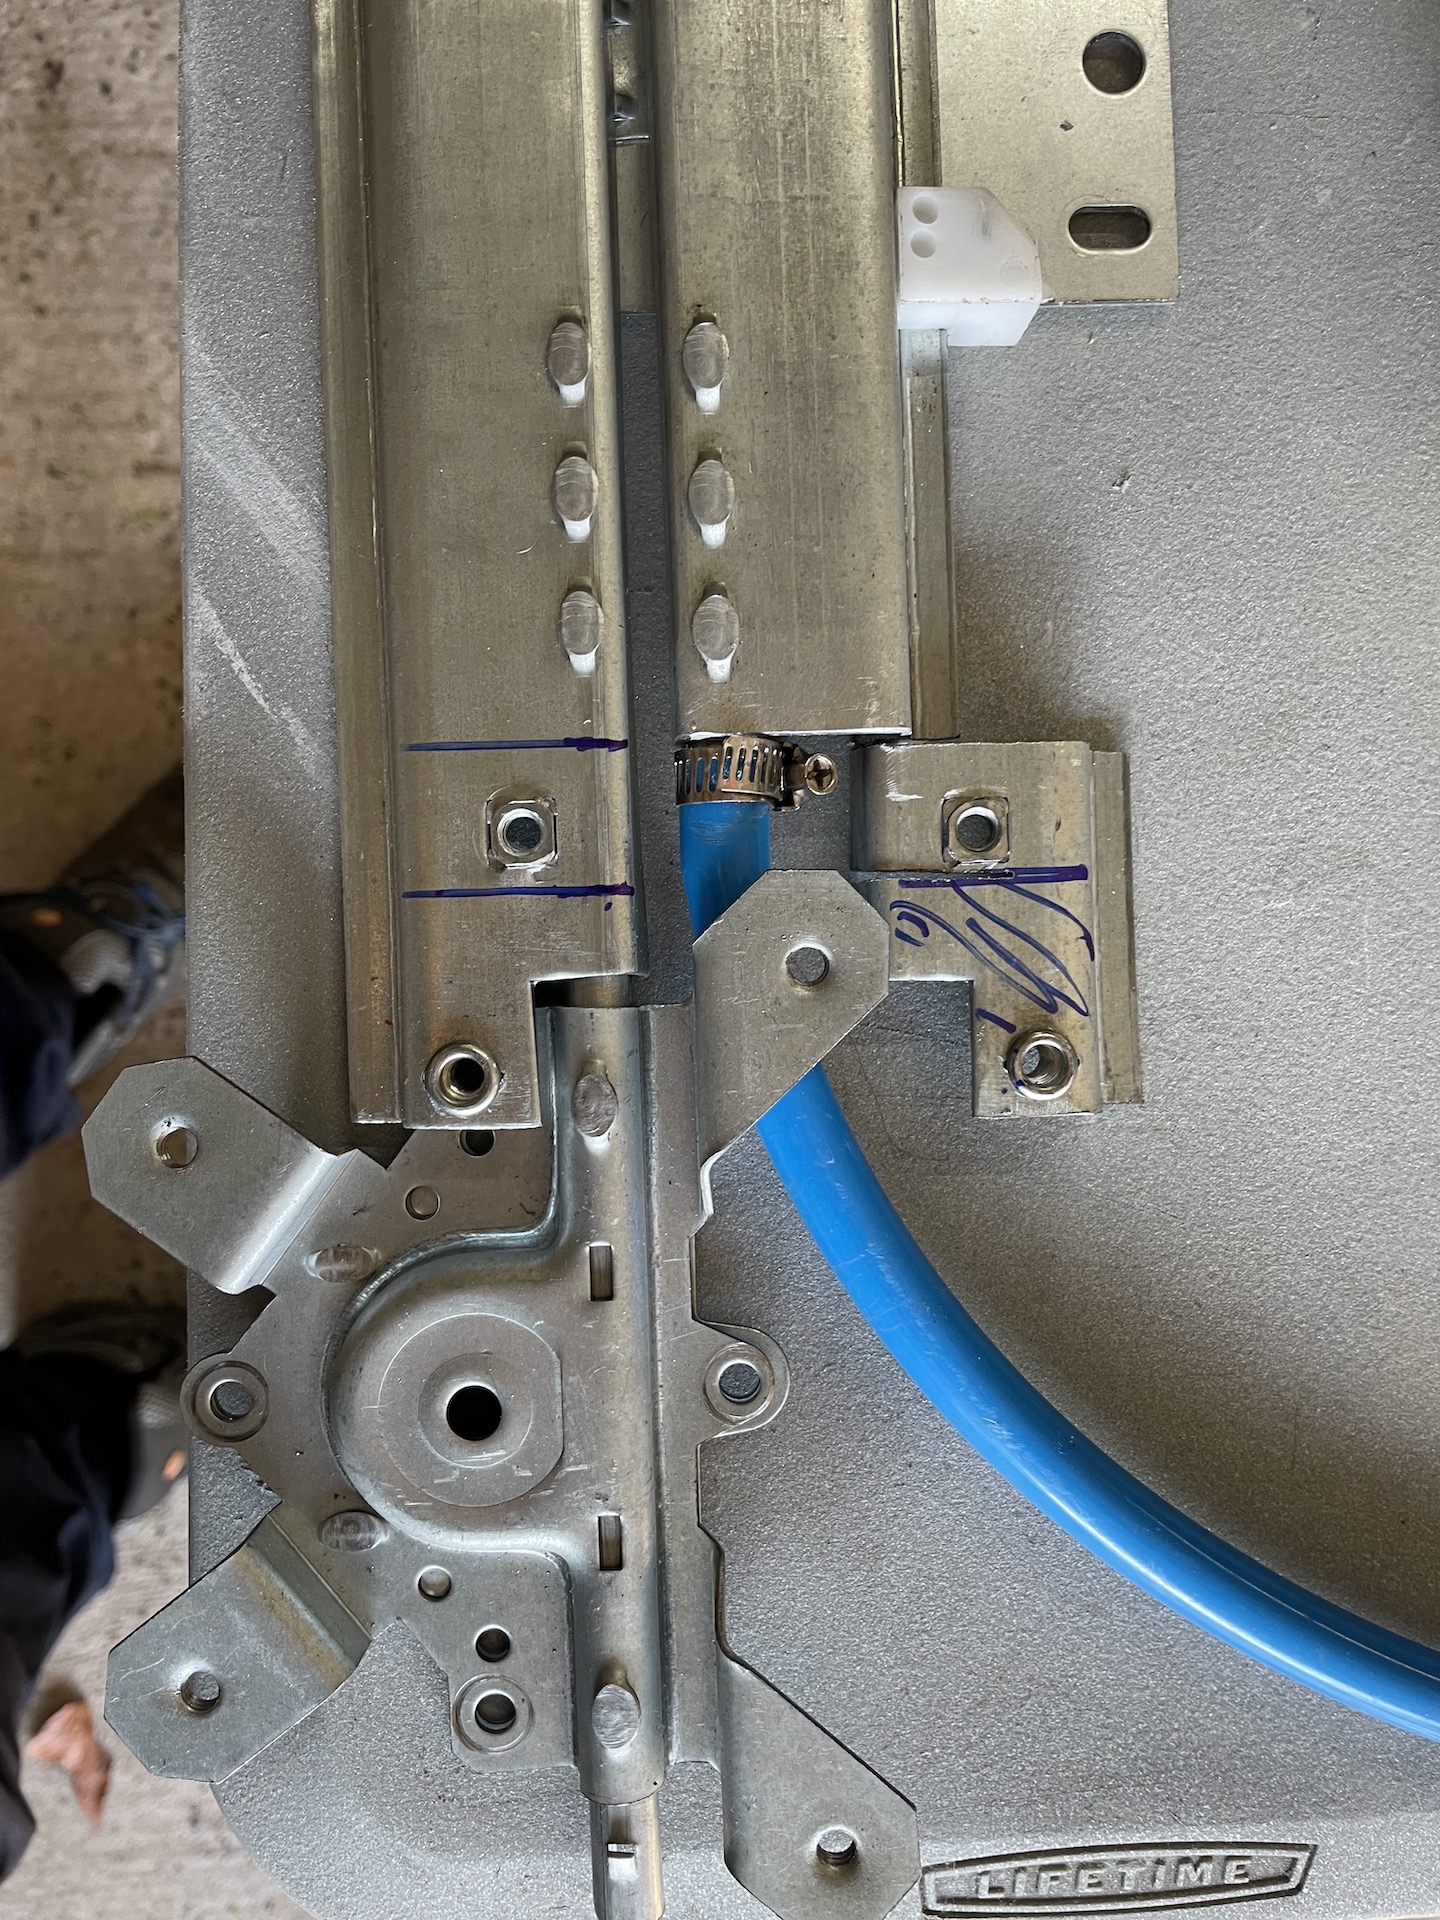
- IMG_1760.jpeg (997.61 KiB) Viewed 1940 times


