Hello everyone,
as you can see, I have re-named this to my tips.......................
Those following the POR thread - this is a companion post but the acrylic aspect of the luggage compartment.
This explains blocking back the primer/surfacer using "guide coat"
Guide coat is a pre-mixed black paint which dries very quickly and is intended to "mist" over primer - we do NOT want it to embed into the primer in any way..
When the thinners has escaped from the primer/surfacer, guide coat is very thinly sprayed over the surface as a "mist coat" - I tend to drop my air pressure down a bit and hold the gun further away - it only needs to "stick on" but must "stick" to the paint or it will rub off without being of any assistance..
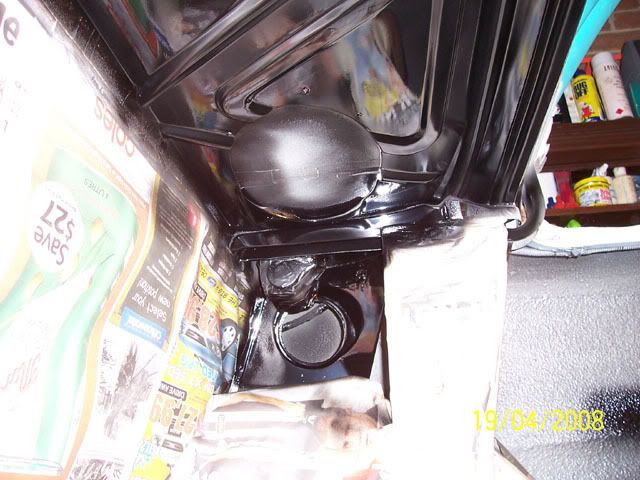
As you can see (and to those who have seen this many times on vehicles being driven around whilst the primer "pulls down" and do not know what it is) this appears as a blotchy spattering of black over the grey primer/surfacer..........
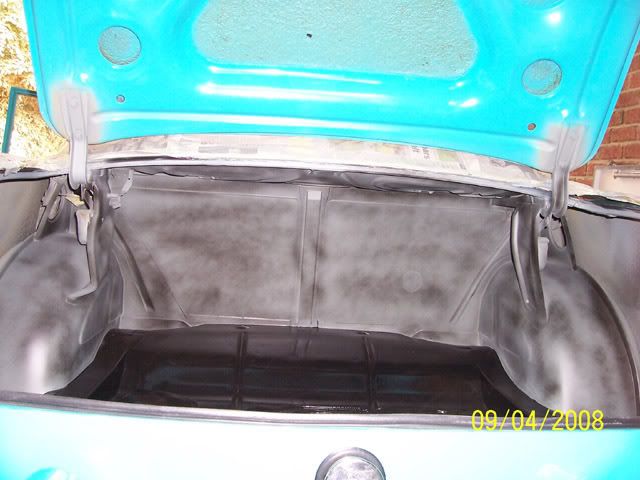
What we do now is "block back" using 600 or 800 wet and dry ( I use 400 - personally I find this "mechanically" ties the two different paints as well as chemically fusing one into the other - there is a risk - if your first top coat is very "wet" it can cause the deeper cuts of the 400 to show up in the surface............... we'll discuss how I apply my colour coats shortly.......
A "block" pad supports the paper as it is worked into the surface.
I try to "cross hatch" as I rub - that it, cut one way then rub at 90 degrees to the first direction - I find this cuts much quicker and provides some "control" as to how much is removed.
For absolutely flat areas I use a small (1" x 2") steel plate........... it will give you an absolute "flat" finish which will be reflected in the colour coats.
For areas where curves exist, I use as firm a pad as possible, but which provides just enough "bend" to follow the contour.......
What we are aiming for is to remove all the guide coat without breaking through the primer to the underlying 1K etch........... if we do this, we have to prime again (this is how the surface is "built up".
Once the guide coat is removed, don't Keep going - you are defeating the purpose - we want to get down to just taking the guide coat off with as few cuts as possible.........
For a mirror finish - you may need to prime, guide and block back a number of times until you can rub off the guide coat with only a few strokes of the paper.
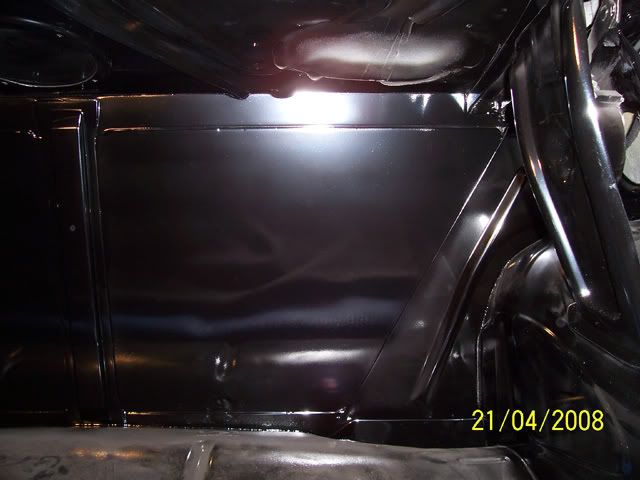
In the next pic, I have blocked back the r/hs of the rear partition - but left the lower portion only partly done with black spots showing where the surface still needs rubbing down - you will see the flat, grey surface above, but the yet to be flattened uneven surface below.....................
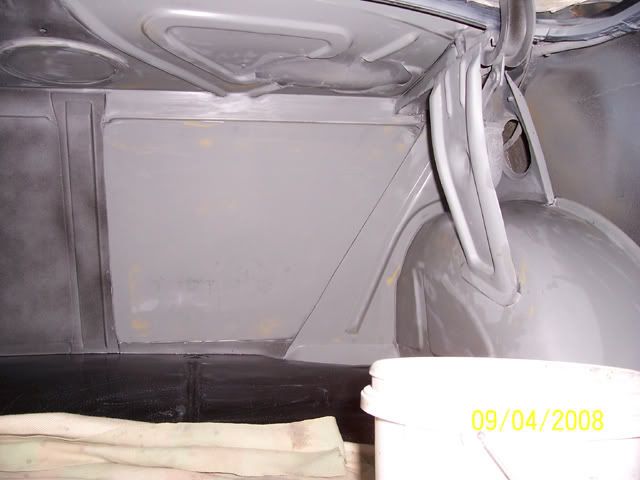
Having blocked the entire acrylic primer down to a satisfactory state we now prepare the area for top-coating by washing down, driying, cleaning with a wax and grease remover and dustting off.
Mix up the colour coat to the recommended ratio and set yourself up to spray.
I have found by mistakes that I can obtain a much better finish and enjoy the task more if I allow more than enough time, set everything up ready (pots, thinners, rags, bottles and anything else I may need to "rush" to and use.
For an external panel, I like to spread a bucketful of water over the floor to stop any dust getting thrown up by the dragging hose, scuffing feet etc.
When you are set to "shoot", go outside and blow yourself clean with the air duster - you'll be surprised at how much dust you shed.........
Back to the job, close doors, turn on lights (you need good lighting to "look" at the reflection of teh paint as you lay it down).
Finally a light air dust of the panel, lightly wipe a "tack rag" over it to pick up the very last of anything on the surface - and we're ready to go.........
With acrylic, I run my first coat as a medium wet - I want the thinners in the paint to soften and chemically "bite" into the primer/surfacer, but don't want to get is sopping wet - or those 400 grit cuts will show up in the dried surface............. it's a bit of "what is going to work for you, I'm afraid".
I can only tell you what "I" do............
when the panel has its first coat - walk away.
Go get some fresh air - have a cuppa or whatever - but let the paint "flash off" - let the wet thinners escape.
After about 10 min or so - I come back in and run a "double wet coat" over it - I want it to look wet, but not run - and that's it for today.............
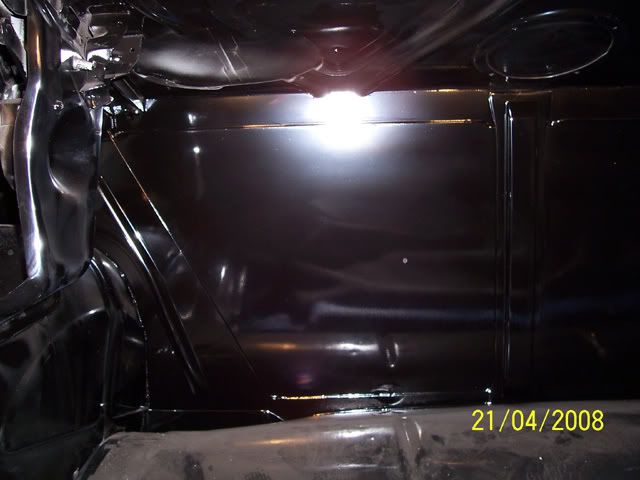
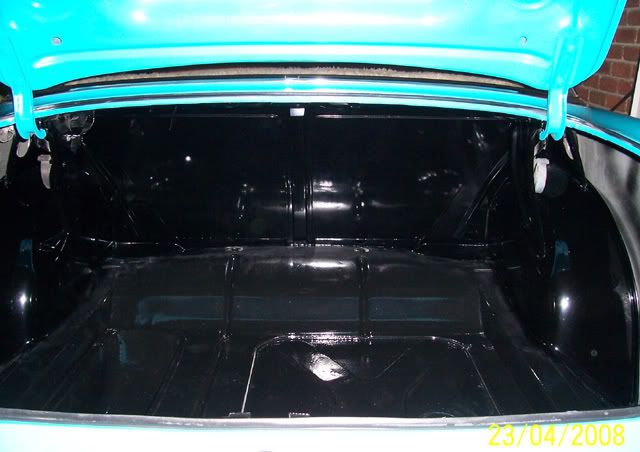
Here is the pic as it sits tonight untouched - dust all over it - don't be tempted to wipe the dust of and "see" how good your finish is............. the paint is soft and very easily marked/dented/finger printed........ leave it - another cuppa - whatever........ keep out for ten minutes or so.
Come back then open everything up - and let the area "clear"............. the surface will look very dusty - it's dry over-spray sitting on everything - leave it!................. don't touch.
Now you can clean all your painting equipment and just let the paint do its stuff - un-assisted...........
Oh yes, the pics........
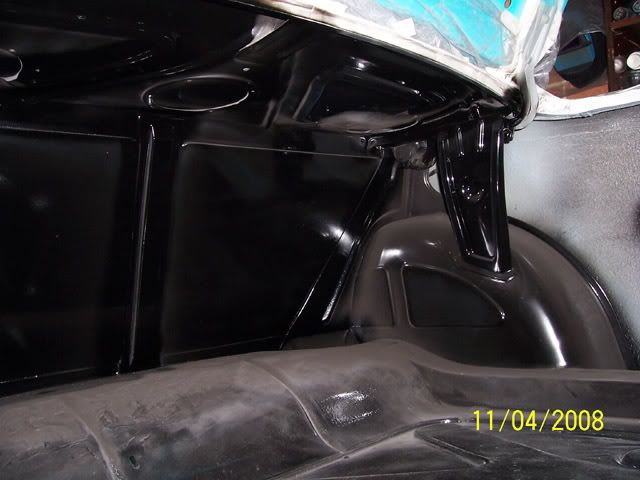
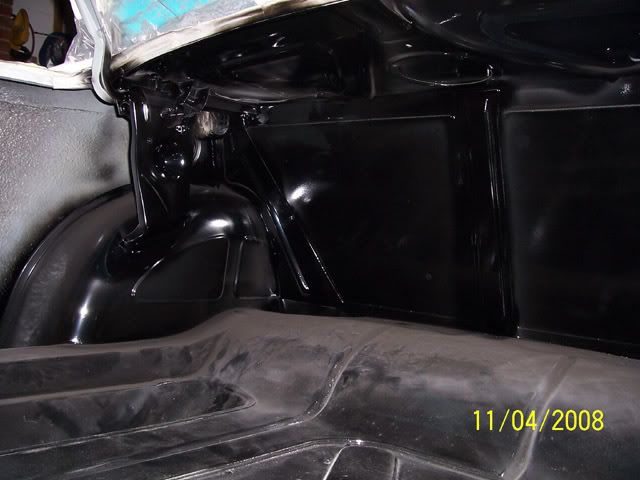
The hinge supports look very good - the rest looks as if it's got sand thrown all over it - this is normal - especially in confined spaces.........
Late tomorrow I'll dust it off (very lightly) and see what further work needs doing................ probably going to block back once more and spray a further 2 or 3 coats to get the finish I want................. stay tuned...........
frats,
Rosco


