Page 4 of 11
Posted: Mon Nov 02, 2009 7:12 pm
by fb cruzn
i was thinking that Rb,

i think a vr/vs wagon tailgate cable might come close.
Posted: Mon Nov 02, 2009 7:26 pm
by (AUST)Mod
Thanks Mate.
I have an Autoloc boot popper courtesy of Mooneyes but couldn't work out how to replicate the twist function of the key with the cable. Looks like you might have solved my dilemma!
Andrew
Posted: Mon Nov 02, 2009 8:43 pm
by mrs ratbox
(AUST)Mod wrote:Thanks Mate.
I have an Autoloc boot popper courtesy of Mooneyes but couldn't work out how to replicate the twist function of the key with the cable. Looks like you might have solved my dilemma!
Andrew
and maybe mine

i can smell a boot lock

Posted: Mon Nov 02, 2009 11:06 pm
by (AUST)Mod
Yeh RB thats the plan.
Will send your other locks tomorrow or the next day.
Posted: Tue Nov 03, 2009 3:26 pm
by fb cruzn
theres not much room in there AM, it will take a bit of trial fitting

if i was you i would also have a cable release, even if its only a small one like new cars, just incase the electric poper/solinoid stops working

Posted: Tue Nov 03, 2009 6:19 pm
by mrs ratbox
fb cruzn wrote:theres not much room in there AM, it will take a bit of trial fitting
if i was you i would also have a cable release, even if its only a small one like new cars, just incase the electric poper/solinoid stops working
when i was building the moss car i bought a badly smashed gray sedan for bits it belonged to islanders

it had a fairly thickish bit of rope poking through the back seat, i wondered what it was and give it a pull the boot opened

the lock didn't work and at some stage it had had an electric one that broke so they just tied a bit of rope to the mechanism and poked it through the seat
Posted: Thu Dec 03, 2009 10:41 pm
by fb cruzn
mega update
havnt been on here in ages

I wasnt happy with the colour, it was too red, it needed to be darker, just a few shades darker
heres the new colour, more of a burgandy
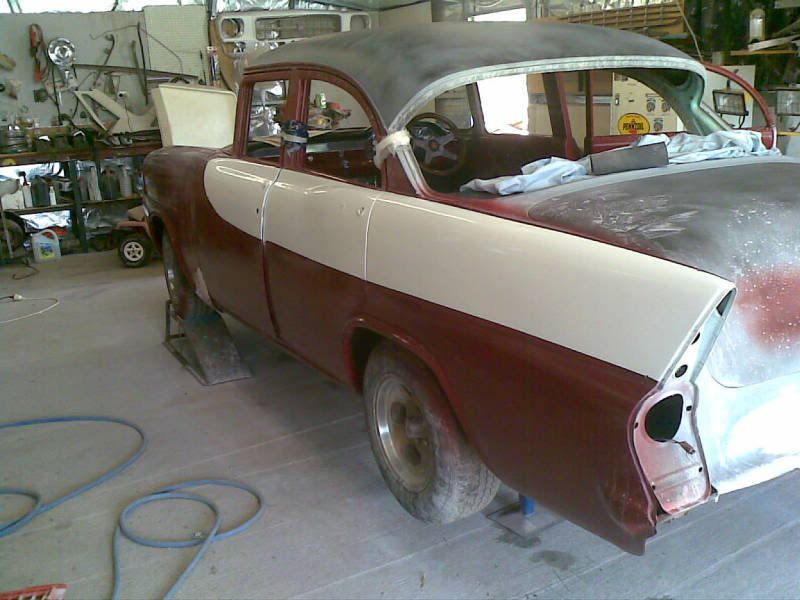


painted in and around the boot, wasnt as straight as i wanted so a few repairs
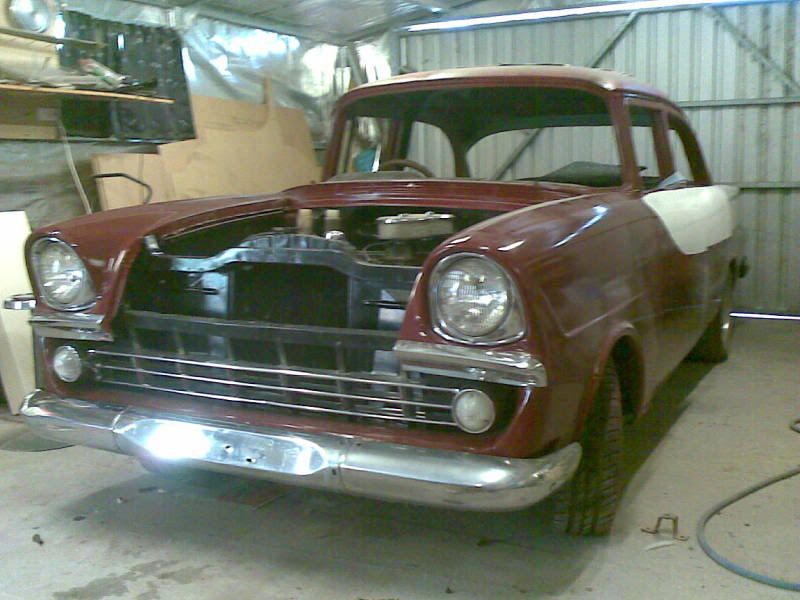
And heres how she sits now

the only other thing iv done is a heap of mdf work in the boot for the sound system
im not into doof doof but i like to feel the music
Posted: Fri Dec 04, 2009 4:25 am
by Trev
Coming along nicely Westy
, Trev
.
Posted: Fri Dec 04, 2009 7:19 am
by parisian62
Good to see work is still happening on the FB Westy. It's come a long way since page 1.
Stewart
Re: update
Posted: Fri Dec 04, 2009 1:56 pm
by samprinci
fb cruzn wrote:got a bit more done today
i also stone guarded the sill's

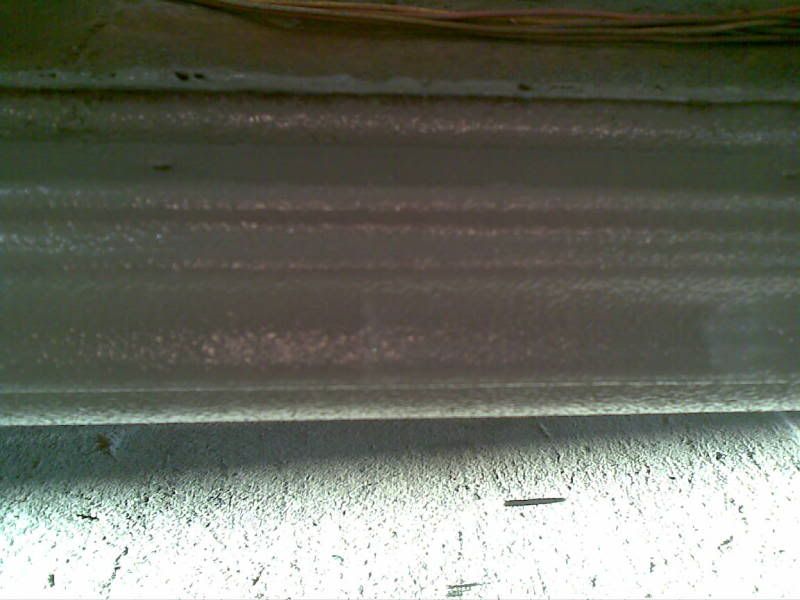
heres a close up to show the ripple effect.
Hey Mark, just discovered ya post, Wanted to ask a few questions regarding Stone garding the Sills???
Why did u do that? Ive seen it on a few cars but didnt really realise why? is that added protection?
How did u do that?
Ta
Sam
Posted: Fri Dec 04, 2009 9:16 pm
by fb cruzn
thanx for the comments guys, sam i used the stone guard because i live 30ks from town and i will be using the fb a fair bit.
even once its dry its still a little 'soft' so im thinking it will take the impact of the stones and rocks etc and wont chip.
the stone guard i bought from super crap auto for about 30 bux and i bought the spray gun from them as well for about 30 ish bux, its all k&h brand (i dont like k&h coz most of there stuff is shit)
the spray gun screws to the top of the container of stone guard, it doesnt have to be thined down.
i use this stuff everywhere. the whole bottom of the car is done in stone guard.
Posted: Sun Dec 06, 2009 9:03 pm
by fb cruzn
i had to do a bit more stone guarding so i thought id do a step by step for anyone whos intrested
LH rear 1/4 painted ( you can stone guard in the undercoat stage but i didnt because i couldnt find my spray gun
)

here i have masked up the area i want painted

next i grab the stone guard gun, heres a pic

and hey presto stone guarded

once it had dried a gave it a coat of colour and clear

all done

the white line is just light reflection
Posted: Sun Dec 06, 2009 9:06 pm
by fb cruzn
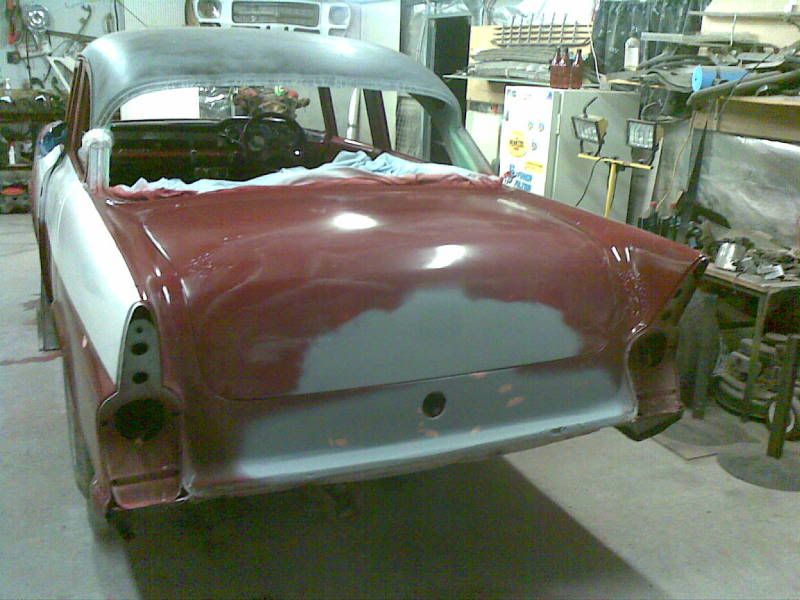
heres some pics of the boot so far


iv gotta get some black carpet now
Posted: Tue Dec 08, 2009 11:32 am
by samprinci
fb cruzn wrote:i had to do a bit more stone guarding so i thought id do a step by step for anyone whos intrested
the white line is just light reflection
WOW!!! thanks a million Mark, really appreciate you taking the time & effort to put that reply post!!!
WIll ad this info to my list
TA
Sam
Posted: Wed Dec 30, 2009 9:21 pm
by fb cruzn