Page 27 of 43
Re: Neil's FB Station Wagon
Posted: Sun Jan 19, 2025 3:53 pm
by funkyscooter
Couple of things I did half in/out method have a slight etch at the water/acid line. Must be a reaction with the air. So you end up with two when you flip it. Or maybe I just leave things in too long

.
Build a frame out of ply and use builders plastic as a liner and totally submerge the tank.
Re: Neil's FB Station Wagon
Posted: Sun Jan 19, 2025 6:38 pm
by Errol62
Neil, I would just fill the tank with molasses 1 : water 10. Leave a week and rinse. I haven’t done this myself. You’d have an account at the local fodder store, I reckon. Otherwise a kilogram of citric crystal and fill her up.
FB ute fixer upper, EK van on rotisserie
Re: Neil's FB Station Wagon
Posted: Mon Jan 20, 2025 9:52 am
by FireKraka
Re: Neil's FB Station Wagon
Posted: Fri Jan 24, 2025 10:12 pm
by FireKraka
So my 600g of citric powder seems to have been ok

Before
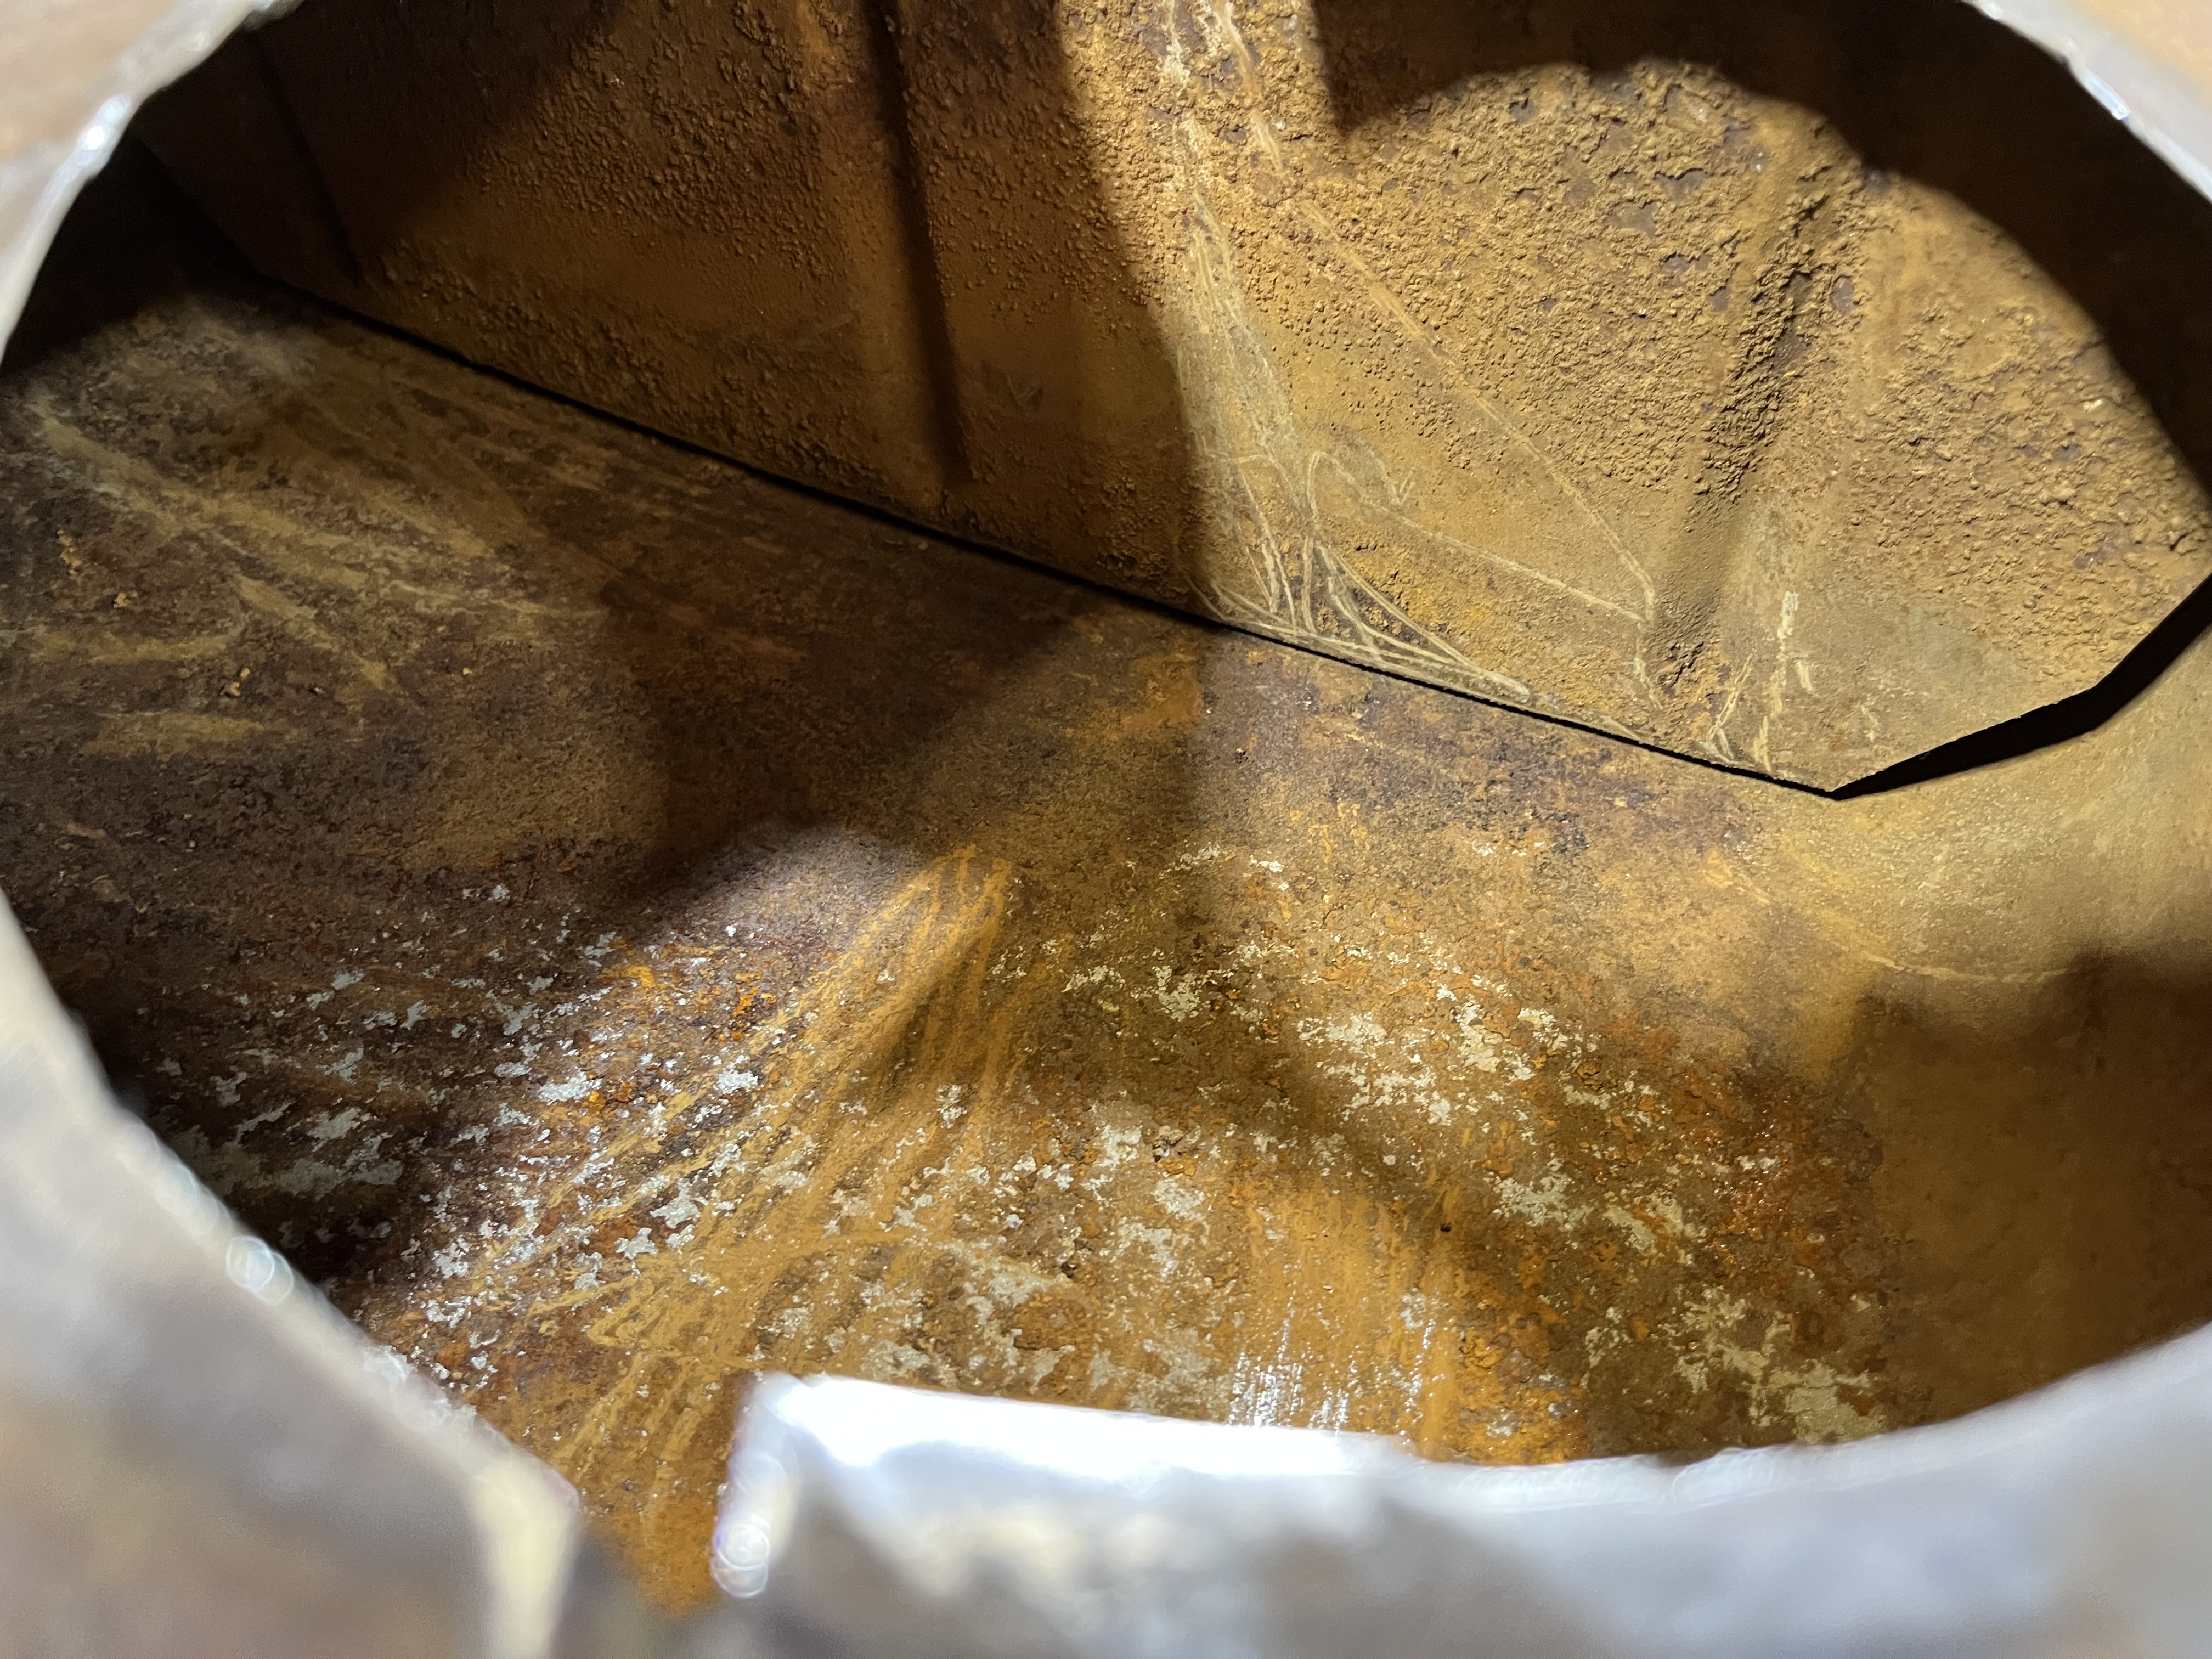
- IMG_2488.jpeg (3.3 MiB) Viewed 2571 times
After 5 days, amazing
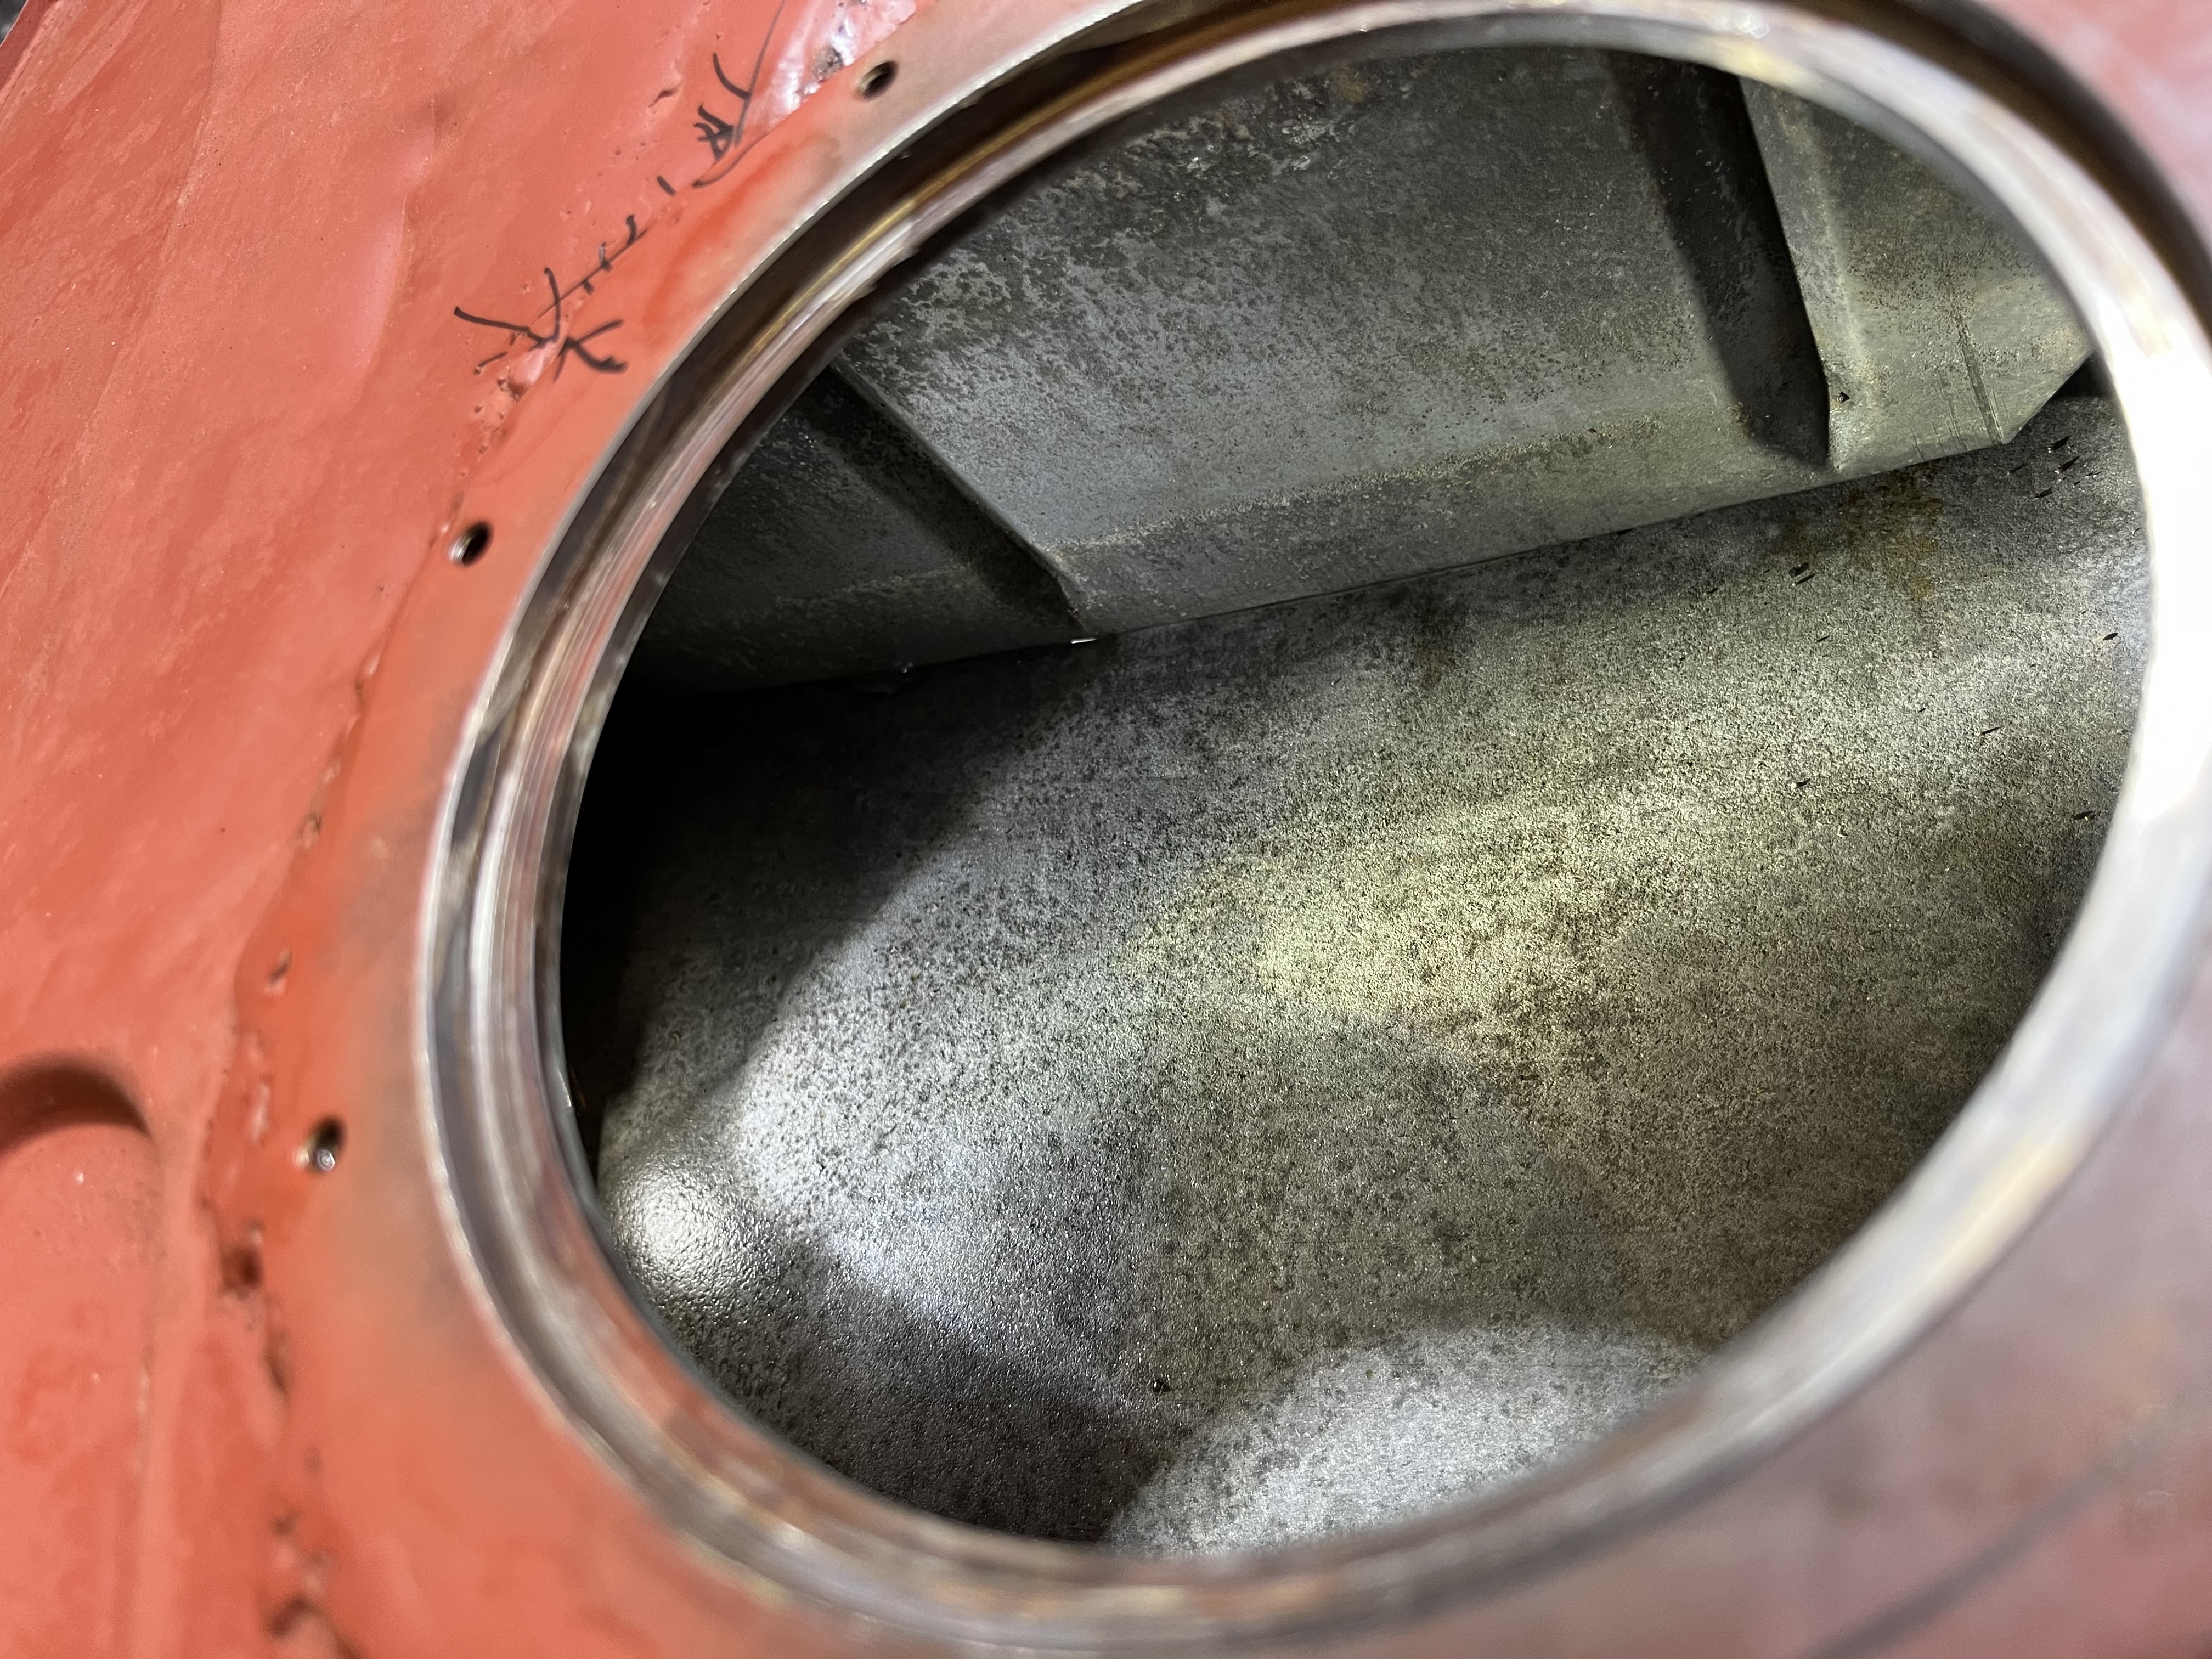
- IMG_2506.jpeg (3.74 MiB) Viewed 2571 times
Do I need to coat it? The baffle in the middle of the tank may make that hard.
Re: Neil's FB Station Wagon
Posted: Fri Jan 24, 2025 11:24 pm
by Blacky
not if it isn't leaking - maybe spray a bit of WD-40 or the like in there ??
Re: Neil's FB Station Wagon
Posted: Sat Jan 25, 2025 8:53 am
by Errol62
Issue with citric is what they call flash rust, but it is only really a problem with adhesion. Still, it looks like the zinc coating is not the best. You can try your luck, or use a POR kit or similar. Application method is to seal the tank, pour the stuff in and swish around inside. Never done it myself.
FB ute fixer upper, EK van on rotisserie
Re: Neil's FB Station Wagon
Posted: Sat Jan 25, 2025 11:43 am
by FireKraka
Thanks guys sound advice.
The tank is sound, no holes so I had been thinking of pouring a few letters of fuel in and give it a good swirl around drain it and some CRC if needed after that or maybe visa versa
Re: Neil's FB Station Wagon
Posted: Sat Jan 25, 2025 11:44 am
by FireKraka
Just remembered I have bulk CRC in my company’s workshop so maybe that’s the go first
Re: Neil's FB Station Wagon
Posted: Sun Jan 26, 2025 10:59 am
by FireKraka
Pretty happy where this has ended up, went and stitch welded the the tank surround every 2” (advise from Keith

) still need to seam seal but that’s everywhere and have to do the filler neck.
Still a couple of smaller rust repairs to do


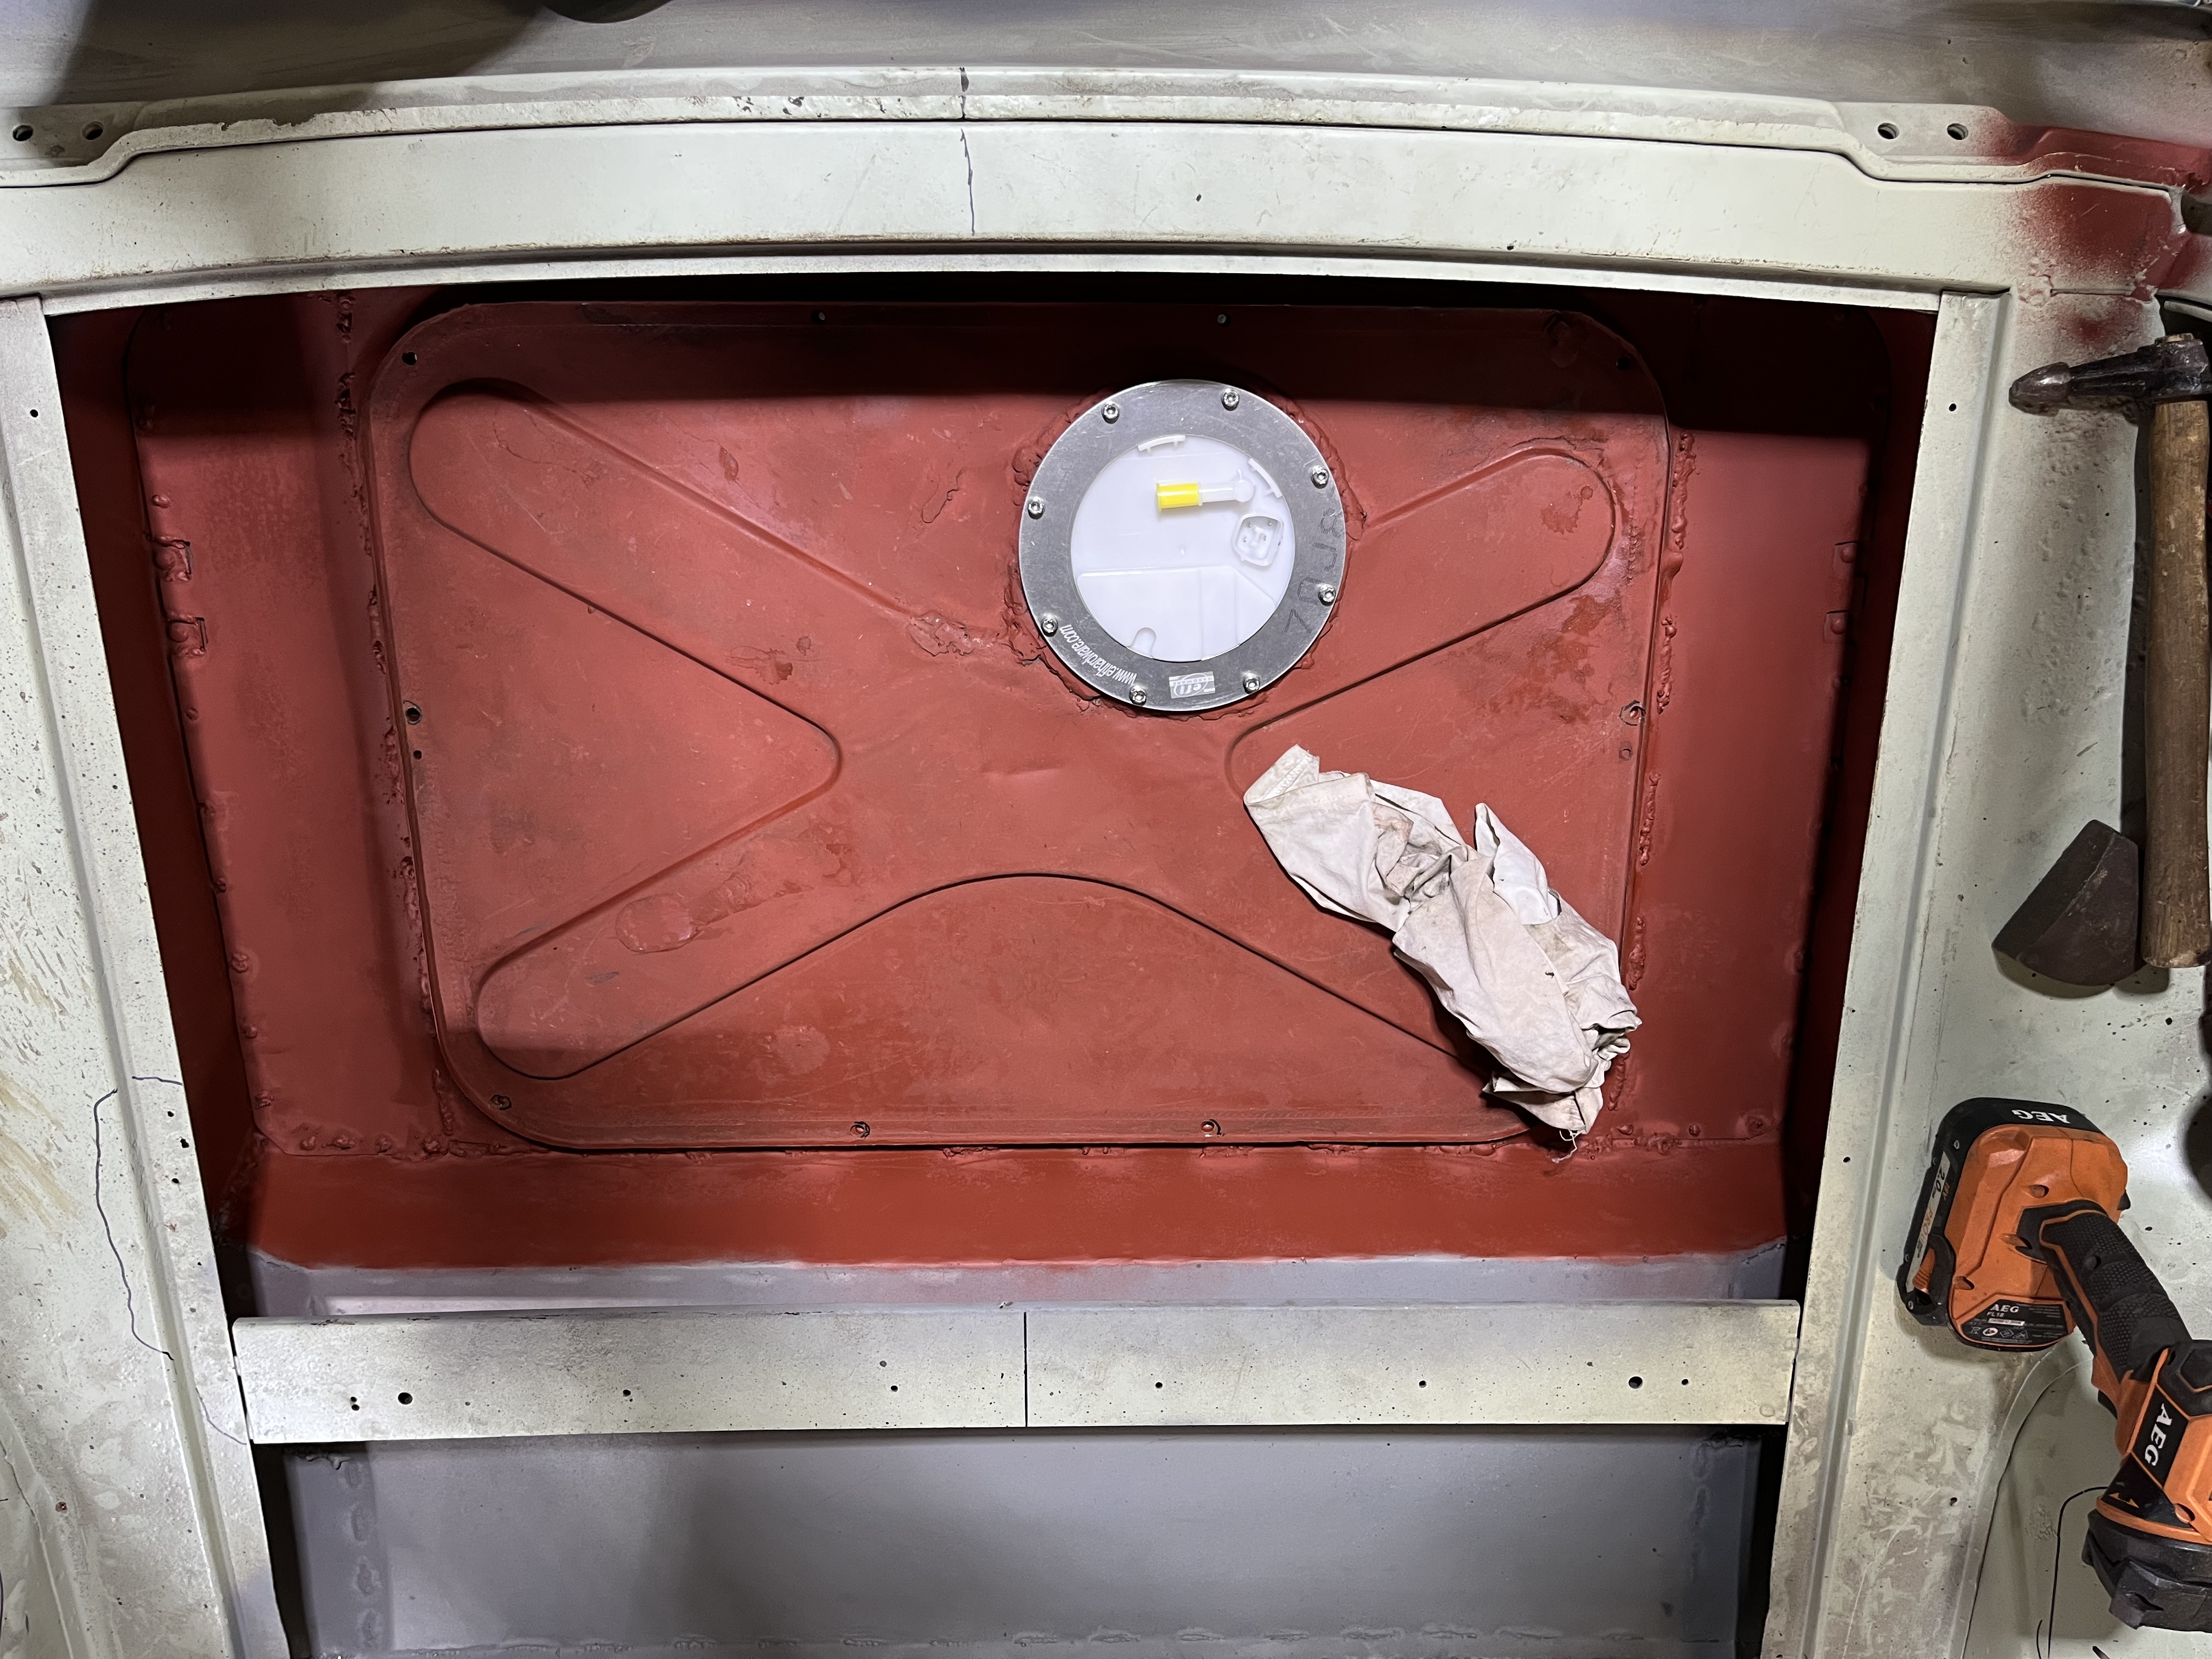
- IMG_2507.jpeg (3.11 MiB) Viewed 2531 times
Re: Neil's FB Station Wagon
Posted: Sun Jan 26, 2025 1:25 pm
by Errol62
In the sedan, a short length of black hose and two hose clamps are working well. Similar to factory setup, EJ on.
FB ute fixer upper, EK van on rotisserie
Re: Neil's FB Station Wagon
Posted: Sun Jan 26, 2025 10:43 pm
by Blacky
Errol62 wrote: Sun Jan 26, 2025 1:25 pm
In the sedan, a short length of black hose and two hose clamps are working well. Similar to factory setup, EJ on.
My ute has been like that since 2010 when I first put it together
Re: Neil's FB Station Wagon
Posted: Mon Jan 27, 2025 6:36 am
by Harv
Blacky wrote: Sun Jan 26, 2025 10:43 pm
Errol62 wrote: Sun Jan 26, 2025 1:25 pm
In the sedan, a short length of black hose and two hose clamps are working well. Similar to factory setup, EJ on.
My ute has been like that since 2010 when I first put it together
My wagon has the hose joiner too for the 60L tank, and the young bloke's VL has it as standard.
Cheers,
Harv
Re: Neil's FB Station Wagon
Posted: Mon Jan 27, 2025 11:43 am
by FireKraka
Re: Neil's FB Station Wagon
Posted: Fri Feb 07, 2025 11:58 am
by FireKraka
The installation kit for the VE Fuel pump that comes from EFI Hardware comes with an electrical plug for the pump and fuel level sensor but it is not terminated only has a wiring diagram.
Being an old grease monkey I took the plug and wiring diagram to one of the electrical contractors that I use to do Navy work and called in a favour, they even put 5 metres of cable so I have enough to wire in when I get to it.
![IMG_2528[1].JPG](./download/file.php?id=19120&sid=747c23ee0b4e6ce31167abfd5eb818b2)
- IMG_2528[1].JPG (3.83 MiB) Viewed 2376 times
Hopefully getting into the workshop this weekend to do some more, it has just been so hot over here it is almost impossible to get anything done and family duties getting in the way.
Hoping to do the roof replacement in the next month.
Re: Neil's FB Station Wagon
Posted: Fri Feb 07, 2025 4:17 pm
by Errol62
Keep up the good work. You’ll be driving it in no time.
FB ute fixer upper, EK van on rotisserie
 ) still need to seam seal but that’s everywhere and have to do the filler neck.
