Page 3 of 4
Re: Spatman's Ute
Posted: Sat Jan 26, 2013 6:46 am
by Cobber
Good Morning to you all

( I am definitely not a morning person).
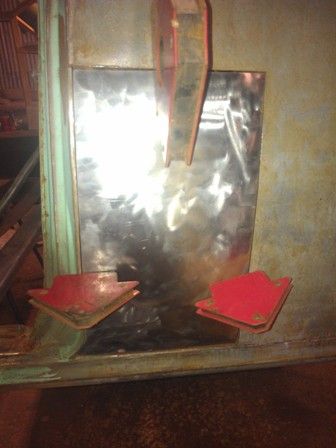
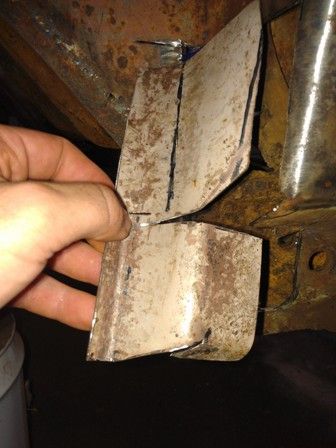
I managed to get the second strengthening plate welded on to the subframe during the week and put rust converter on it.
Only had to die-grind the single bolt hole on the leg of the plate a little to make them fit properly michaeljohn1234m which was good.
Pulling subframe out of the shed so the little fella could help blow it down allowed me time to clean up the shed a little.
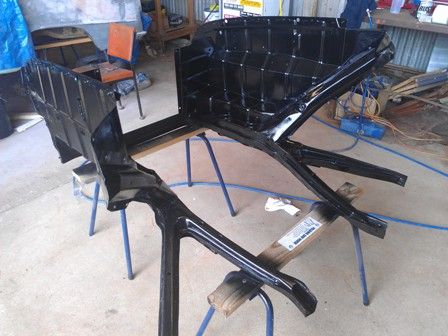
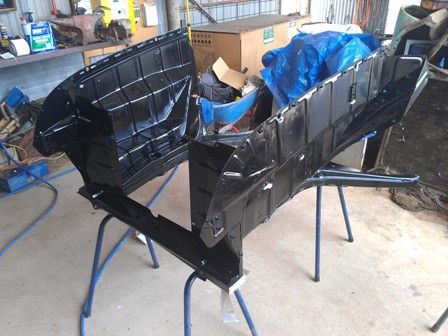
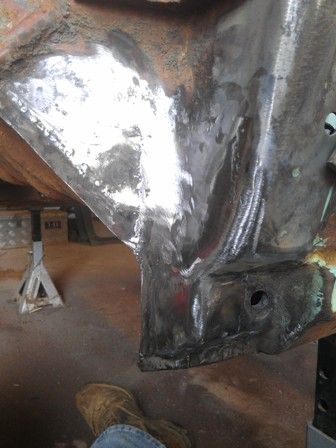
Pulled out the spray gun yesterday afternoon and put a coat of KBS chassis gloss black on it.
After so many hours cutting welding and grinding, you get a fair kick out of putting some colour on parts

.
Will put a second coat of paint on this arvo.
Anyway, check out the pic's.
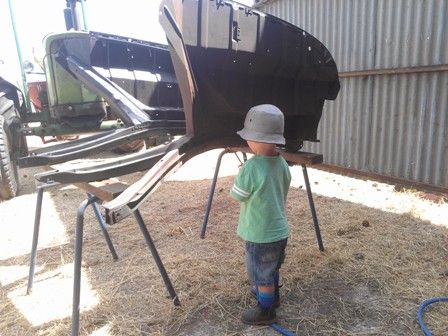
Little Helper, he wanted to work on the tractor in the background but the air hose wouldn't reach that far!!
Re: Spatman's Ute
Posted: Sat Jan 26, 2013 9:52 am
by muza
Brand new again!

Re: Spatman's Ute
Posted: Mon Feb 04, 2013 9:27 pm
by Cobber
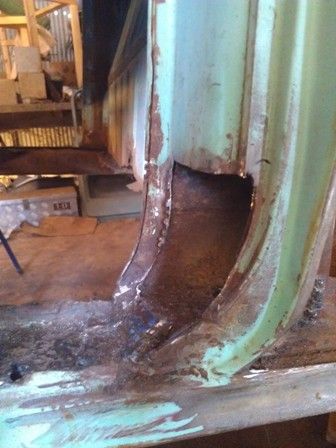
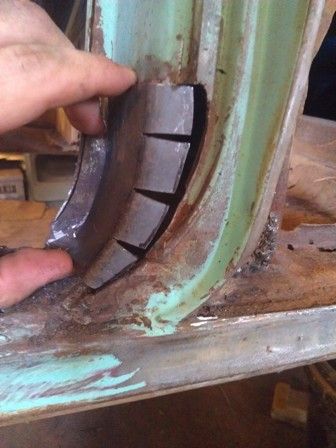
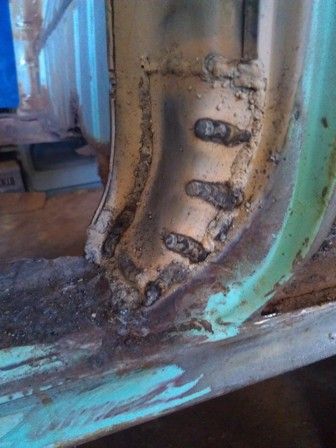
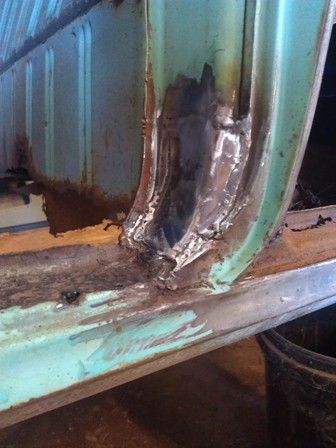
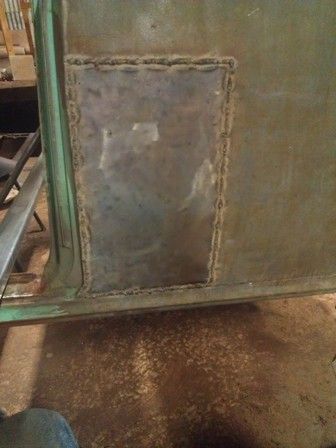
Latest work was on the lower corner of the door jam. This was a section I tried to fix once before and the effort was terrible and not worth posting. If I couldn't improve on that first effort there was going to be no point gong any further. Anyway, from watching what has been done on the forum here and videos and books it wasn't so scary to attack it again. Still not a perfect fix but one I can live with.
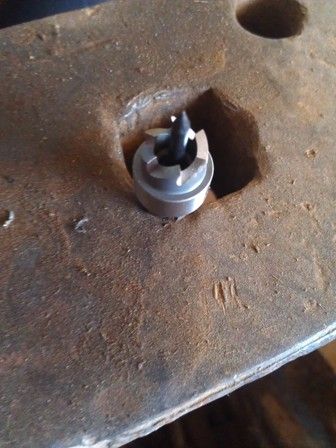
I think my new favorite tool in the shed is a rather large anvil for shaping parts like this.
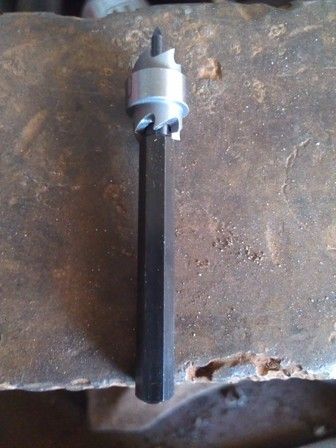
Here's a picture of the spot weld cutter I mentioned a week or so ago.
So not a lot to show this time, but as everyone on here as worked out at some point in time - "progress is progress".
Does anyone have Pictures of rebuilding the subframe section which ties the front rear spring hanger into the inner sill panel???
Re: Spatman's Ute
Posted: Fri Feb 08, 2013 11:17 am
by Marty K Bird
HI Cobber, it looks like the work is progressing along nicely!
Great to see the young fella is getting involved too!
Your replacement sections look top notch~
Thanks for sharing~
Re: Spatman's Ute
Posted: Sun Mar 17, 2013 10:04 pm
by Cobber
Well FBEK Guru's, been a bit on lately. unfortunately not much which results in completing work on the ute.
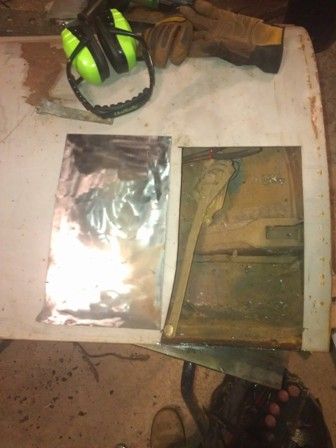
Spent a night in the shed this week though and managed to cut out a dent in the lower left side behind the door and weld in a piece I cut from a sad door which had a piece big enough in ok shape for this job. Reason for using the door was it already had the right contour in it.
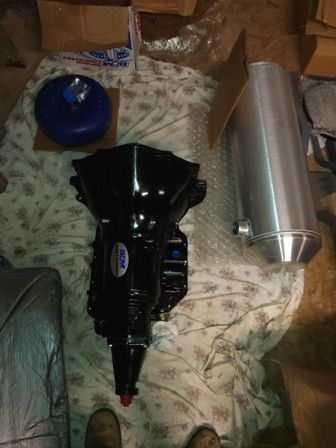
Today I cut bent and welded in a new support for the high section of the front floor. This will give support for while I adjust the crossmember for the larger transmission tunnel. Made sure both sides of the ute were off the ground by the same amount and then welded the section in to the inside of the sill's with the cuts still in the bends. I then used the spirit level to ensure the bends were even and the centre section was level. I then welded up the cuts I made in order to put the bends in this section.
Well thats it for the minute. Will have to work out what the next step will be. Seem to be a bit all over the place at the moment. I think its my way of staying interested!!!!
Re: Spatman's Ute
Posted: Sat Mar 23, 2013 10:53 am
by matches
looking good cousin, nice to catch up with your progress.
cheers, luke.
Re: Spatman's Ute
Posted: Mon Apr 01, 2013 10:24 pm
by Cobber
G'day FBEK Guru's,
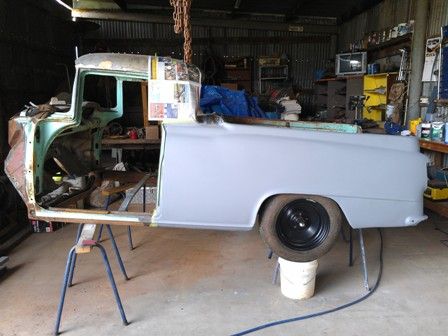
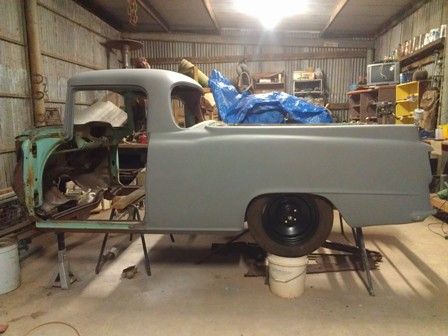
Not a lot to show this post, but this picture does show what feels like a bit of a milestone.
Undercoat down the left hand side. Roof and bonnet will follow shortly. Just a little prep work to do on these first.
Have to clean up around the shed a little so spent today cutting out all the bits I might be able to use off the old Panalvan which I have posted a picture of previously.
Also made a molassas bath and put the rear springs, headlight buckets and door hinges in it to clean up the rust. Hopefully this saves a little time and allows me to work on something else at the same time, rather than being so hands on with all of these parts.
Until next time.
Re: Spatman's Ute
Posted: Mon Apr 01, 2013 10:48 pm
by WayneXG95
Looking good mate, love primer always shows a result
Re: Spatman's Ute
Posted: Tue Apr 02, 2013 7:41 am
by parisian62
feels like a bit of a milestone
Top work Cobber.
The molasses is good stuff. Once out of the bath I used high pressure water to clean it up. Keep an eye on the molasses especially on the light gauge steel stuff...it will eat right through it if you're not careful...don't ask me how I know...

Stewart
Re: Spatman's Ute
Posted: Sun Apr 28, 2013 3:31 pm
by Cobber
Hi Again Guru's,
Thanks for the words of support from everyone and any words of wisdom. (there are a lot of wise words on this site - maybe a list of the top 20 tips could be put together)
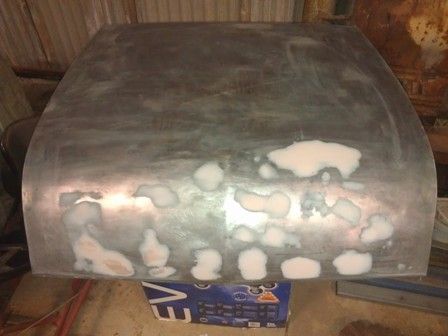
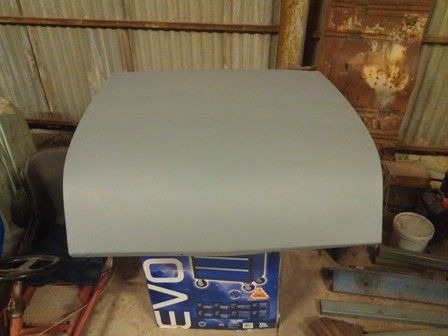
Have added another few photos. I cleaned up the bonnet, welded the holes from the badges up, tapped out a few dents and added a little filler to ensure everything was nice and smooth then put it in undercoat.
Did the same with the roof fixing up where I removed the drip rails for a smoother look and again got it in undercoat.
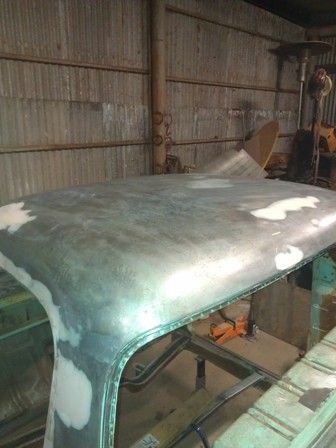
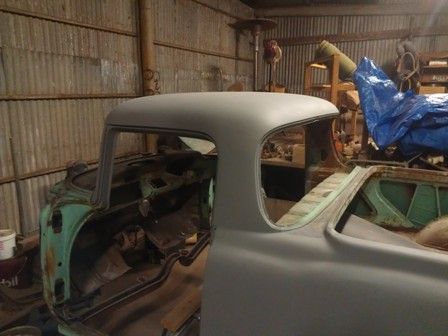
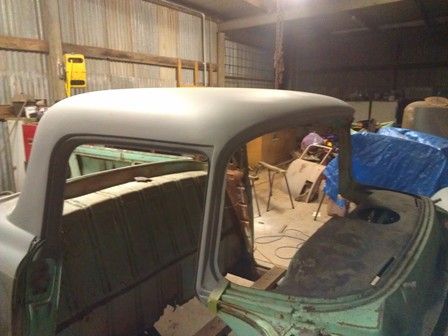
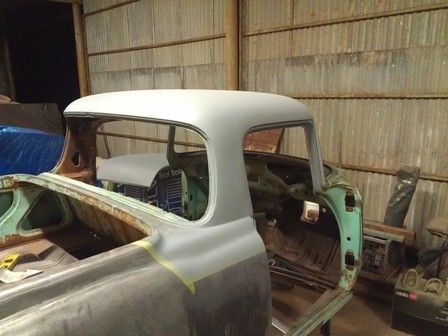
Had a week away so keen again to get back into it. Time to do a few more rust repairs though before I can lay down any more undercoat.
Enjoy the photos, Catch you all later
,
Cobber.
Re: Spatman's Ute
Posted: Fri May 31, 2013 8:09 pm
by Cobber
A Few more photos for you all.
Hasn't been a lot happening lately with some fencing needing to be done and a bit of pasture to sow. Anyway here is what has happened this week, and with the weekend still in store I might get a bit more done.
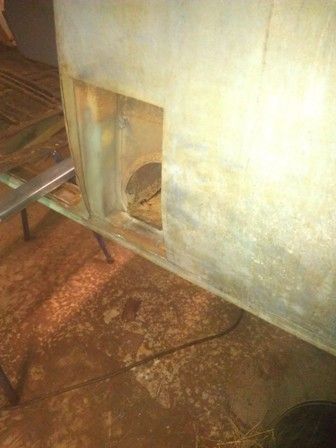
Started cleaning up inside the cab. Stripped the top of the dash and part of the rear firewall ready for some repair work.
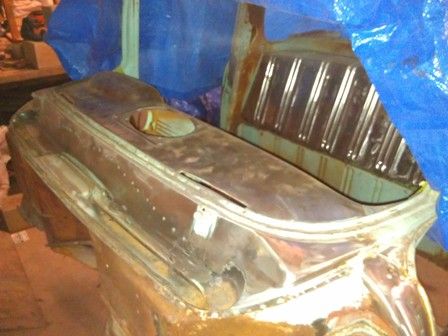
Also cut out the rusted section on the outside of where the subframe lower outside left leg mounts. Fiddly bit to work up but managed it thanks to what I think is currently my favorite tool in the shed - a large anvil.
Also had some bits arrive from the US I managed to get cheap freight on (Zippo!!).
Anyway thats all for the moment.
Re: Spatman's Ute
Posted: Sat Jun 01, 2013 4:39 am
by Trev
Doing some real nice work there Spatman, keep the updates coming
.
Re: Spatman's Ute
Posted: Sat Jun 01, 2013 7:14 am
by bumper
Great work!!!
coming along nicely mate
Re: Spatman's Ute
Posted: Sat Jun 01, 2013 7:49 am
by Mick Jagger
looking good


