In the end decided to do this in 3 pieces as the paper templates fit nicely on a small sheet of 1mm cold rolled.
And cos I'm a piker!
Traced and cut with the jigsaw, and after bit of work with the hammer/sandbag/press/spanners got this to fit.

- IMG_8715.JPG (941.83 KiB) Viewed 1173 times
For the next small piece I added a drain hole for all the water that will never come down here. Might put one on the other side too.

- IMG_8719.JPG (821.34 KiB) Viewed 1173 times
You’d think as I have done one side that things would go easier second time round for the main wing - Nup. Here it is all marked up. 5 folds and a rib - easy.

- IMG_8720.JPG (707.43 KiB) Viewed 1173 times
So 4 hours later after pressing the rib a second time to get it to line up at the join, and refolding (twice) the main vertical that joins the subframe wall at the top.

- IMG_8724.JPG (916.69 KiB) Viewed 1173 times
Prepped to weld

- IMG_8727.JPG (840.5 KiB) Viewed 1173 times
Before I started cutting out the old metal I measured across the sub frame walls - 1052mm. This may or may not be close to what it should be (should have asked), but its what it was and everything bolted together so using a clamp I spread it to that measurement.
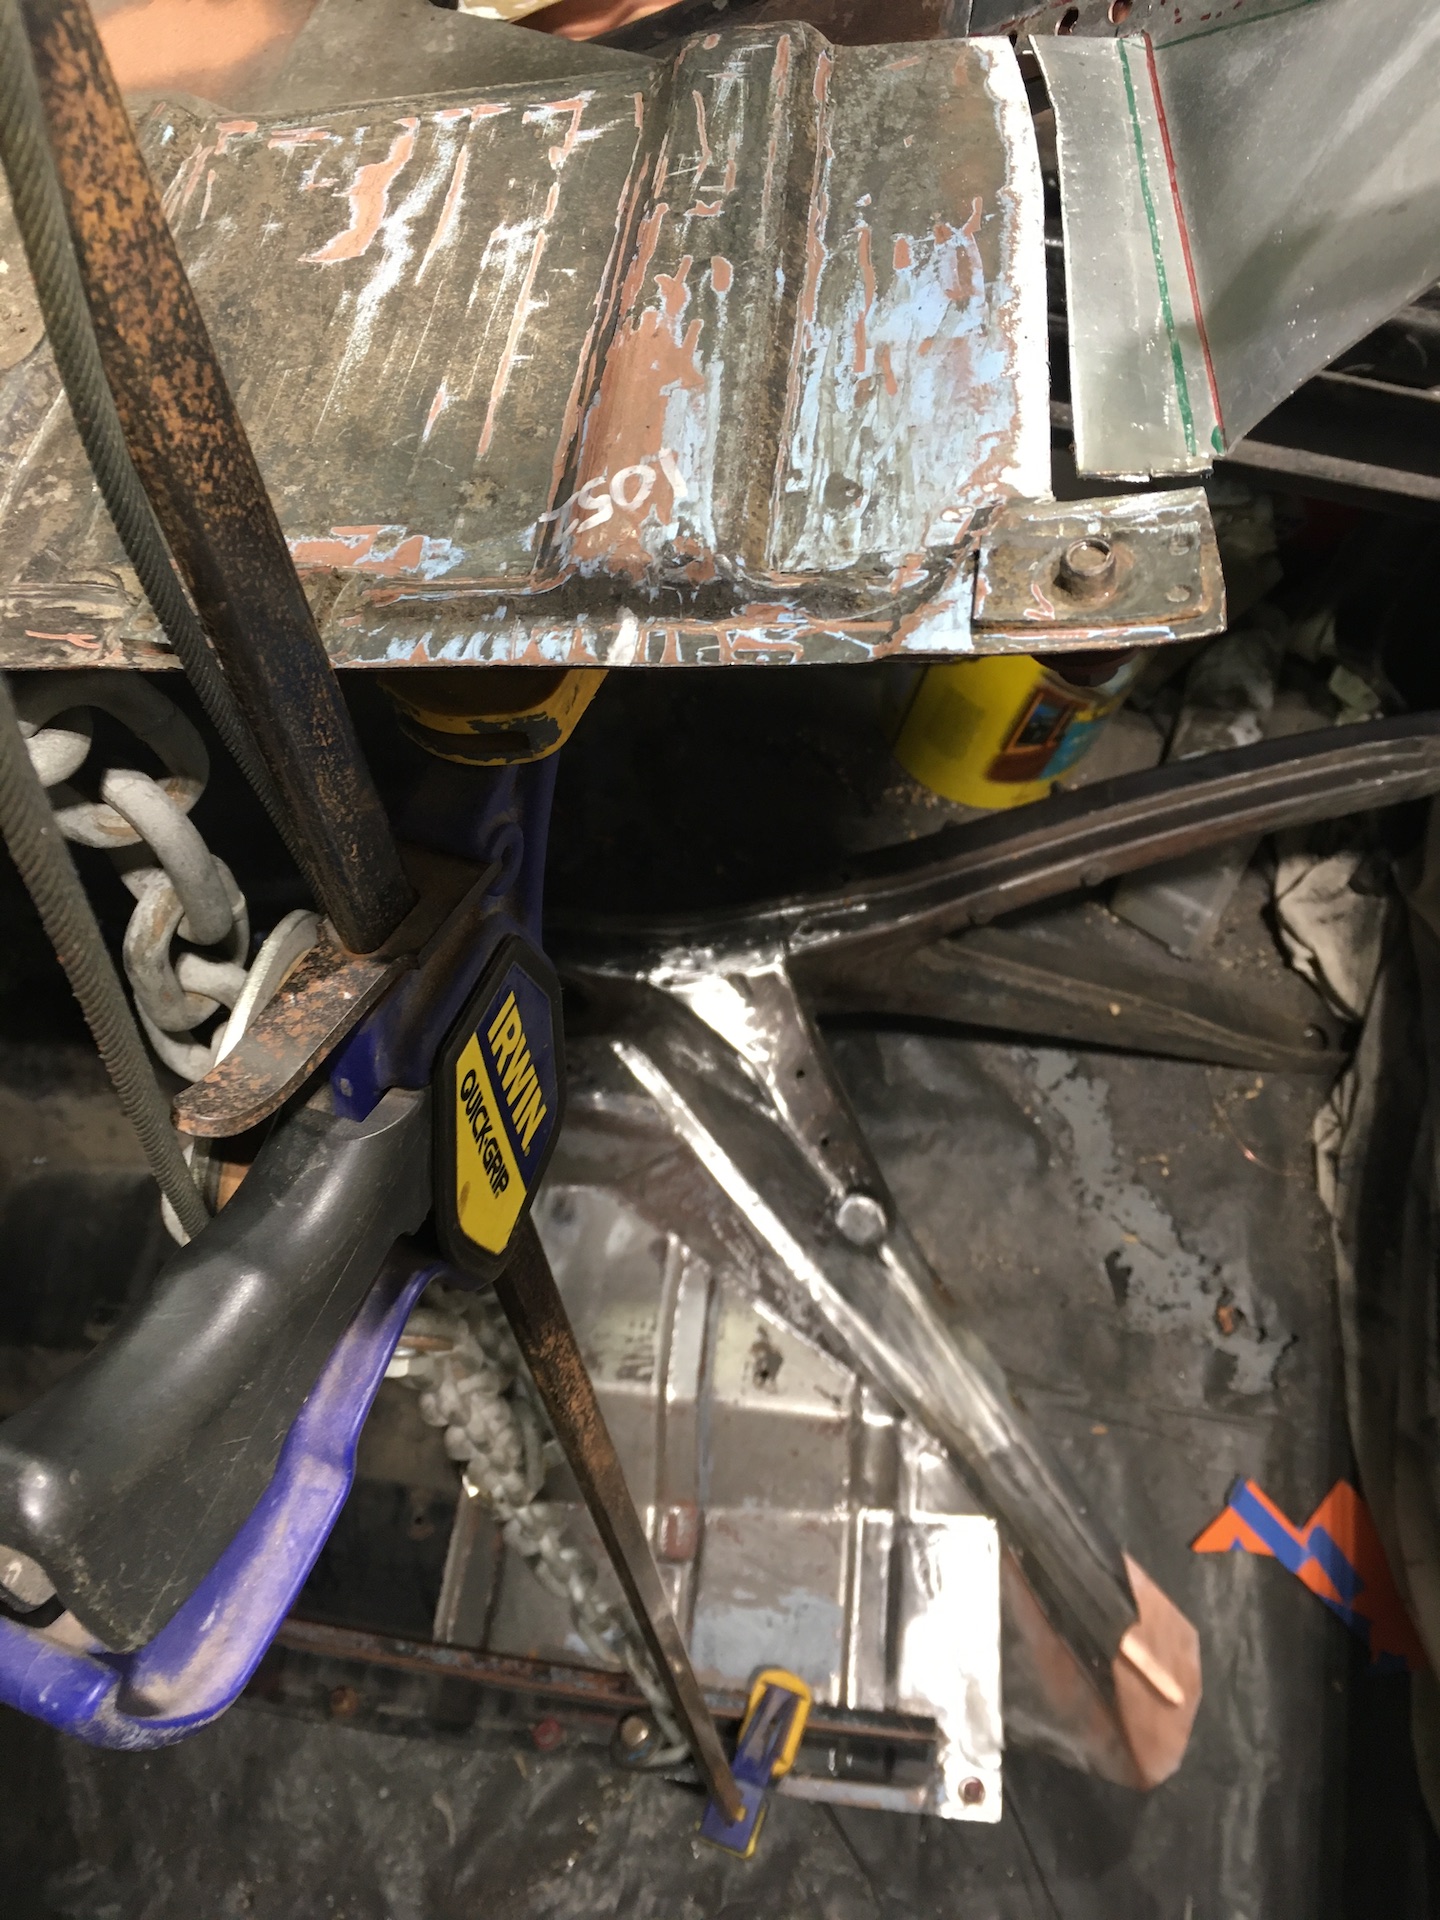
- IMG_8733.JPG (707.69 KiB) Viewed 1173 times
Welding in progress. A few clamps here, but nothing is forced to get the lines right. Lesson learnt from the other side.

- IMG_8735.JPG (713.28 KiB) Viewed 1173 times
Plugged and butt welded. The original metal is pretty thin so had to chase a few blow throughs. Bit of splatter too which was contamination from the easyphos I put on the metal to keep it shiny. Forgot to wire brush it off.

- IMG_8736.JPG (820.65 KiB) Viewed 1173 times