First Choice,......Manual or auto?EKSPCL wrote:*Lost on what to do for the gearbox
My "Special" toy
-
mrs ratbox
-
ValleyMistEK
- Posts: 98
- Joined: Tue Feb 03, 2004 8:43 pm
- State: NOT ENTERED
- Location: Melbourne
- Contact:
If you want it manual but also want to keep the shifter on the column instead of on the floor (so that you can keep your bench seats), you can use an HQ 3-speed gearbox and an auto EK steering column to do the conversion.
You have to chop the tunnel quite a bit to accomodate the bigger gearbox, and will also need a 3/4 chassis kit to support the bugger underneath the car, but this is the option I took when upgrading my gearbox to cope with the 186 after the original crashbox shat itself...
Most other gearbox upgrades where the owner wants the shifter kept on the column usually wind up being conversions to automatic.
Hope this helps,
- Adam
Hi EKSPCL,
took me a while to catch up with your post...........
welcome aboard - you're galloping with your refurb............... keep this up and it'll be in Yamba too................
I note you have carefully "placed" a can of POR 15 solvent behind the pic of your tank - very topical............
I don't have anything to offer to your questions at present, I'm sure the opportunity will come.................
Very impressed with your welding and overall build........... I get stuck on just clean ups, let alone cut and builds............. me dips me lit to ya'
Good to see the fam have an interest - reward often generates "interest" once the "new" toy scenario wanes..................
When you come to putting the crossmember outrigger back on - please fill those holes with two 1" rubber plugs - Clark Rubber have them for peanuts - you'd be surprised at how much crud/insects/leaves and stuff gets into the front section of the sub-frame.
Keep the dream coming - looking forward to catching up with you..........
you've got a few of our club members down your way - we meet on the third Tues of each month at the Tower Hotel, Auburn - visitors always welcome..............
frats,
Rosco
-
EKSPCL
- Posts: 794
- Joined: Sat Mar 15, 2008 11:36 pm
- State: NOT ENTERED
- Location: Langwarrin, Victoria
Thanks Rosco,
That can behind the tank is a can of prep wash, same looking can obviosly!
I will look into the club membership soon.
Thanks for the tip on the rubber plugs. It's amazing how much crud I've had to clear out of that area.
This site gives off plenty of inspiration to get out into the garage again!
After all the the info I've been gaining from this site I think I have decided to keep all the mechanics original.
I'll get my first re-build out of the way before I get all carried away.
I still want to do the XC fuel tank though.
Here's some pics of todays efforts.....
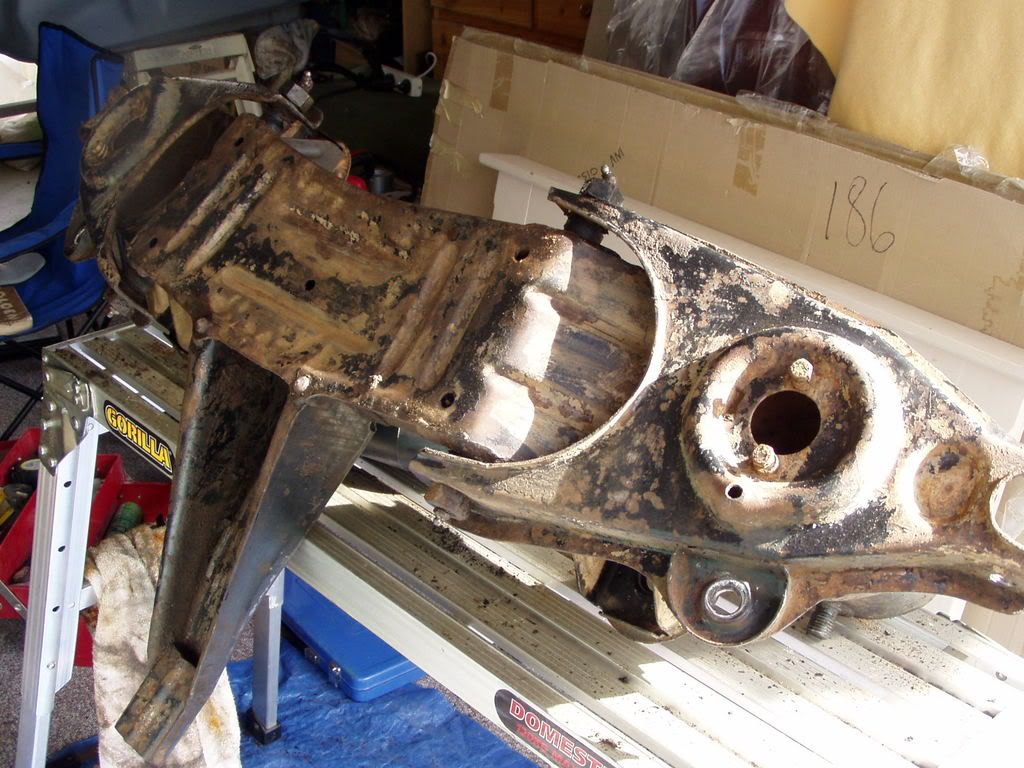
Cruddy crossmember
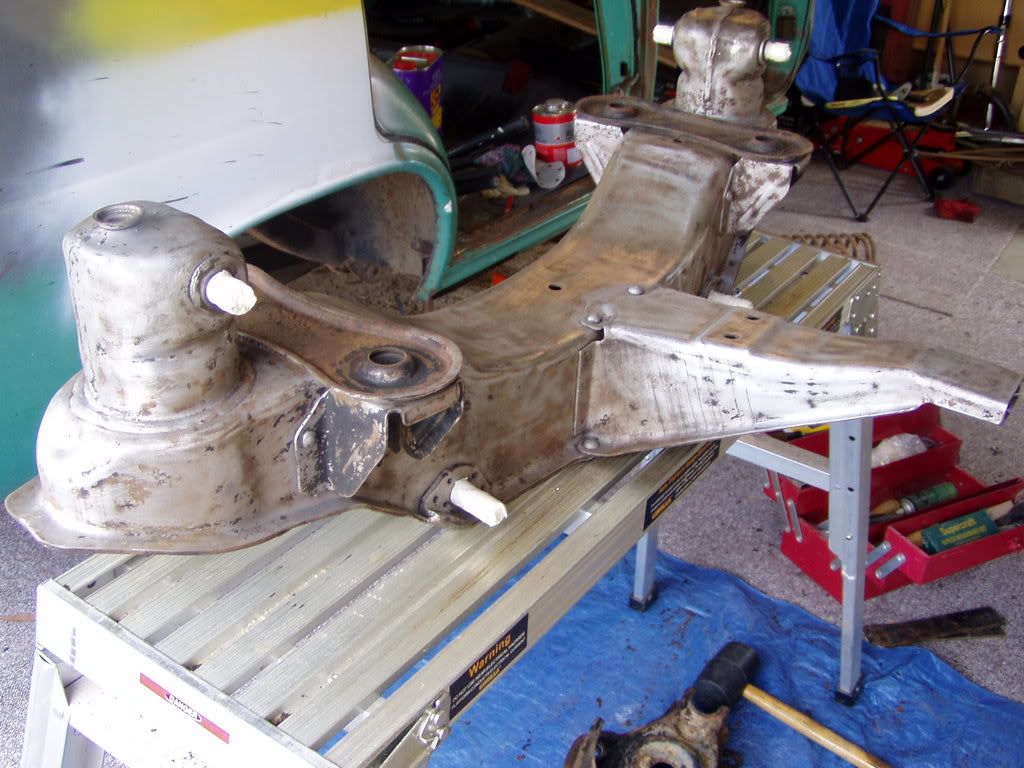
Clean crossmember
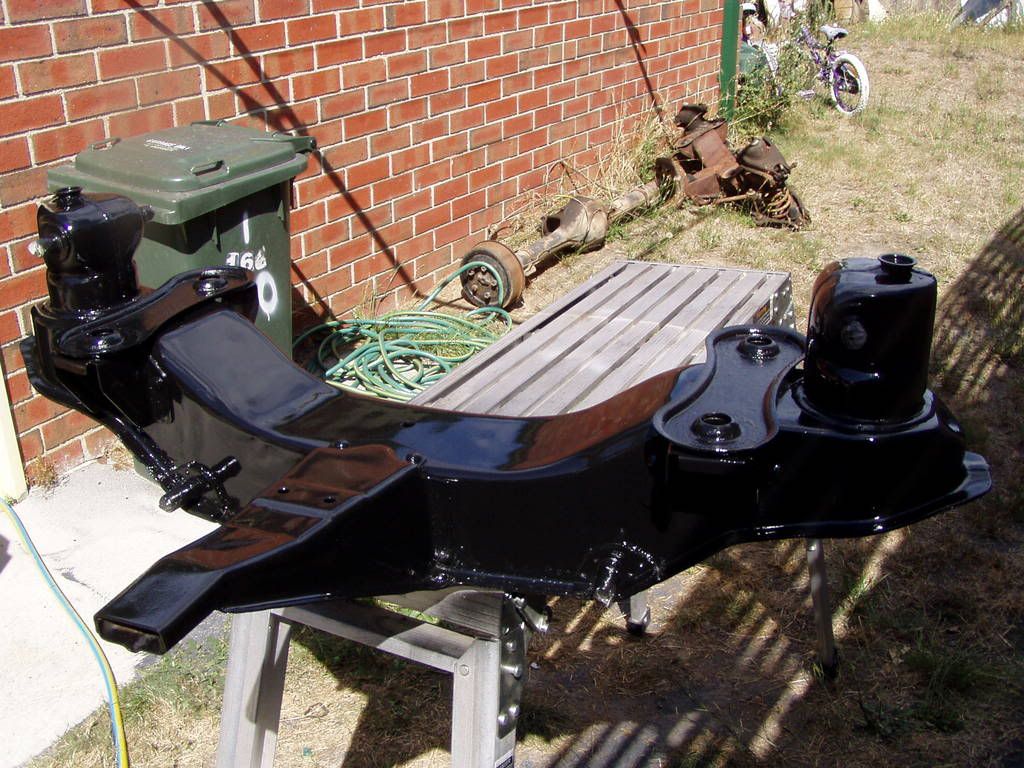
Sparkly crossmember
That can behind the tank is a can of prep wash, same looking can obviosly!
I will look into the club membership soon.
Thanks for the tip on the rubber plugs. It's amazing how much crud
This site gives off plenty of inspiration to get out into the garage again!
After all the the info I've been gaining from this site I think I have decided to keep all the mechanics original.
I'll get my first re-build out of the way before I get all carried away.
I still want to do the XC fuel tank though.
Here's some pics of todays efforts.....
Cruddy crossmember

Clean crossmember

Sparkly crossmember

There are two drain holes in the lower corners of the subframe - check they aren't blocked up.........
What paint system did you use on that xmember, EKSPCL?
I got to play with some molasses today - was hoping to get the finish you got.......
It is often comforting to know that others are "building" whilst we get "looped" into our own projects............... there are quite a few on the go at present and it's refreshing to watch different parts getting attention.............
By the way, its a pity there isn't a bridge across the bay - Dave is building an almost identical looking EK over Geelong way...............
I'm sure you two should be swapping notes.........
frats,
-
EKSPCL
- Posts: 794
- Joined: Sat Mar 15, 2008 11:36 pm
- State: NOT ENTERED
- Location: Langwarrin, Victoria
The crossmember was done with a nice and simple Wattyl Killrust Enamel system.
Nothing at all special.
I figure the enamel is nice and tough, I've found in the past it seems to do the job well even on 'rusty' surfaces.
Should end up nice and easy to clean, I like shiny!
Nothing at all special.
I figure the enamel is nice and tough, I've found in the past it seems to do the job well even on 'rusty' surfaces.
Should end up nice and easy to clean, I like shiny!
My 6yr old daughter said
"Dad your car's looking great! Which end is the front?"
"Dad your car's looking great! Which end is the front?"
-
EKSPCL
- Posts: 794
- Joined: Sat Mar 15, 2008 11:36 pm
- State: NOT ENTERED
- Location: Langwarrin, Victoria
You had me thinking with the two drainholes rosco.
I had to go out to the garage in the rain and check!
If you mean the four drainholes,two at either end, about ten mm round then yes there was no crud in there.
Thanx for the tip though
I had to go out to the garage in the rain and check!
If you mean the four drainholes,two at either end, about ten mm round then yes there was no crud in there.
Thanx for the tip though
My 6yr old daughter said
"Dad your car's looking great! Which end is the front?"
"Dad your car's looking great! Which end is the front?"
Mine might be a bit different - it was a NOS to repair an insurance claim - mine only had one hole in each front corner..........I have since drilled a few additional ones - my original sub rusted out and was the cause for me doing the modify job............. now much regretted..............
frats,
Rosco (still the raccoon!)
frats,
Rosco (still the raccoon!)
-
EKSPCL
- Posts: 794
- Joined: Sat Mar 15, 2008 11:36 pm
- State: NOT ENTERED
- Location: Langwarrin, Victoria
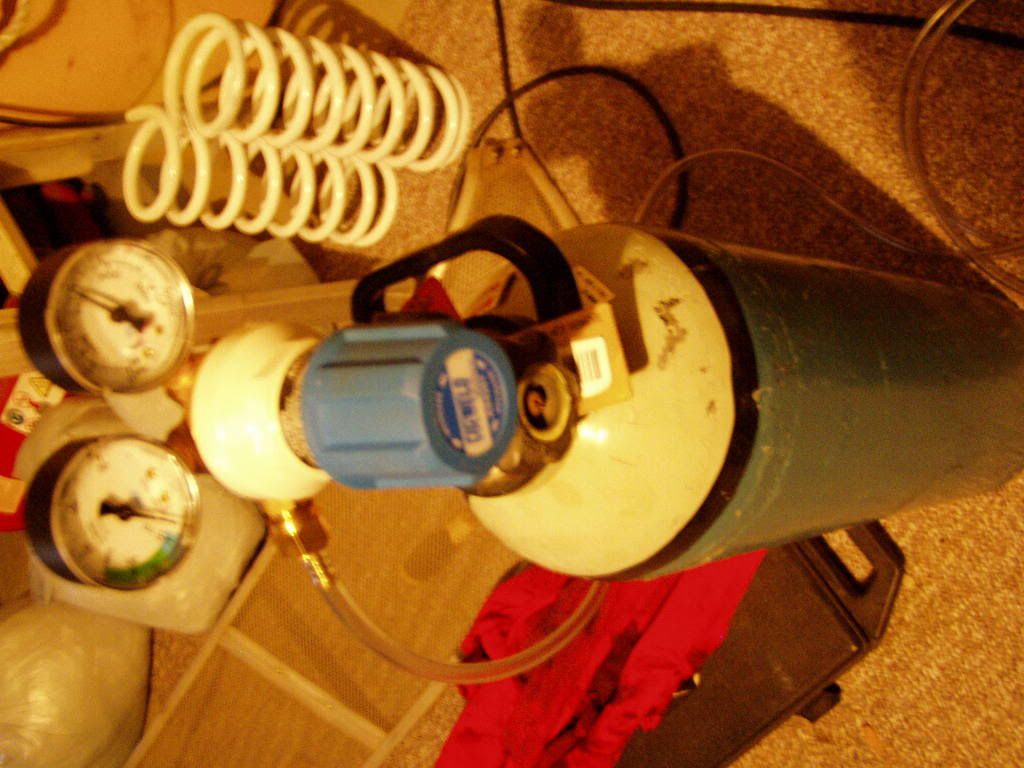
Finally got the gas set up properly to the mig.
Was using those disposable cylinders. Very expensive way to go about it
Began stripping back the control arms.
Sand blasters are great
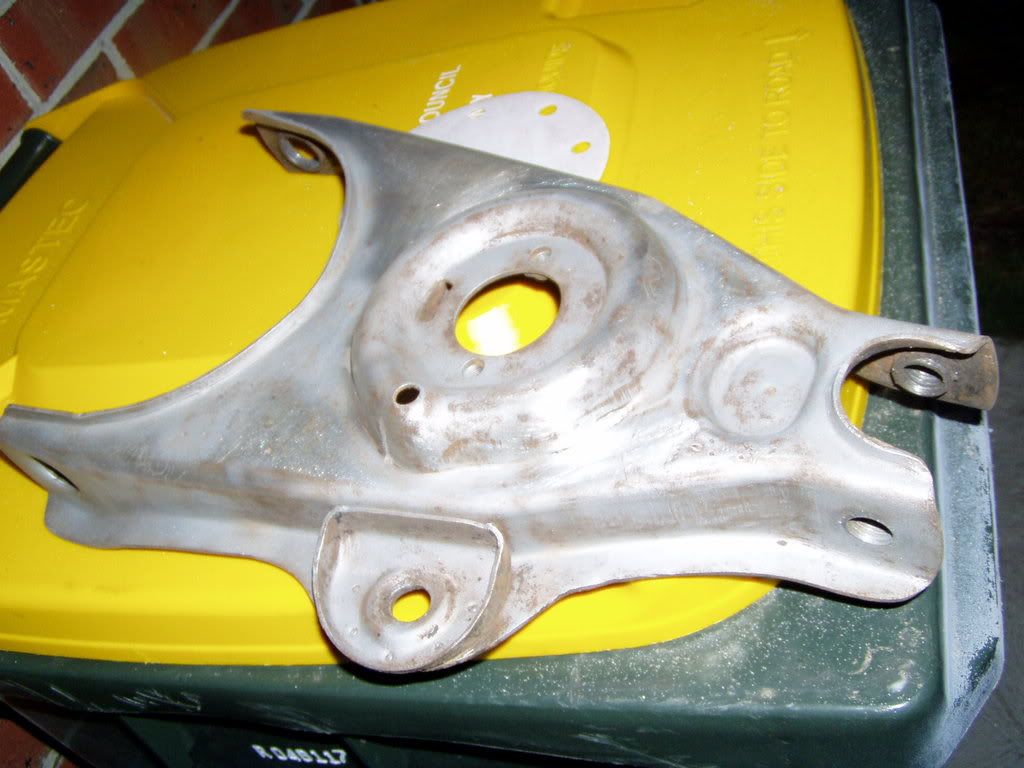
Can't decide where to start tomorrow.
The rest of the stripping or the welding of the floor panels?
Was using those disposable cylinders. Very expensive way to go about it

Began stripping back the control arms.
Sand blasters are great

Can't decide where to start tomorrow.
The rest of the stripping or the welding of the floor panels?
My 6yr old daughter said
"Dad your car's looking great! Which end is the front?"
"Dad your car's looking great! Which end is the front?"
Hi EKSPCL,
if you are going to the trouble of stripping to bare steel - I can thoroughly recommend POR 15 - it is almost hammer proof and goes on direct to bare steel - it's quite expensive, but I believe you will consider it well worth your effort and expense - email me prior to contemplating this - I may save you a lot of grief......
frats,
Rosco