Page 2 of 3
Re: My Project
Posted: Sun Oct 21, 2012 9:28 am
by Coopa
Thanks Guys
Re: My Project
Posted: Mon Oct 22, 2012 7:46 am
by parisian62
Great work.

Re: My Project
Posted: Mon Oct 22, 2012 5:05 pm
by Thommo
Gday Coopa
I had an EK painted just like that about 30 years ago.
I thought it was a great lift in style for the otherwise,
Very Plain EK 
The chrome paint seperator on the front gaurd was from an old Austin.

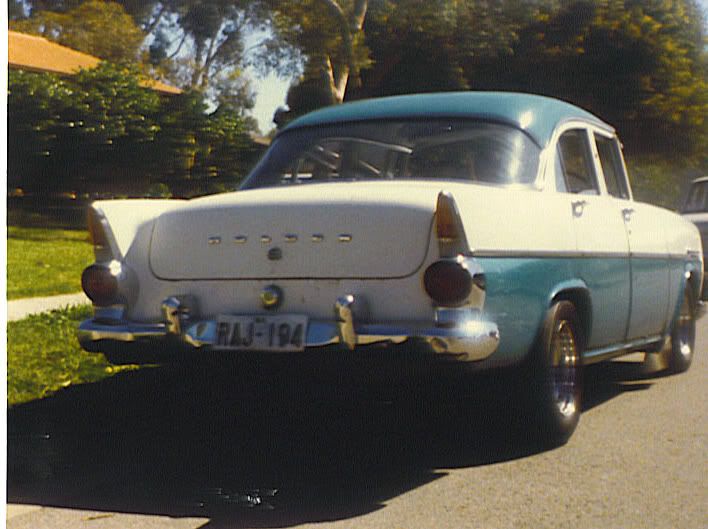
Cheers
Jeff
Re: My Project
Posted: Mon Oct 22, 2012 5:22 pm
by Coopa
Thanks for the pics Jeff, looks nice, it's good to see the idea on an actual EK, I like

I'm thinking Holden 'Prefect Blue' with an off white or very light cream coated with pearl with white walls.
Cheers Coopz
My EK Special Project Update 2013 02 10
Posted: Sun Feb 10, 2013 11:40 am
by Coopa
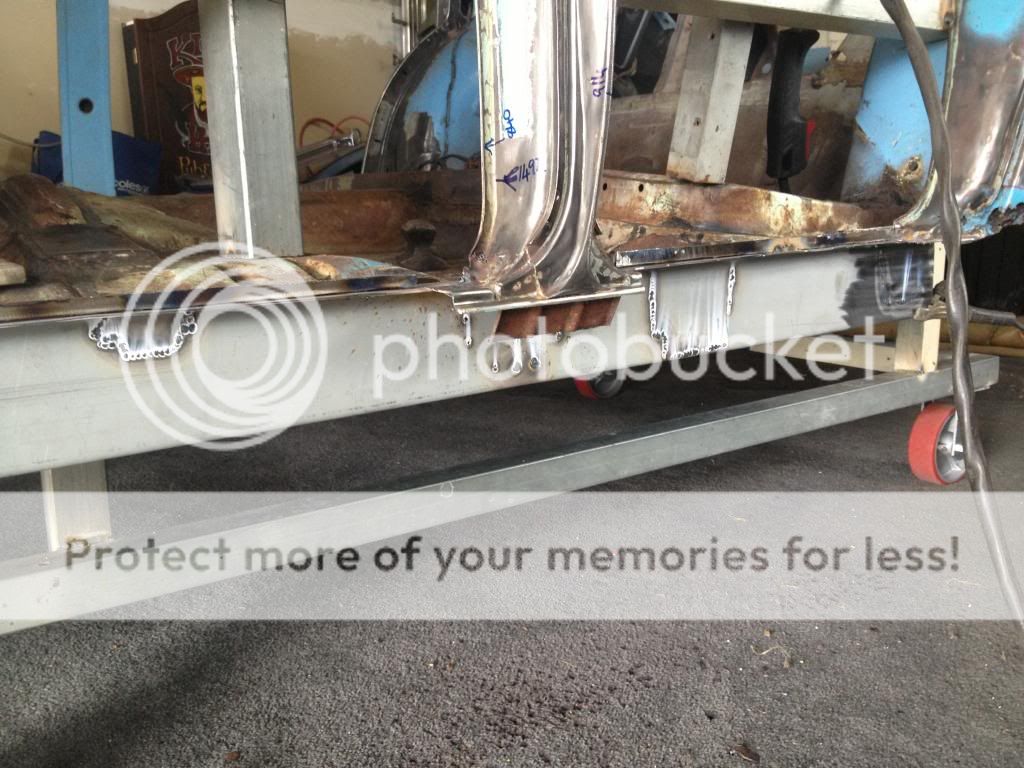
Been a bit slow of late but a few new pics;
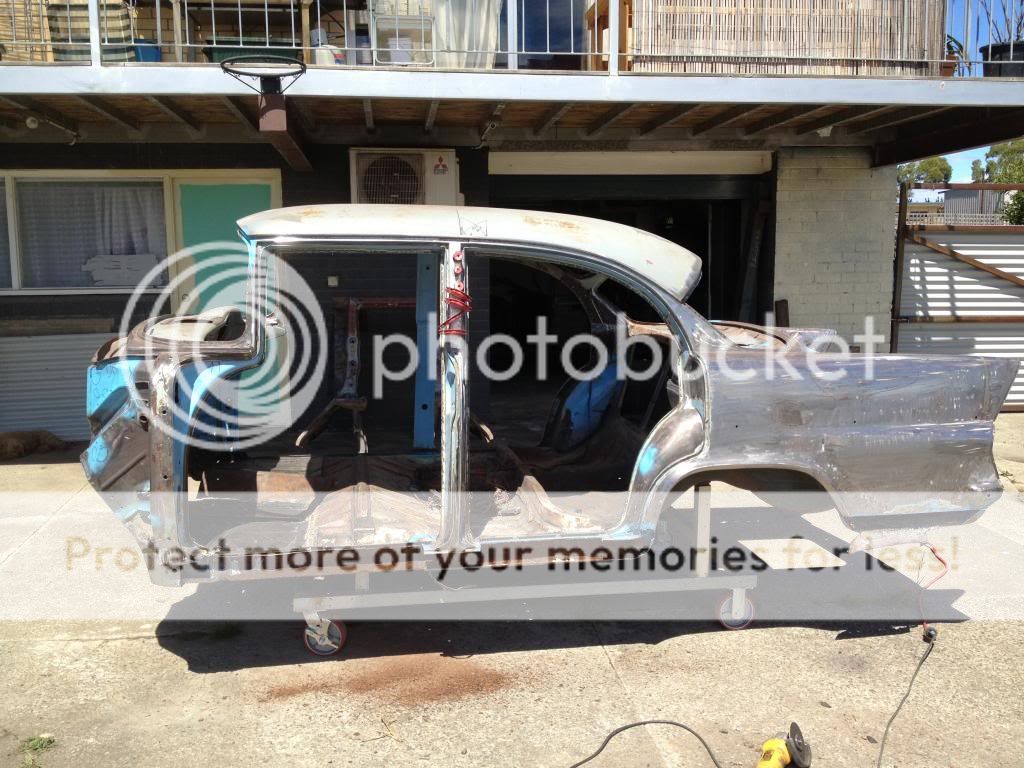
Hr Front End fitted ready to mock up engine and gearbox for tunnel

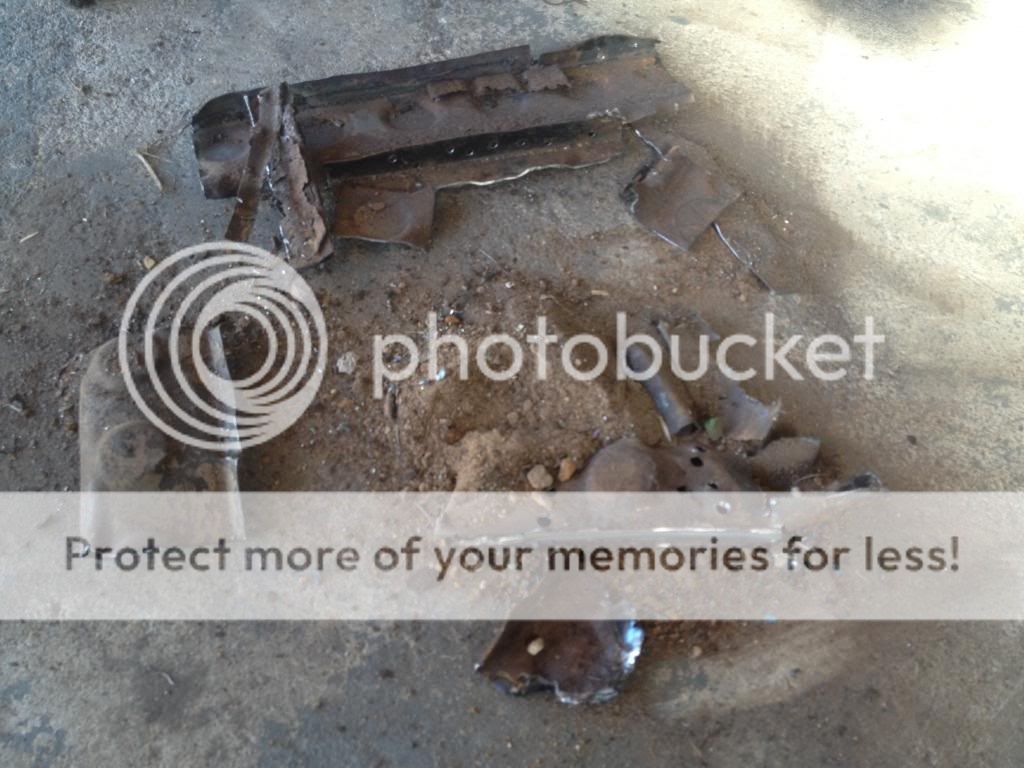
Inner sill cancer

New Inner sills pressed up ready

Remains of sill
New sill tacked in place
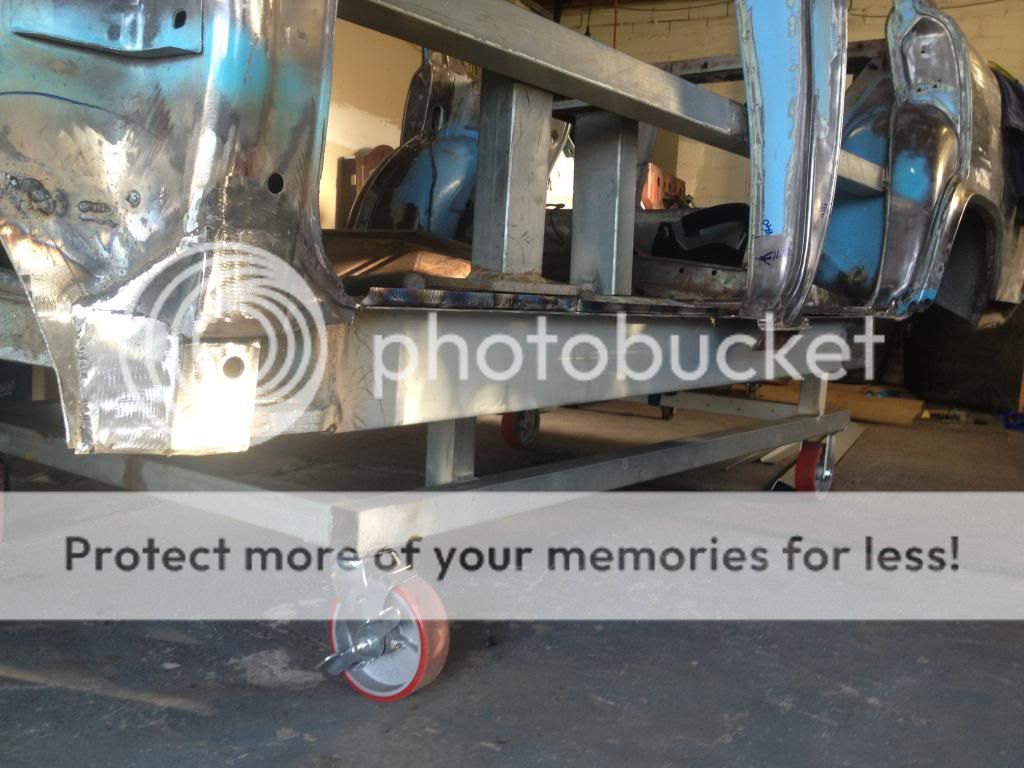
& welded ready fot lower rear guard work and outer sill
Re: My Project
Posted: Sun Feb 10, 2013 12:36 pm
by Rusty EK
Looking good , ahh the fun of rust repairs

Good to see your at home working on the car and not drooling over the ones at the car show today , maybe that is what I should of been doing

Re: My Project
Posted: Sun Feb 10, 2013 1:45 pm
by Coopa
Grabbing even minute I can get at the moment, I am tring to have all the main repairs completed by the end of Feb to get her blasted and primed.
Re: My Project
Posted: Sun Feb 10, 2013 8:37 pm
by SC00BB
Top job
Re: My Project
Posted: Mon Feb 11, 2013 8:17 am
by parisian62
Great work.
Re: My Project
Posted: Mon Feb 11, 2013 12:41 pm
by jarvo
Have you cut the ru$t out of the back where the rear window sits? I have to tackle that job and its good to see how others have done it.
Re: My Project
Posted: Mon Feb 11, 2013 2:52 pm
by Coopa
jarvo wrote:Have you cut the ru$t out of the back where the rear window sits? I have to tackle that job and its good to see how others have done it.
Thanks guys
Yep all done Jarvo
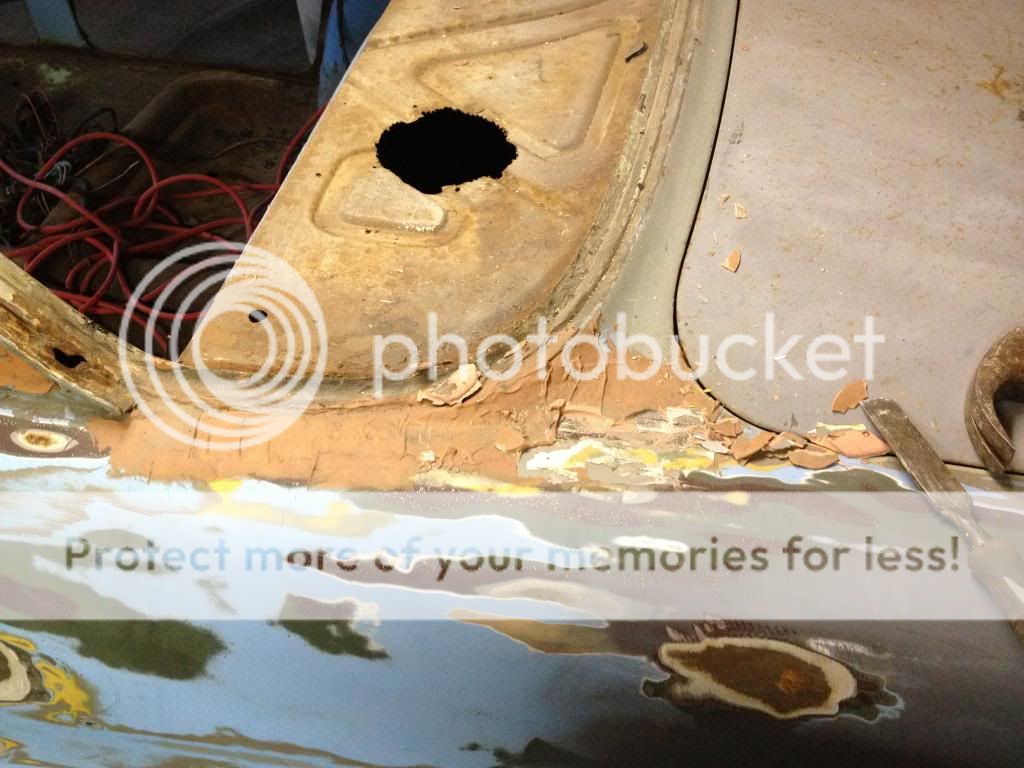

The rust also went along the guard where the horizontal bog is.
This is the nearly finished pic, I didnt take any pic's during this repair it was one of them days where I just got stuck into it.
1. I made three templates from the upper window seal lip to about 100mm down the guard to make sure the new bit where the correct shape.
2. I cut out all the rusty bits
3. Except a small section right in the corner at the front lower corner of the window where it meets the parcel shelf, I cleaned this section with a die grinder and burr and weld repaired it then dressed it off to the correct shape.
4. Then I rolled the upper guard section and tacked & welded in place (becarefull on the upper guard with welding heat, it's bloody hard to tap but out if it shrinks in)
5. Then fabricated the outer window frame (this part sucks) I made this from folded sections and seperate plates welded together to creat the correct shape, it was a bit of trial and error, I also made this section with 3mm plate as EK's are prone to rusting here.
6. When it was all tacked up I slowly welded all the sections (spread the welds out to minimise heat)
7. Then grinded and burred all the sections to the correct shape
8. There was also some pitting around the rest of the frame I hit all this with a wire wheel and have pad welded every thing I could see, sand blasting may open up some more spots but we'll see

Cheers Coops
Hope that helps a bit (it's always the bits you dont many pics of)
Re: My Project
Posted: Mon Feb 11, 2013 4:28 pm
by jarvo
Thanks mate... You've done an awesome job there. I might have to leave that little section til last and get a professional to fix it. I'm only a beginner and that sounds pretty advanced.
Re: My Project
Posted: Mon Feb 11, 2013 4:58 pm
by Coopa
jarvo wrote:Thanks mate... You've done an awesome job there. I might have to leave that little section til last and get a professional to fix it. I'm only a beginner and that sounds pretty advanced.
It's not that bad just more fidley do one side at a time so if you get stuck you can walk to the other side and look.
I made them parts with a bench vice, hammer, piece of pipe (to form guard section over), grinder and welder.
Worst case youll have hole for someone to fix.
Re: My Project
Posted: Wed Feb 20, 2013 11:42 am
by jarvo
Coopa wrote: jarvo wrote:Thanks mate... You've done an awesome job there. I might have to leave that little section til last and get a professional to fix it. I'm only a beginner and that sounds pretty advanced.
It's not that bad just more fidley do one side at a time so if you get stuck you can walk to the other side and look.
I made them parts with a bench vice, hammer, piece of pipe (to form guard section over), grinder and welder.
Worst case youll have hole for someone to fix.
I'll give it a crack, then give you a call to come over and fix up the mess i made
Re: My Project
Posted: Fri Feb 22, 2013 10:31 pm
by jarvo
Don't know how to get the view thread in this topic but if you go to the last post in my fbek "Bonnie" you can see the rust like yours.