Page 2 of 4
Re: Spatman's Ute
Posted: Mon Nov 19, 2012 9:35 am
by samprinci
Re: Spatman's Ute
Posted: Thu Nov 22, 2012 9:11 pm
by Cobber
Re: Spatman's Ute
Posted: Fri Nov 23, 2012 7:11 am
by parisian62
Good stuff Cobber.

Re: Spatman's Ute
Posted: Fri Jan 11, 2013 10:07 pm
by Cobber
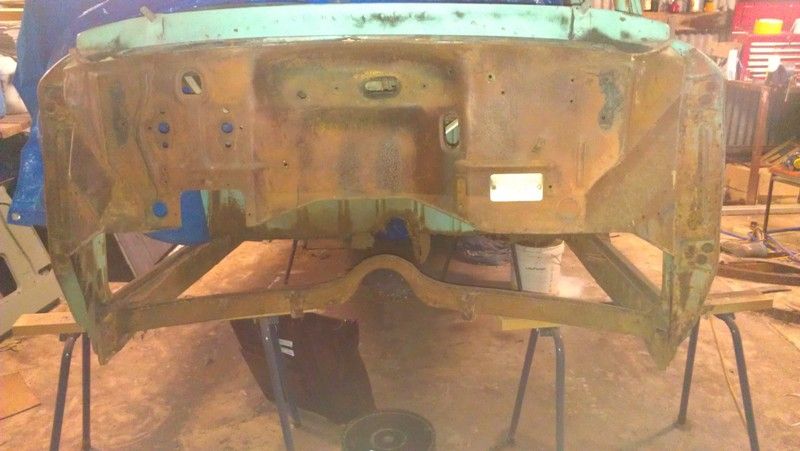
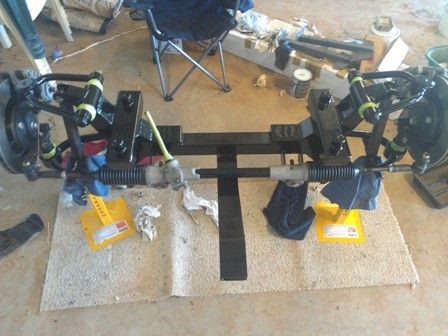
Time to ad a few more pic's. Wheels finally turned up for the ute, very happy with them, now need some whitewalls to go on them.
Gave the SCW front end a coat of paint the other day. Used the KBS chassis coat kit, very easy to use and very happy with the result.
Tunnel and floor pans ready to be tacked in as well. will tidy up the crossmember first though and make adjustment so that it follows the bigger trans tunnel.
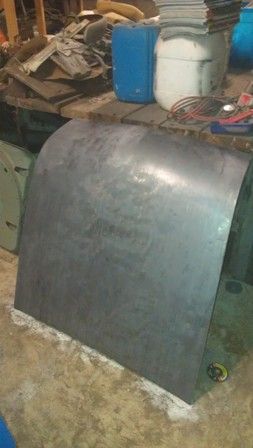
Bonnets also ready for some undercoat.
Anyway, enjoy the pics.


Re: Spatman's Ute
Posted: Fri Jan 11, 2013 10:40 pm
by michaeljohn1234m
cobber what (who's) front end is that, it looks good and the wheels like great,will be nice on the car-keep it up,who needs sleep anyway
Re: Spatman's Ute
Posted: Fri Jan 11, 2013 11:18 pm
by muza
Lookin good mate

Re: Spatman's Ute
Posted: Sat Jan 12, 2013 10:46 am
by Marty K Bird
Looking good man!! Love those wheels and that front end too!
Keep up the good work.... and the updates!
Re: Spatman's Ute
Posted: Sat Jan 12, 2013 7:35 pm
by Cobber
Thanks for the comments guys. Feels like a little progress has been made. Can't believe its been 2yrs already since serious work began on it.
Michaeljohn1234m, the front end is by Heath at Southern Chassis Works. Have a look at the Mick's Ute thread to see some of his other work.
Re: Spatman's Ute
Posted: Sat Jan 12, 2013 8:41 pm
by Mick Jagger
lovely welding/grinding work
looks neat as
what are the rims?
Re: Spatman's Ute
Posted: Sun Jan 13, 2013 10:28 am
by Cobber
Thanks Mickjagger, with so much welding and grinding to do, one would hope they improve a little with time.
The wheels are crager deluxe 69's.
Re: Spatman's Ute
Posted: Fri Jan 18, 2013 7:37 pm
by Cobber
Good Evening Everyone. Waiting for it to cool down a bit before I go to the shed and start playing again!!!
So thought I would post another couple of pic's of what has happened this week.
Let me know if the pic's aren't interesting enough and I can not post so many.
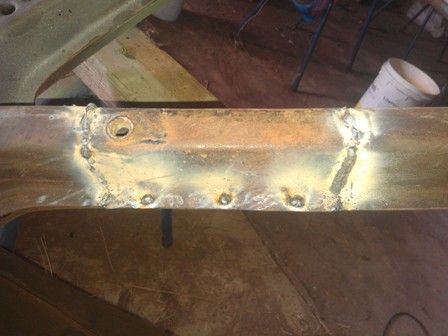
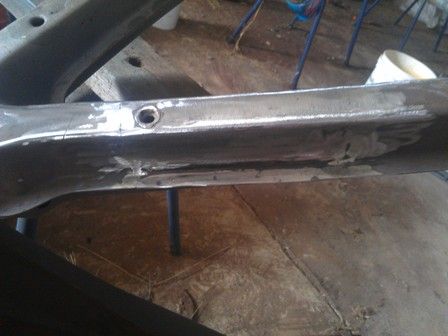
Had a kink in the subframe I had to get out, so cut a section from my donor subframe and welded that in and then put the first strengthening plate on. Should get the other one on over the weekend if I get time after carting some hay to keep the sheep and horses going.
Then it should be ready for a lick of paint.


Picked up a really neat tool for cutting the spot welds, goes on the drill, don't know if anyone else has seen them. I will post a picture next time.
Re: Spatman's Ute
Posted: Fri Jan 18, 2013 10:16 pm
by michaeljohn1234m
nice job tim, i had to die grind the holes on my strengthening plates so the rubbers fitted properly,how did yours fit,and keep the photo's coming
Re: Spatman's Ute
Posted: Sun Jan 20, 2013 5:48 am
by vintageholden
looking good mate..
looks no rustier?? than mine yet no interest..its for sale....

Re: Spatman's Ute
Posted: Sat Jan 26, 2013 6:46 am
by Cobber
Good Morning to you all

( I am definitely not a morning person).
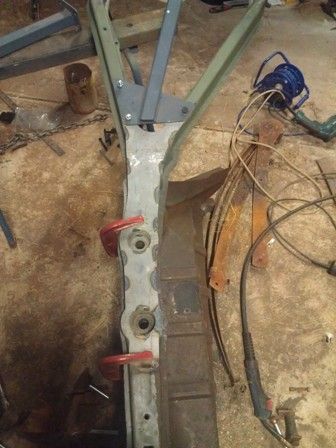
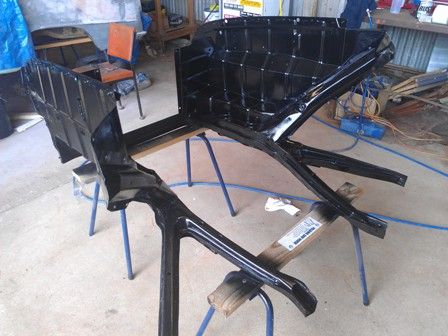
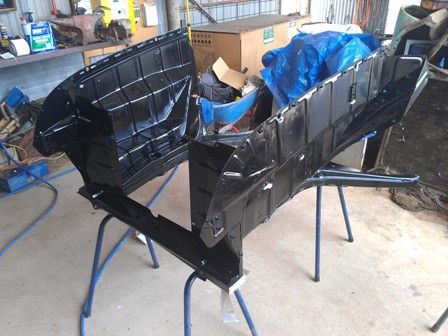
I managed to get the second strengthening plate welded on to the subframe during the week and put rust converter on it.
Only had to die-grind the single bolt hole on the leg of the plate a little to make them fit properly michaeljohn1234m which was good.
Pulling subframe out of the shed so the little fella could help blow it down allowed me time to clean up the shed a little.
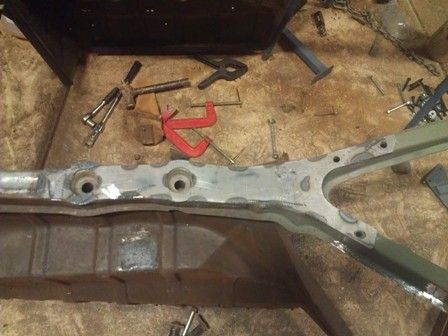
Pulled out the spray gun yesterday afternoon and put a coat of KBS chassis gloss black on it.
After so many hours cutting welding and grinding, you get a fair kick out of putting some colour on parts

.
Will put a second coat of paint on this arvo.
Anyway, check out the pic's.
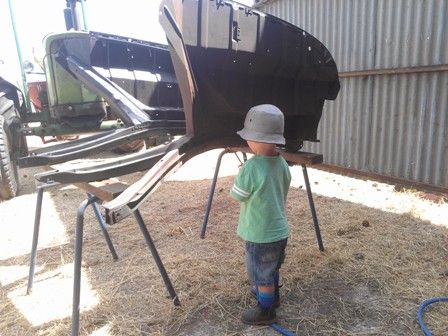
Little Helper, he wanted to work on the tractor in the background but the air hose wouldn't reach that far!!
Re: Spatman's Ute
Posted: Sat Jan 26, 2013 9:52 am
by muza
Brand new again!