Page 9 of 42
Posted: Mon Oct 06, 2008 12:23 am
by NoMAD
Posted: Mon Oct 06, 2008 11:41 am
by (AUST)Mod
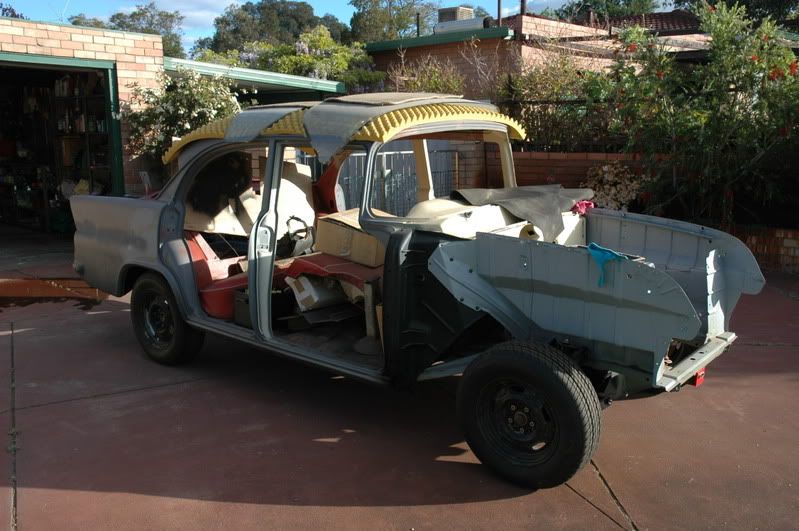
Thats collected a whole lot of interior NASCO accessories since I last saw it. Looking the goods man. I can't wait to see its seatbelt mechanisms.
Posted: Mon Oct 06, 2008 4:18 pm
by artyfartymarty
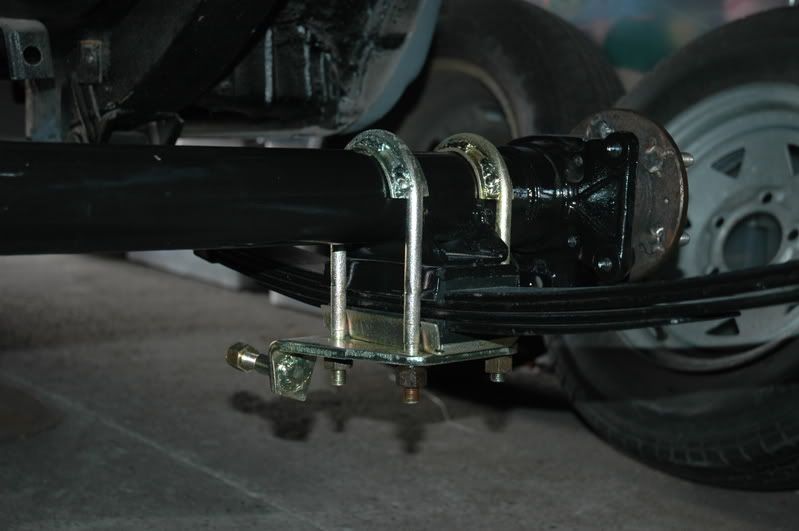
Nomad, You're obviously not restoring it to original so what gives with the height of the rear...are you holding out on us and hiding those 21" chrome spinners somewhere out of the pics?
Posted: Mon Oct 06, 2008 4:31 pm
by oldnek
Tidy work going on there Nomad,
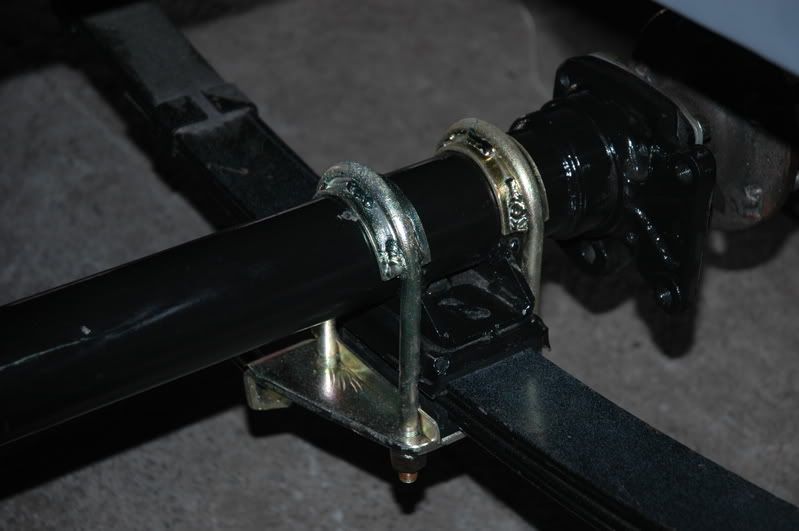
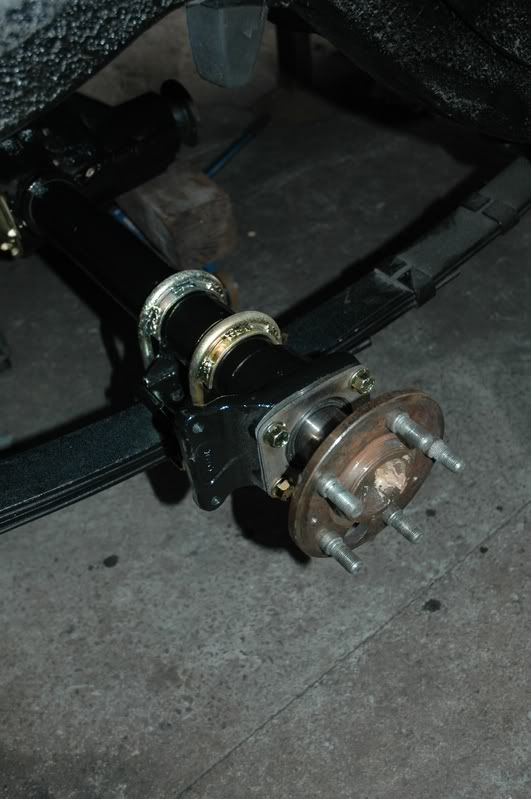
Those U bolts and spring hangers came up a treat.
Regards John
Posted: Mon Oct 06, 2008 4:57 pm
by Trev
artyfartymarty wrote:Nomad, You're obviously not restoring it to original so what gives with the height of the rear...are you holding out on us and hiding those 21" chrome spinners somewhere out of the pics?
I'm not speaking for NoMAD, but it's hard to get the ride height correct before the car is back together, that should come last, Trev

.
Posted: Mon Oct 06, 2008 4:59 pm
by NoMAD
oldnek wrote:Tidy work going on there Nomad,
Those U bolts and spring hangers came up a treat.
Regards John
Yeah i'm pretty happy with them, they nicely compliment the Diff cover, and makes people wonder whats going on when they see them underneath the car...just trying to be different....
artyfartymarty wrote:Nomad, You're obviously not restoring it to original so what gives with the height of the rear...are you holding out on us and hiding those 21" chrome spinners somewhere out of the pics?
Nah mate only running 14's (15's at max) though once everythings in the car and the rear shocks i will make sure she sits a little closer to the tarmac! - As Trev has mentioned while typing this

(AUST)Mod wrote:Thats collected a whole lot of interior NASCO accessories since I last saw it. Looking the goods man. I can't wait to see its seatbelt mechanisms.
Yeah it filled up a little, yeah as i mentioned hoping to find the time next week end to get at least one it, got to get some more pre-made plates however (i'm to lazy to make my own not for only a few dollars ayway), would really like to have the back fully set up by the end of the weekend.
Cheers
NoMAD
Posted: Sun Oct 12, 2008 12:57 am
by NoMAD
Allright Part 2 of the rear seatbelts....
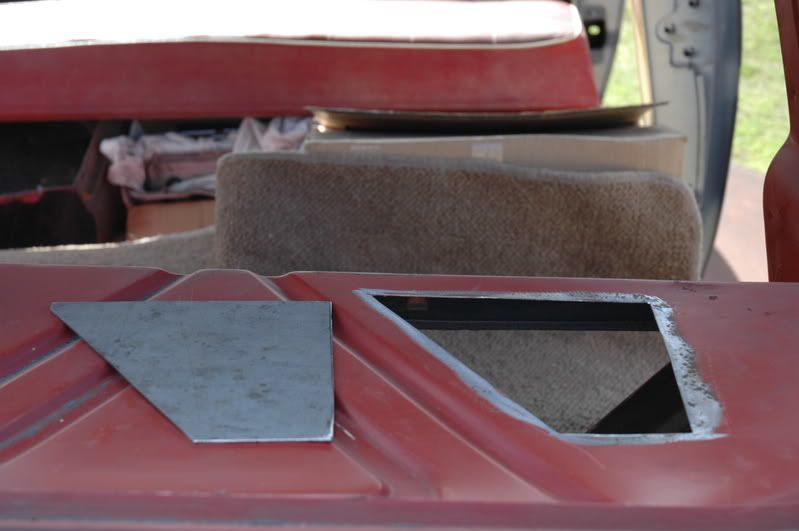
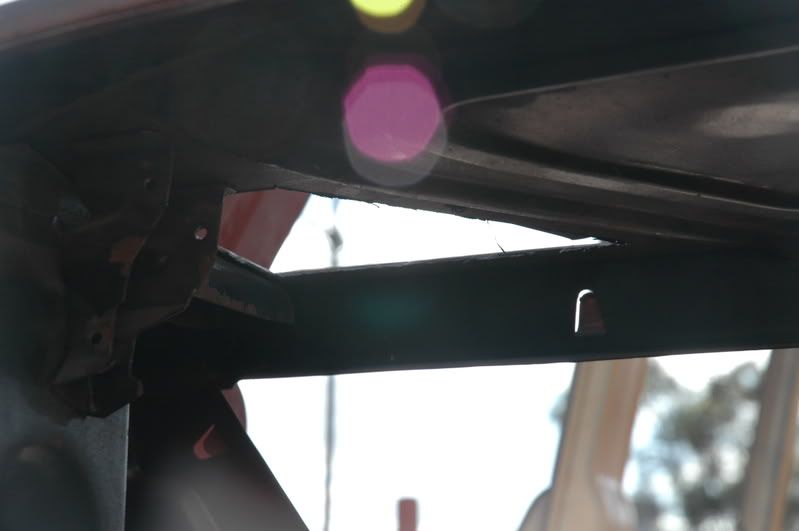
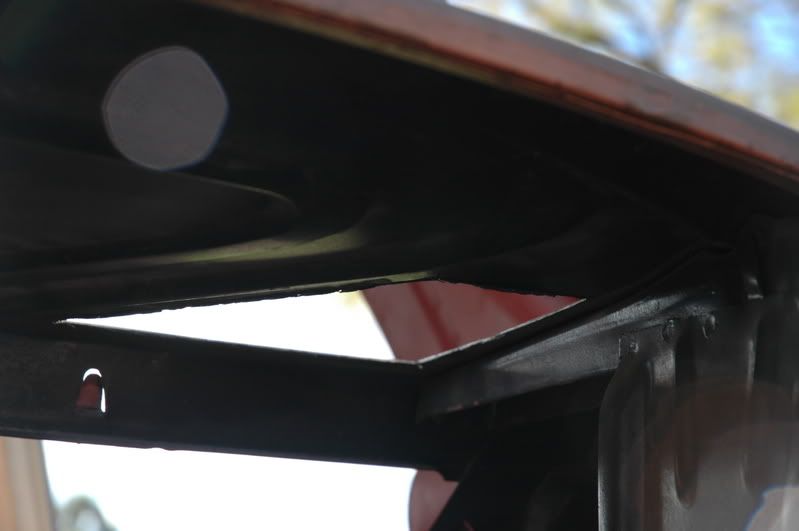
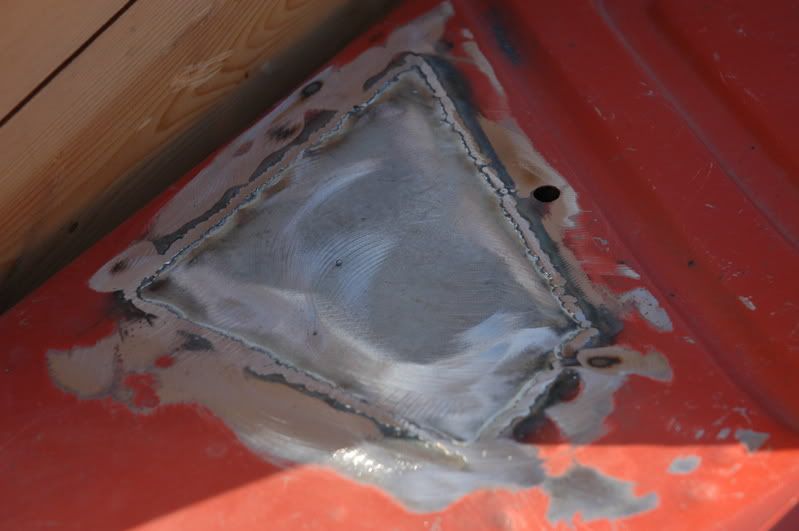
So we test bolted up a couple of the rear ones to make sure they worked & actually 'retracted' after a bit of a line up and a few holes...we drilled cut slit etc...
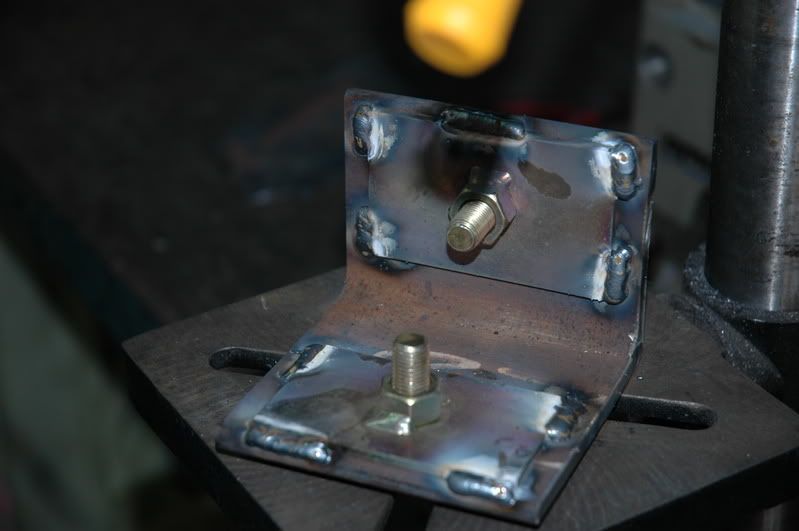
What follwed were more ideas, places to mount and this became the final test product....
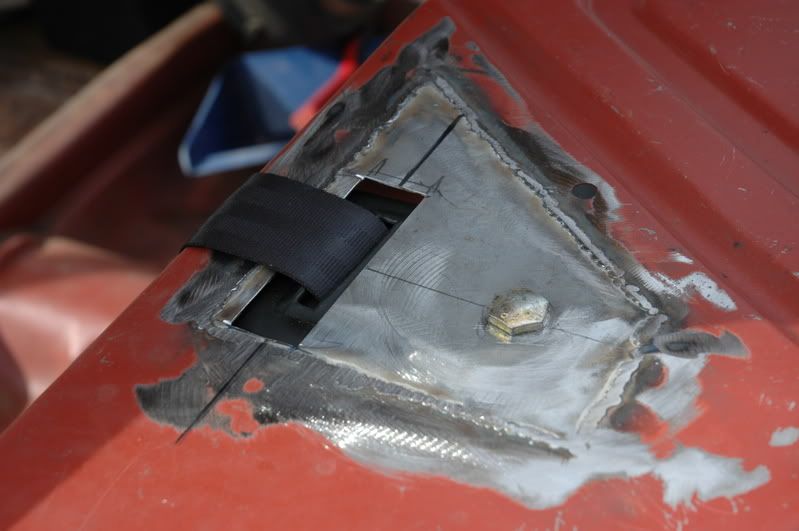
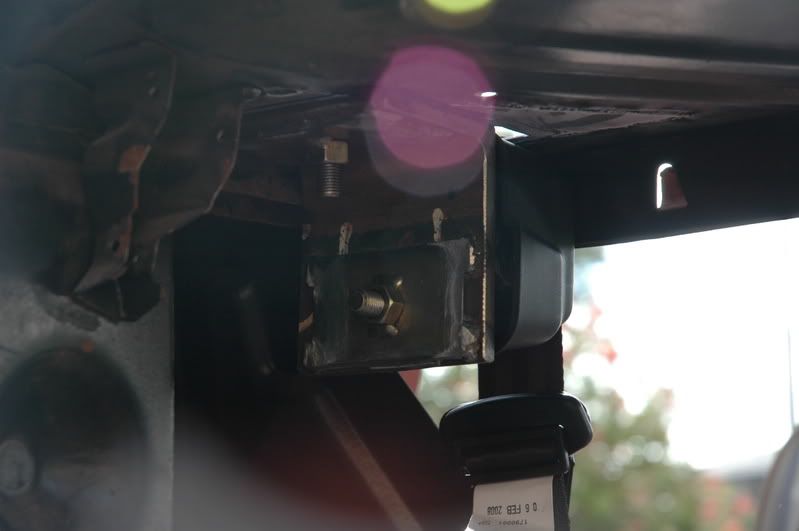
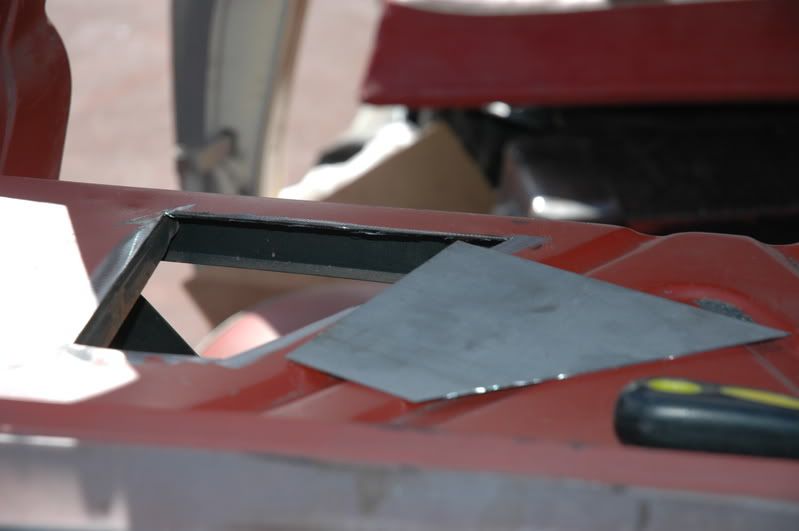
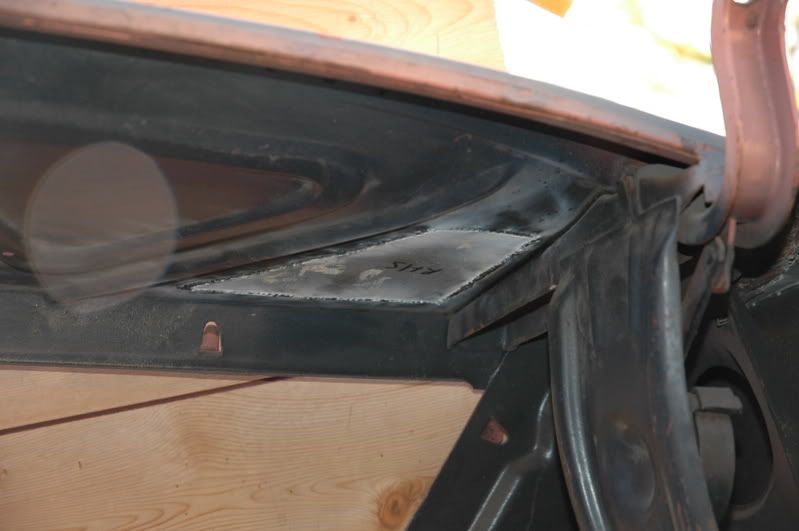
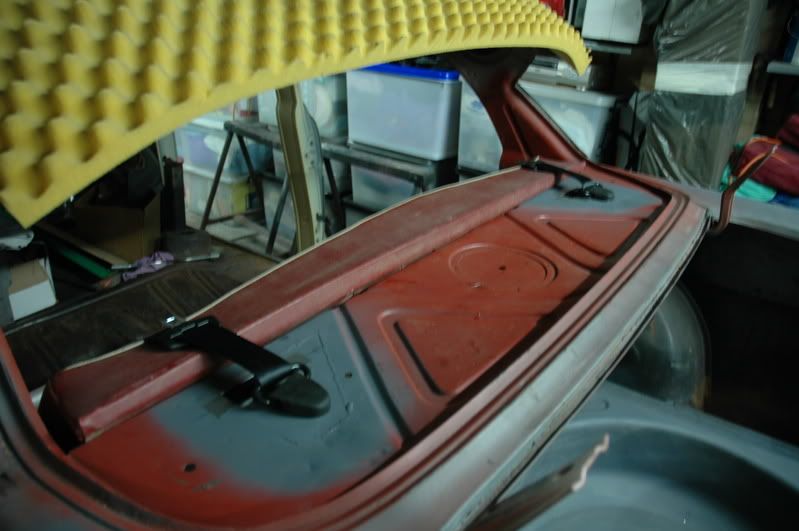
then to mount on top of the parcel tray...
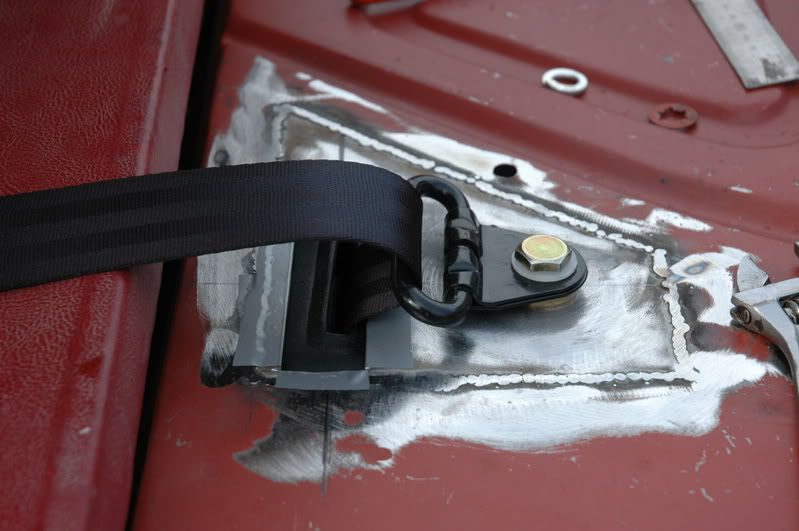
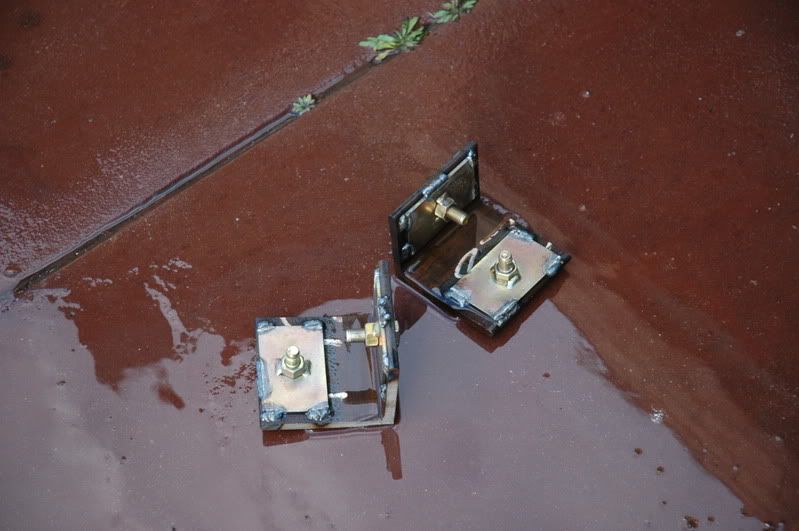
and the final product....
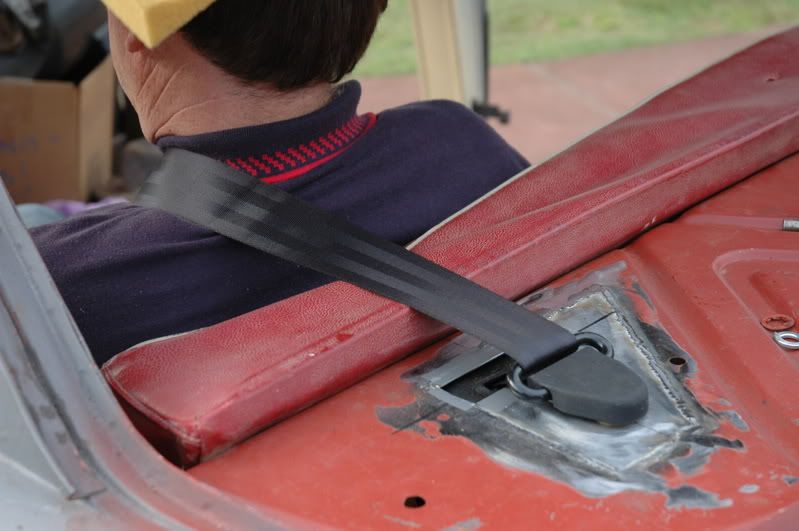
(one with the Old boy remenissing of the old days...well not the having seatbelts anyway)
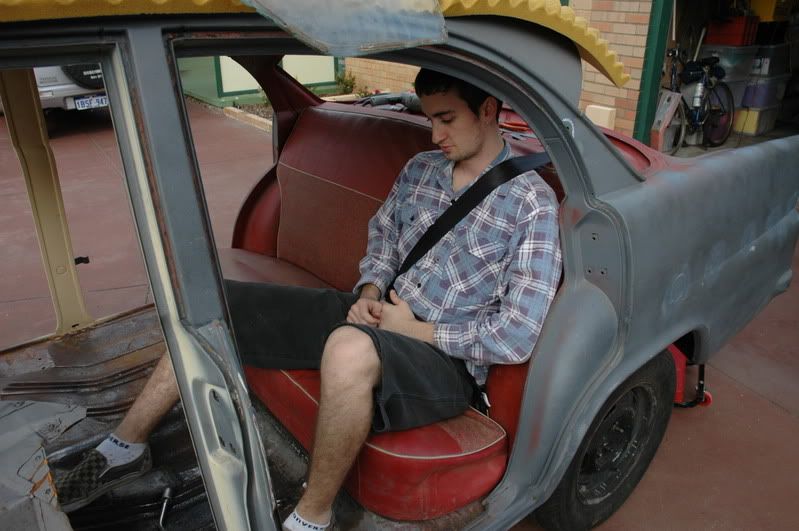
couldn't be more happy with the way they have turned out....tomorrow should be able to get round to welding them in for good and have the backs belts all done including the centre, the D-Mounts on the parcel tray will be completely hidden once the parcel shelf is made, but i guess thats for another day....better than having an ugly block sitting on the parcel shelf anyway!
Cheers
NoMAD
Posted: Sun Oct 12, 2008 1:15 am
by (AUST)Mod
That looks excellent Mate, a job very very very well done

Posted: Sun Oct 12, 2008 8:28 am
by Craig
Nice work there mate
Posted: Sun Oct 12, 2008 11:36 am
by mrs ratbox
very neat jog
you don't look very happy sitting there waighting to go for a drive


Posted: Sun Oct 12, 2008 12:25 pm
by Harko
Yes very cool , good thought before the attack - I like it

Posted: Sun Oct 12, 2008 12:26 pm
by Harko
oh and by the way "Nice slippers"

Posted: Sun Oct 12, 2008 1:24 pm
by EKSPCL
Great work NoMad

Posted: Sun Oct 12, 2008 11:14 pm
by NoMAD
Cheers for all the positive comments guys,
Harko wrote:oh and by the way "Nice slippers"

thanks mate, they dont make good welding boots you can see all the holes in my socks from previous days....

Ratbox wrote:very neat jog you don't look very happy sitting there waighting to go for a drive
I wish i was taking it for a drive, but am really happy with the turn out....
Alas Part 3 of the rear belts is here....
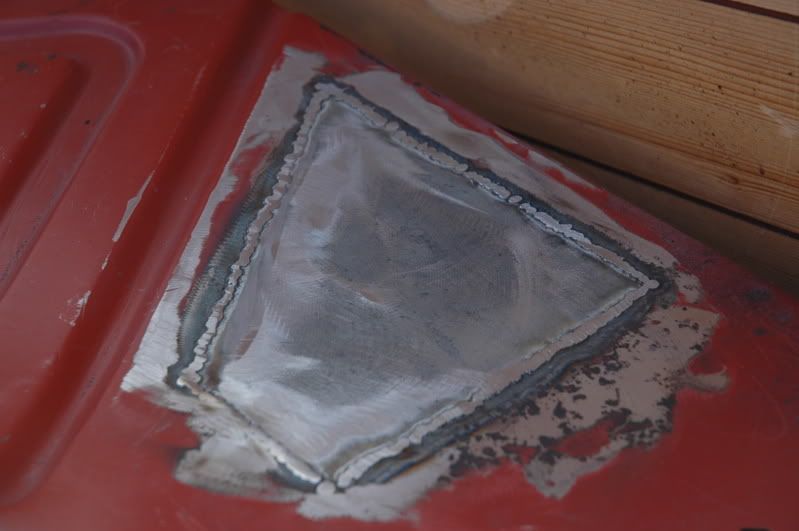
There Bolted Down and Welded in....Just need to make some plastic caps to sit in the parcel tray to protect the belts....and then move on to some pillar lights and then the Fronts!
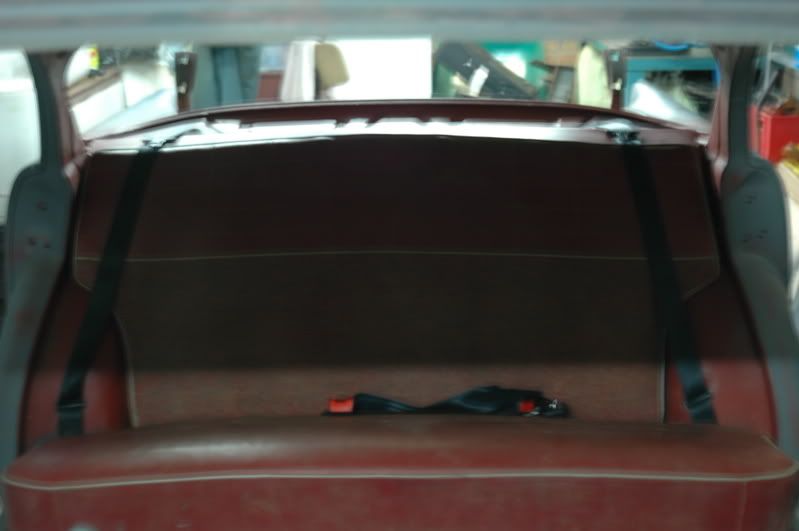
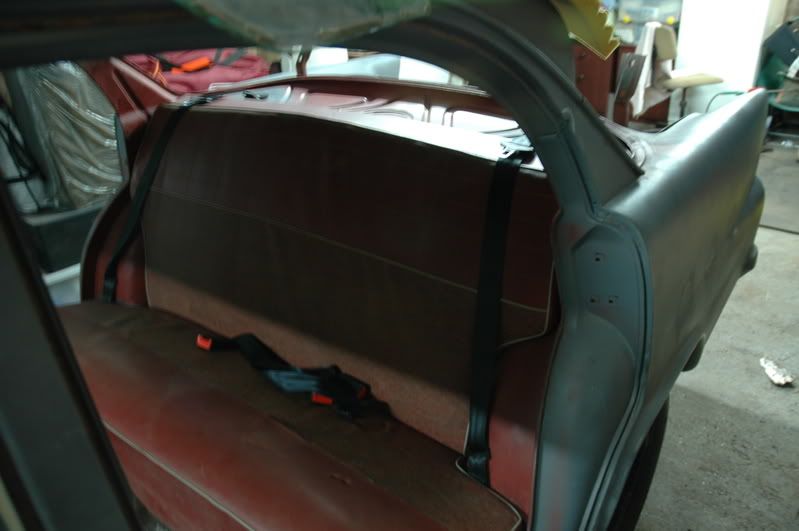
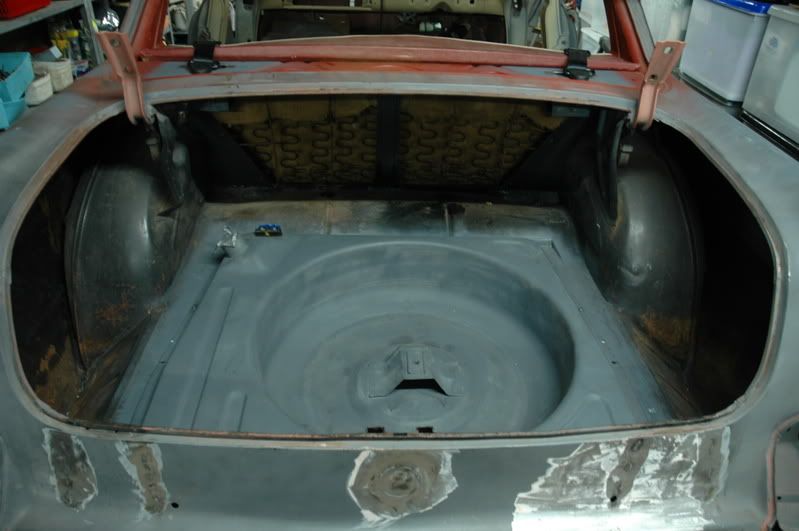
And the Fuel Tank is completely in (Cheers for the Gun Blacky, i'll be in touch to drop in back maybe this weekend...)
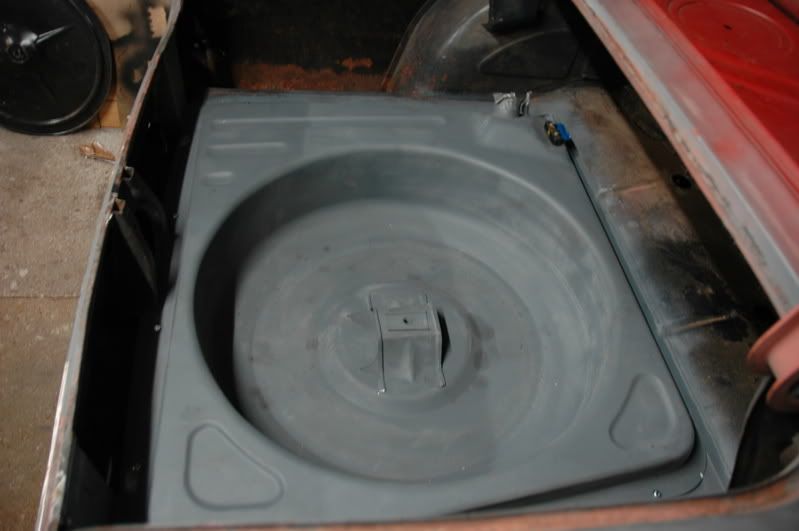
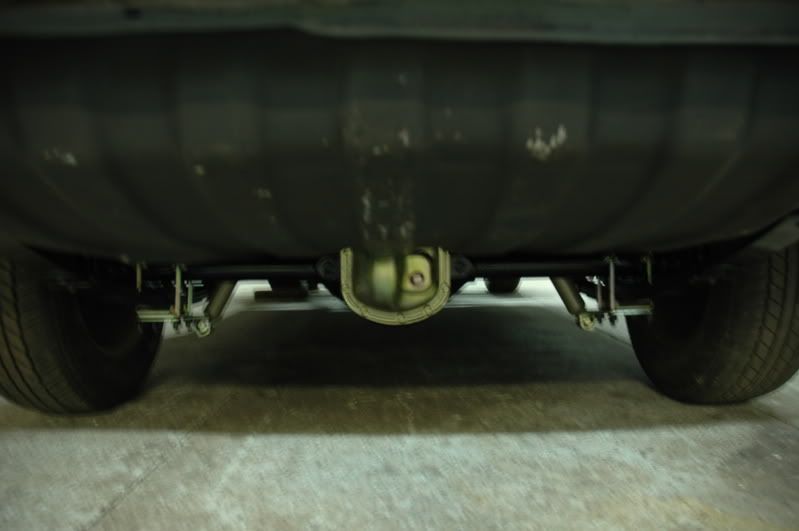
Also a shot from underneath, the Tank needs a new clean and fresh coat of underbody in some areas, but this is just to so off the Diff Assembly, which i'm also pleased with, would be great if it never came out again....

Cheers
NoMAD
Posted: Mon Oct 13, 2008 6:09 am
by EKSPCL
Top work NoMAD


