Progress
Progress
Hi again all,
Just an update on whats been happening in the shed. Just have the
roof, left front door, left rear door and quater & sill to go and all the
panel work is done.
Currently to break the monotony of doing bodywork , Ive
, Ive
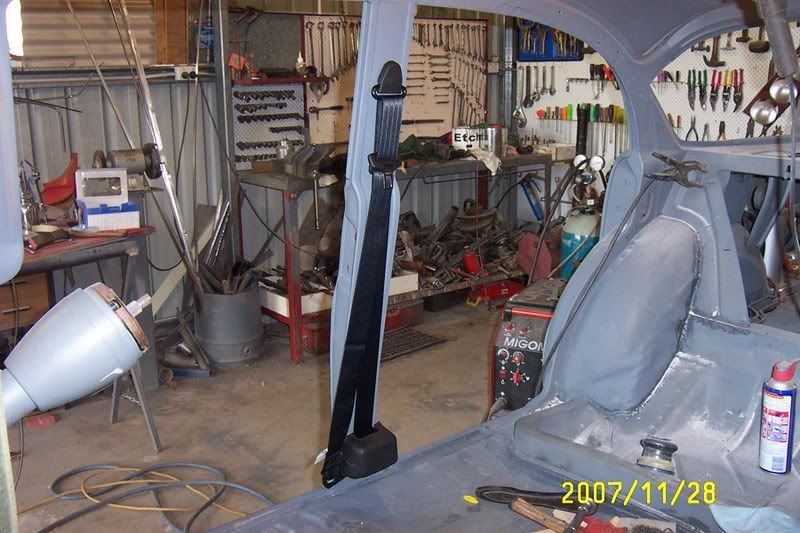
started fitting the seatbelts so as earlier promised some pictures
of how Ive done it. Maybe this is not the right way of doing it
or the easiest way but it worked for me.
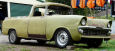
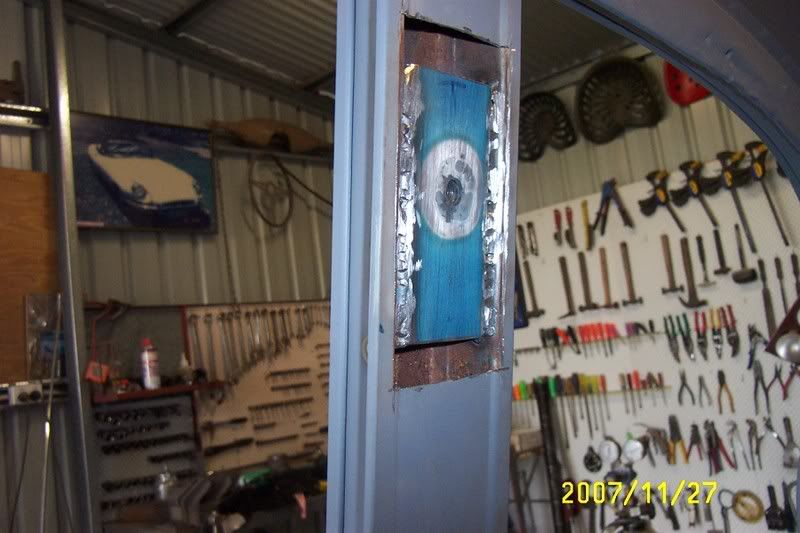
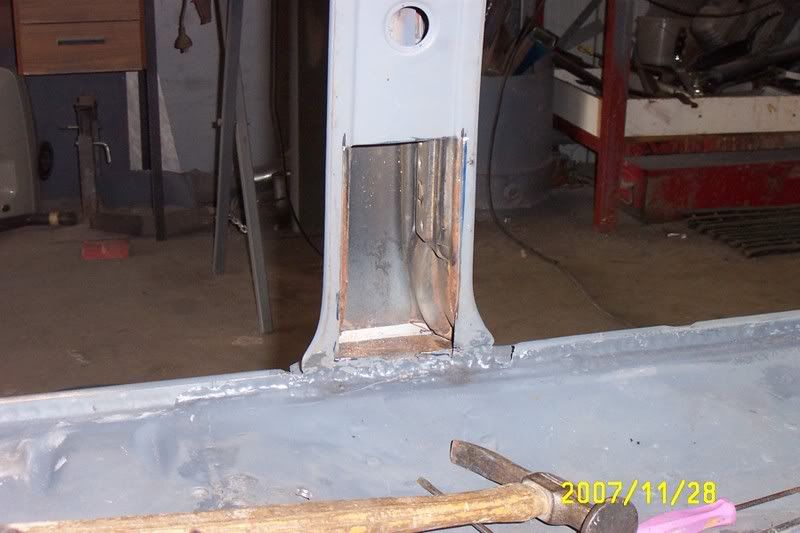
Firstly I marked out the section to be removed for the reinforcing
to go in. As the car had already had seatbelts fitted those holes
(right through the pillar) had to be welded up.
Then neatly cut out the section with very thin cutting wheel
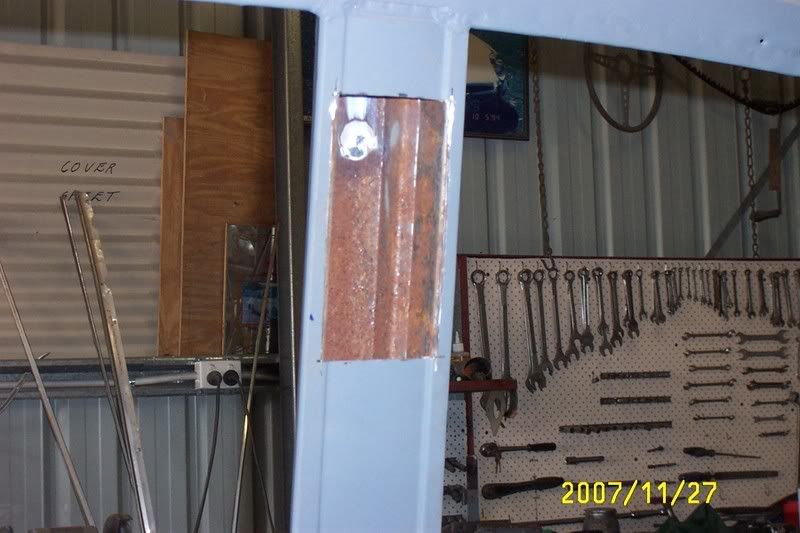
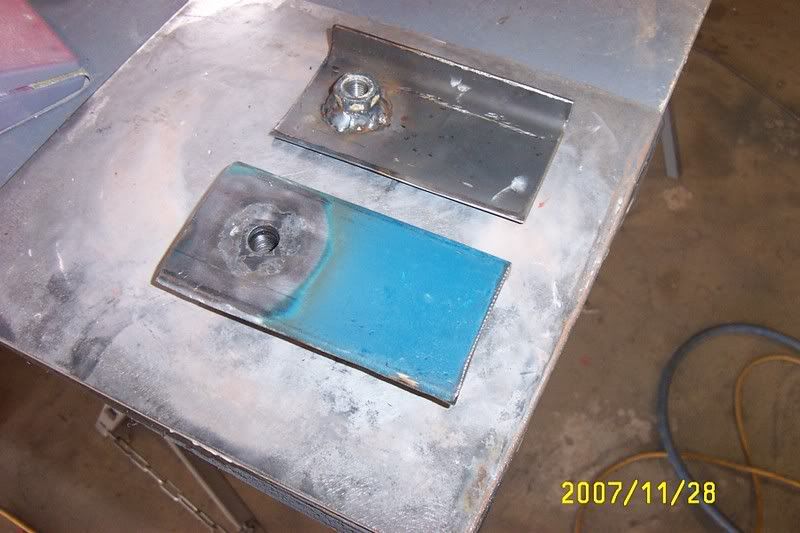
Then made the insert reinforcing out of 3mm box section cut down
the middle so as to get two pieces out of the one piece. Mark where
the bolt is going to go through, drill the hole and weld a nut onto the
back of the reinforcing section
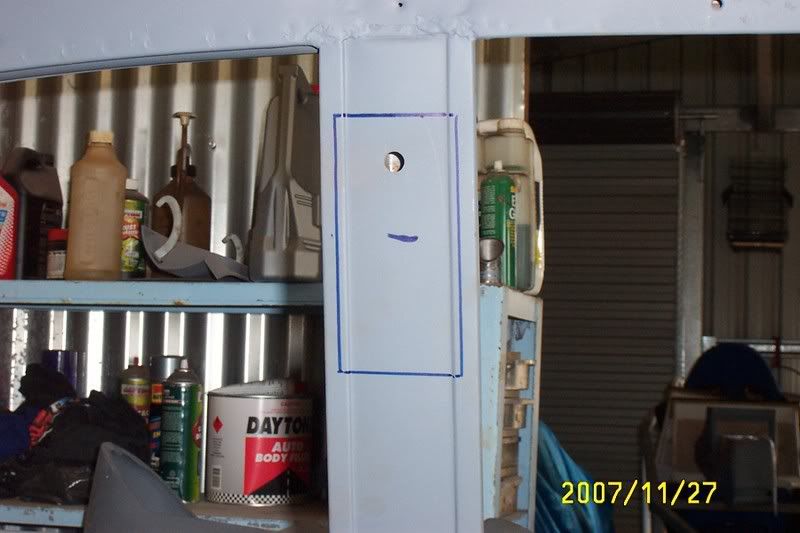
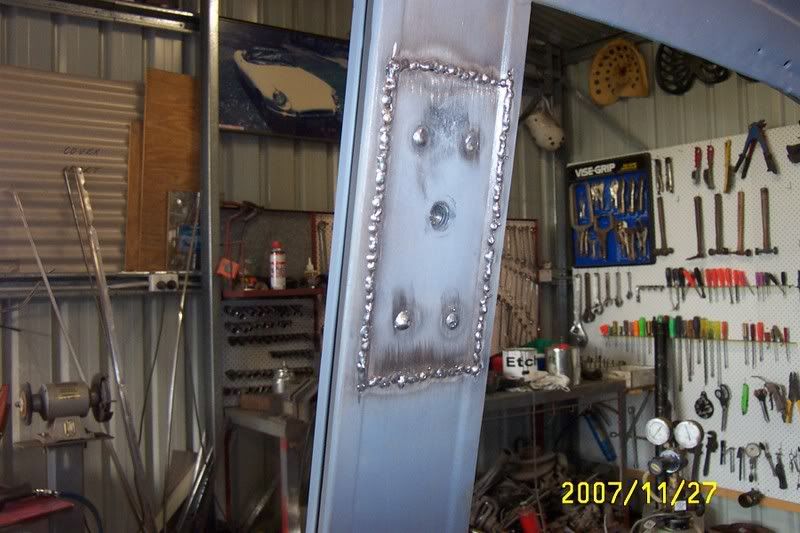
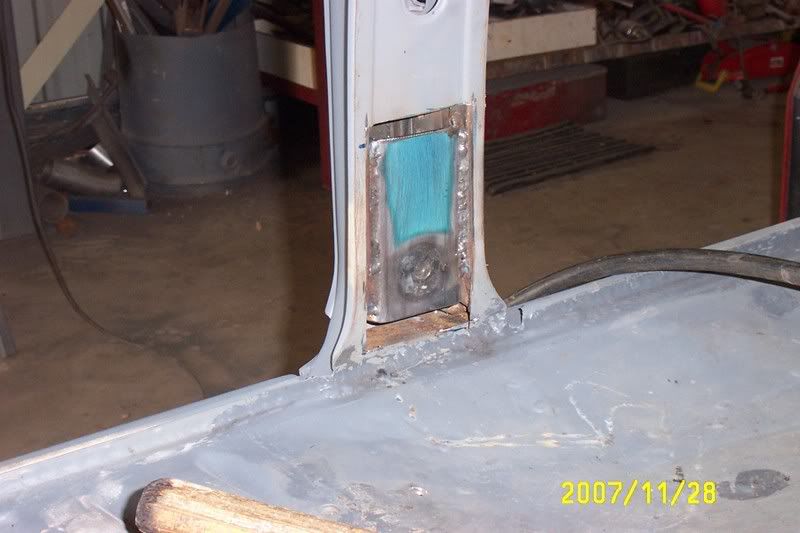
Then after several trial fittings, weld the section in
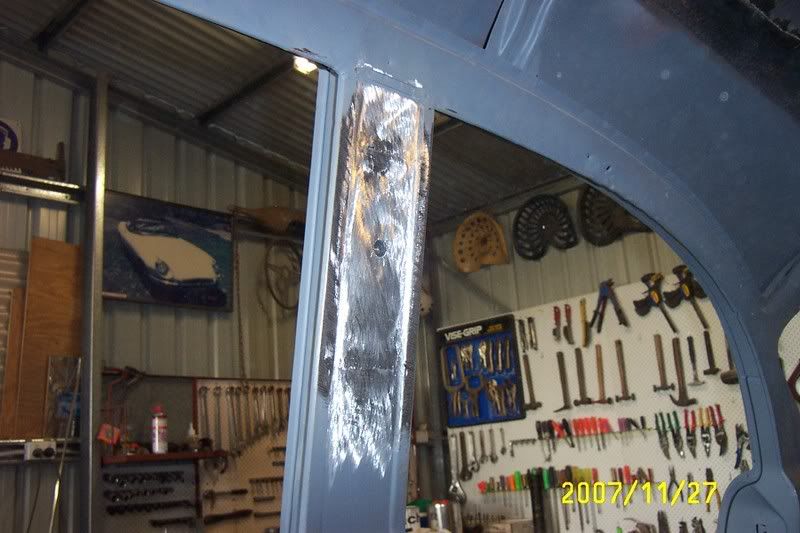
Then using the original section that was cut out, weld it back in
Grind up the welds & finish off
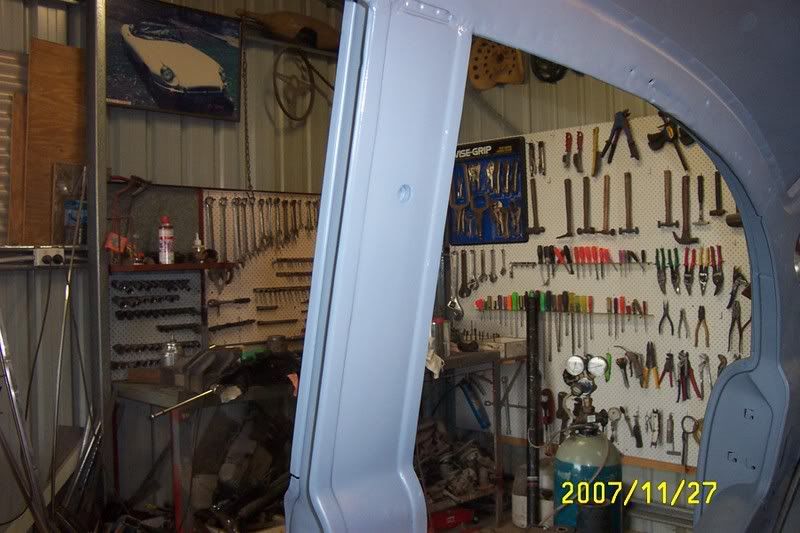
Then just do the same process on the lower of the pillar
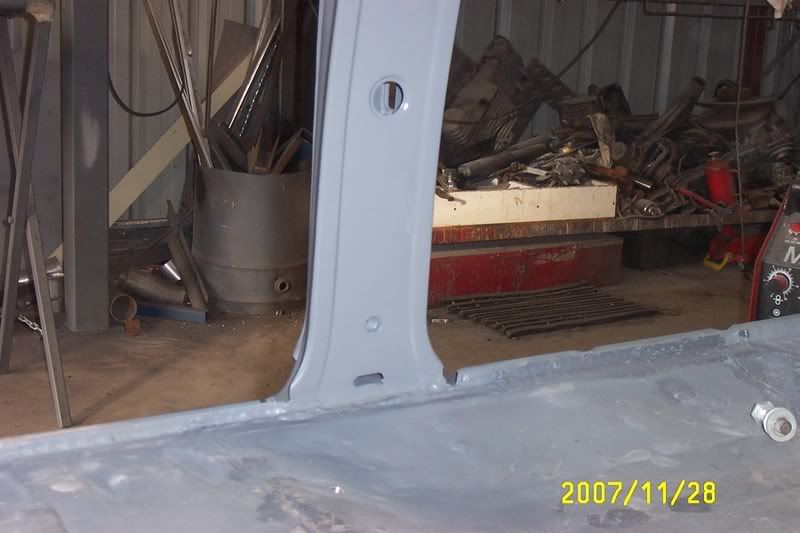
And finally the finished product
Then do the other side the same. Just a tip when you make the
reinforcing pieces do both sides at the same time so when you
do the other side it doesn't take as long.
Cheers
Just an update on whats been happening in the shed. Just have the
roof, left front door, left rear door and quater & sill to go and all the
panel work is done.
Currently to break the monotony of doing bodywork
started fitting the seatbelts so as earlier promised some pictures
of how Ive done it. Maybe this is not the right way of doing it
or the easiest way but it worked for me.
Firstly I marked out the section to be removed for the reinforcing
to go in. As the car had already had seatbelts fitted those holes
(right through the pillar) had to be welded up.
Then neatly cut out the section with very thin cutting wheel
Then made the insert reinforcing out of 3mm box section cut down
the middle so as to get two pieces out of the one piece. Mark where
the bolt is going to go through, drill the hole and weld a nut onto the
back of the reinforcing section
Then after several trial fittings, weld the section in
Then using the original section that was cut out, weld it back in
Grind up the welds & finish off
Then just do the same process on the lower of the pillar
And finally the finished product
Then do the other side the same. Just a tip when you make the
reinforcing pieces do both sides at the same time so when you
do the other side it doesn't take as long.
Cheers
Malcolm W.
-
captainbill
- Posts: 264
- Joined: Tue Jul 03, 2007 10:44 pm
- State: NOT ENTERED
- Location: Adelaide.sa
-
basic.green
- Posts: 368
- Joined: Wed Sep 19, 2007 2:31 pm
- State: NOT ENTERED
- Location: adelaide.sa.
-
RedGold79
- Posts: 39
- Joined: Mon Nov 26, 2007 11:38 pm
- State: NOT ENTERED
- Location: Findon, South Australia
OMG 20 pages!
And only more and more pages to follow too!
Parts of this should be added into tech archive. ie How to install seatbelts.
So much usefull tech stuff in here. Its great.
Excelent car Mal, great work also.
And only more and more pages to follow too!
Parts of this should be added into tech archive. ie How to install seatbelts.
So much usefull tech stuff in here. Its great.
Excelent car Mal, great work also.
Aye-Okay with Morning Grey!
[img]http://i65.photobucket.com/albums/h217/RedGold79/sig018142.jpg[/img]
[img]http://i65.photobucket.com/albums/h217/RedGold79/sig018142.jpg[/img]
-
mattymartin
- Posts: 841
- Joined: Fri Oct 06, 2006 12:49 pm
- State: NOT ENTERED
- Location: sydney
Malcolm,
Any pics of how you did the rear?
I just want to get a second opnion on where and how to mount my rears.
I spoke to an engineer yesterday about seat belts for my car, I have to show drawings and photo evidence of modifications to my car. Am following along similar lines to what you have done. Great to see it in progress/finished and looks A1.
Great resource this build of your is turning into.
Thanks, Anthony.
Anthony..
FB/EK Car Club of QLD
www.qldfbekholden.com
FB/EK Car Club of QLD
www.qldfbekholden.com
Progress
Hey again,
Anthony, sorry I don't have any pictures of the rear belts done.
But they are also retractable, and I've mounted them on the
parcel shelf with the bolt going through the parcel shelf reinforcing.
The lower is just drilled through the floor with reinforcing plates
behind the bolts.
Just another quick update,
Today I got all the air con. hoses made and fitted up. The last job
before I started stripping it down.
Well when you look at the following photo's you might think, this
dickhead has got the photos in the wrong order . But rest assured
there not and yes, although you may not think so, this is progress
 .
.
Firstly the diff, fuel tank and all the rear end bits removed

Then motor & gearbox out
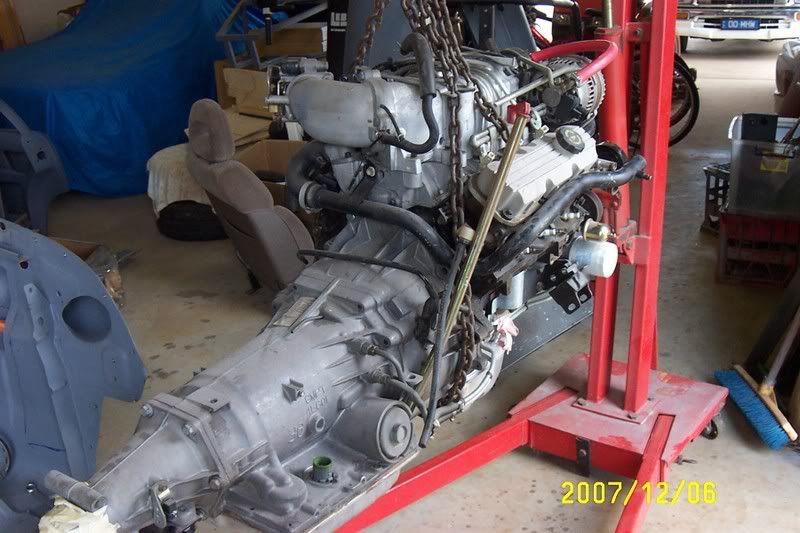
Getting it out was a lot easier than putting it in
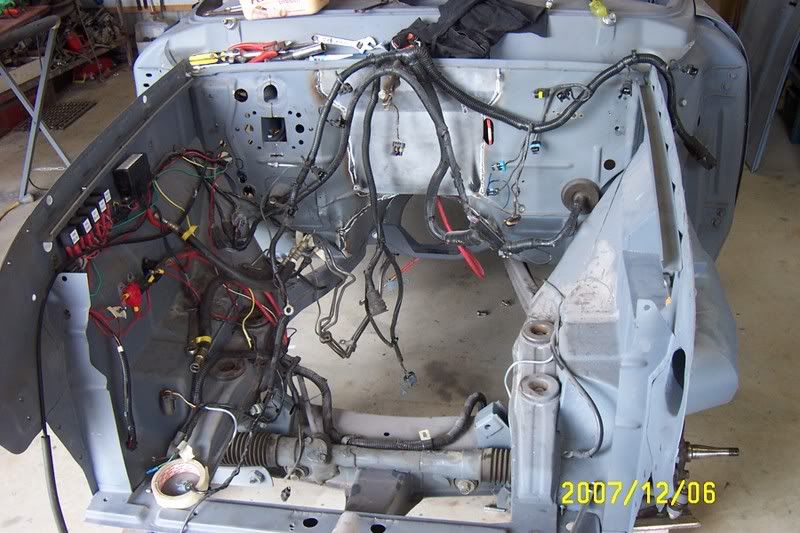
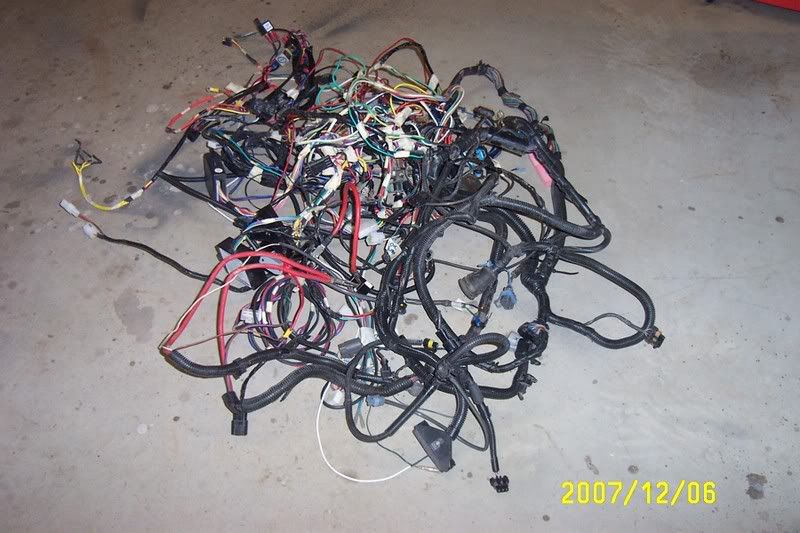
Then the fun started, getting the wiring out. I really hope I dont have a memory lapse
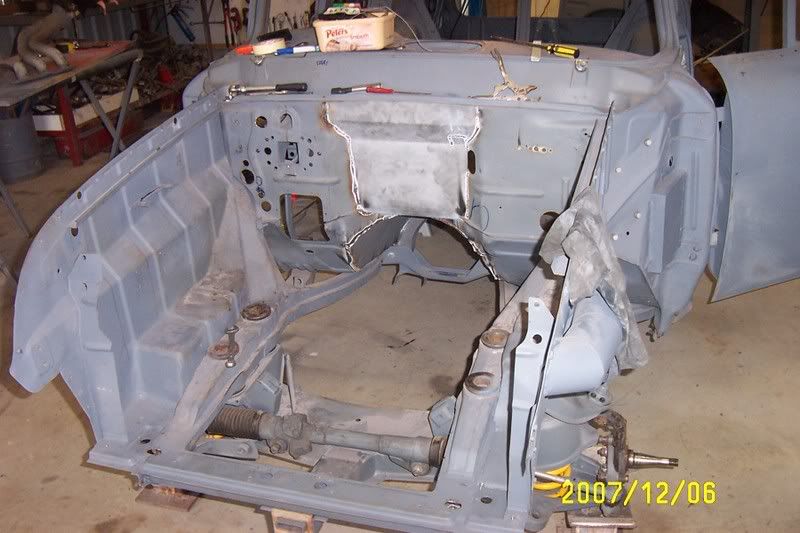
Front end out, again easy
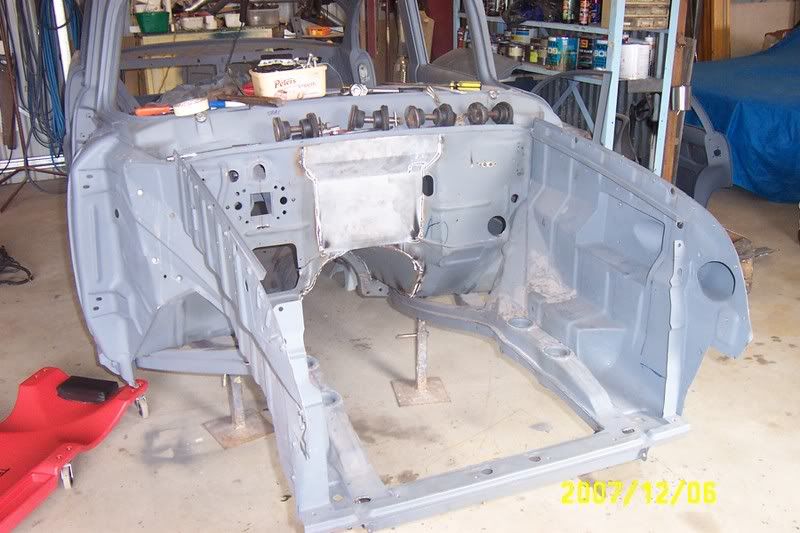
Then, its back to where I started, a shell sitting on a pellet


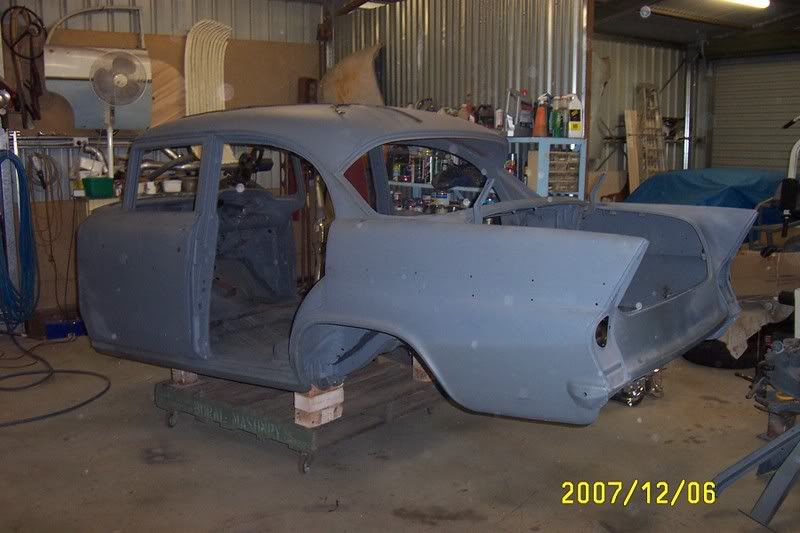
Yes, I guess at the end of the day it is still progress. Still have a couple of panels to finish before I start puttying and painting.
Cheers
Anthony, sorry I don't have any pictures of the rear belts done.
But they are also retractable, and I've mounted them on the
parcel shelf with the bolt going through the parcel shelf reinforcing.
The lower is just drilled through the floor with reinforcing plates
behind the bolts.
Just another quick update,
Today I got all the air con. hoses made and fitted up. The last job
before I started stripping it down.
Well when you look at the following photo's you might think, this
dickhead has got the photos in the wrong order
there not and yes, although you may not think so, this is progress
Firstly the diff, fuel tank and all the rear end bits removed
Then motor & gearbox out
Getting it out was a lot easier than putting it in
Then the fun started, getting the wiring out.
Front end out, again easy
Then, its back to where I started, a shell sitting on a pellet
Yes, I guess at the end of the day it is still progress. Still have a couple of panels to finish before I start puttying and painting.
Cheers
Malcolm W.