i posted my wheel to them yesterday, as well,I was going to do it myself,but after seeing there's, for $600, hard to beat that,they look great.WayneXG95 wrote:Funny you mention pearlcraft.
I posted a wheel to them yesterday quoted $600 restored and pearl painted.
Russell (Rustydungers) on here has a fantastic blue one done by pearlcraft.
I'll see if he can send me a pic and ill post it up
MI60FB
-
michaeljohn1234m

- Posts: 185
- Joined: Wed May 09, 2012 8:13 pm
- State: NSW
- Location: AU central coast
Re: MI60FB
-
michaeljohn1234m
- Posts: 185
- Joined: Wed May 09, 2012 8:13 pm
- State: NSW
- Location: AU central coast
Re: MI60FB
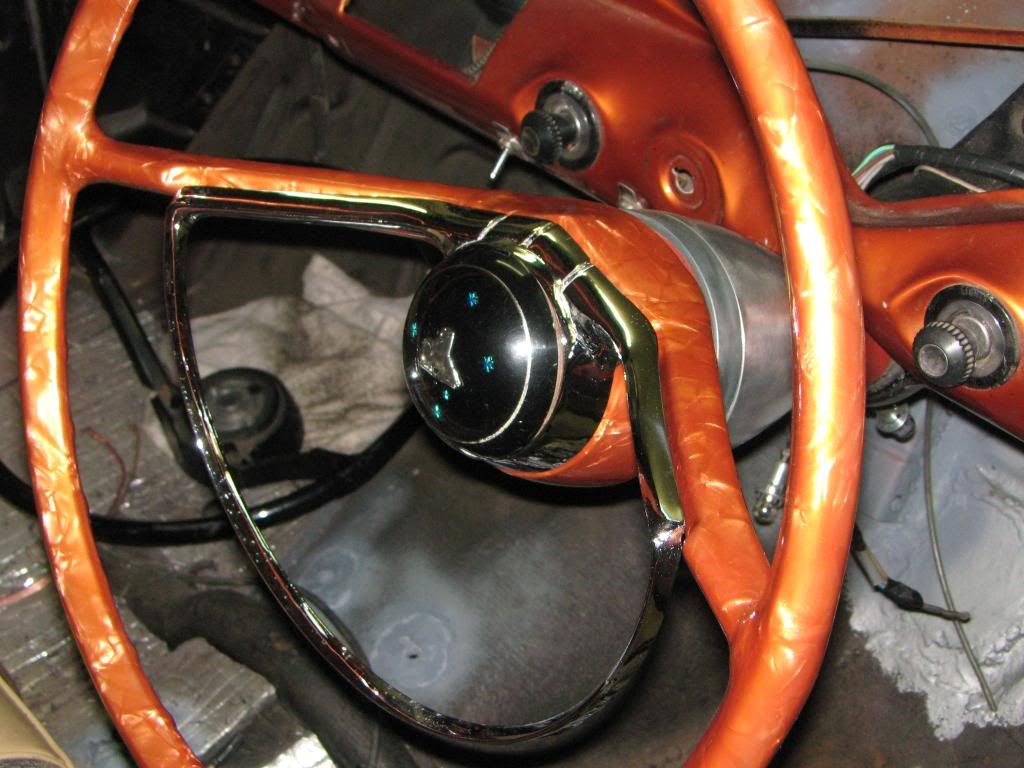
Got it back from Pearl Craft there great


Re: MI60FB
OOOHHHHHHH YEAHHHHHHHH!!!
I am sending mine away in a couple of weeks just fitted the rear end to the body tonight.
Tackling the front end tomorrow didnt realise how tight the arse end would be with new bushes was a bit of manipulating to be done with the rubber mallet.
Your wheel looks the goods whop did the chrome?
I am sending mine away in a couple of weeks just fitted the rear end to the body tonight.
Tackling the front end tomorrow didnt realise how tight the arse end would be with new bushes was a bit of manipulating to be done with the rubber mallet.
Your wheel looks the goods whop did the chrome?
Re: MI60FB
How good is this!
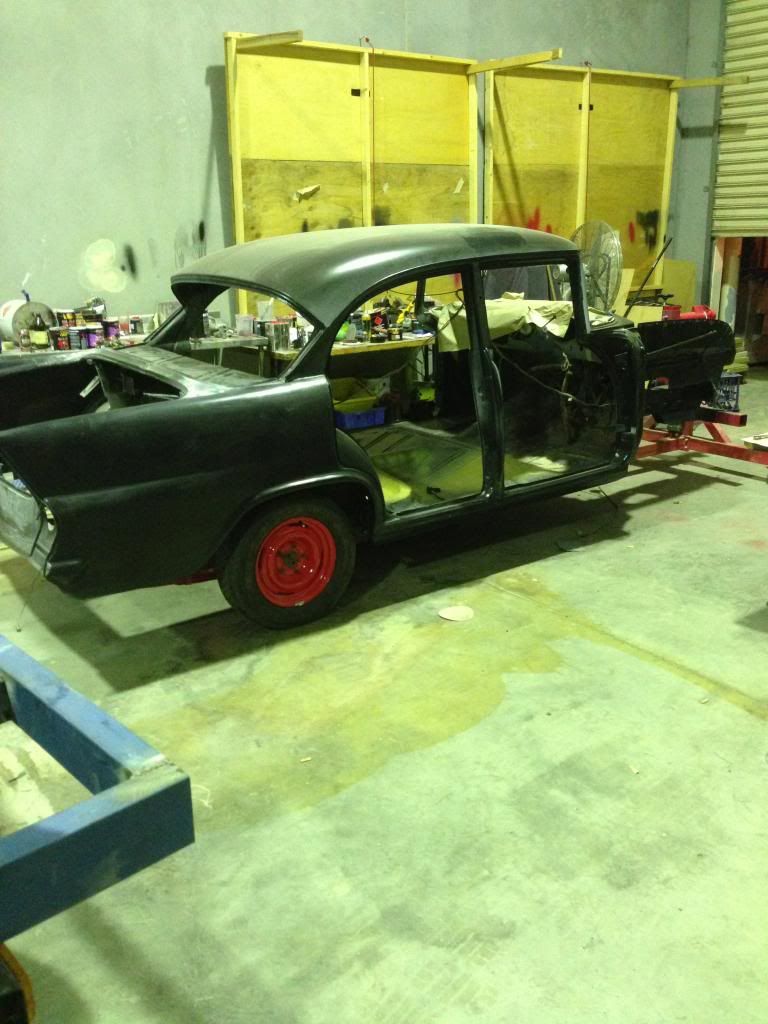
With some words of wisdom from my fellow FbEker's I managed to get the rear leafs in and mount the diff and get the rear wheels on.
Finally got the car off the rotisserie what a milestone was beginning to really get the shits with it all.
I am putting the front end on tommorrow even if it kills me, me old mate randy (not his real name) is back on the books after a bit of coaxing with a few long necks so will put him to good use over next 24hrs before he packs it in again.
Will post some photos tomorrow.
Feel like ive just reached the top the mountain and ready to roll down the other side.
Re: MI60FB
Book a table at the Camden Valley Inn shall I?...baker12 wrote: Feel like ive just reached the top the mountain and ready to roll down the other side.
Wayne Chambers
President
FB EK Holden Car Club of N.S.W
President
FB EK Holden Car Club of N.S.W
-
parisian62
- Posts: 3997
- Joined: Wed May 11, 2005 2:19 pm
- State: NSW
- Location: Sydney
- Contact:
Re: MI60FB
Good stuff. Hang onto that top of the mountain feeling...it'll keep you going till the finish.
Stewart
Stewart
Feelin free in a '61 FB.
Member of FB-EK Holden Car Club Of NSW Inc.
Check out the Rebuild of Old Timer
Member of FB-EK Holden Car Club Of NSW Inc.
Check out the Rebuild of Old Timer
Re: MI60FB
Yeah in a few months funny though they pay rates to wollondilly council so effectively I will still be in my own hood!WayneXG95 wrote:Book a table at the Camden Valley Inn shall I?...baker12 wrote: Feel like ive just reached the top the mountain and ready to roll down the other side.
Re: MI60FB
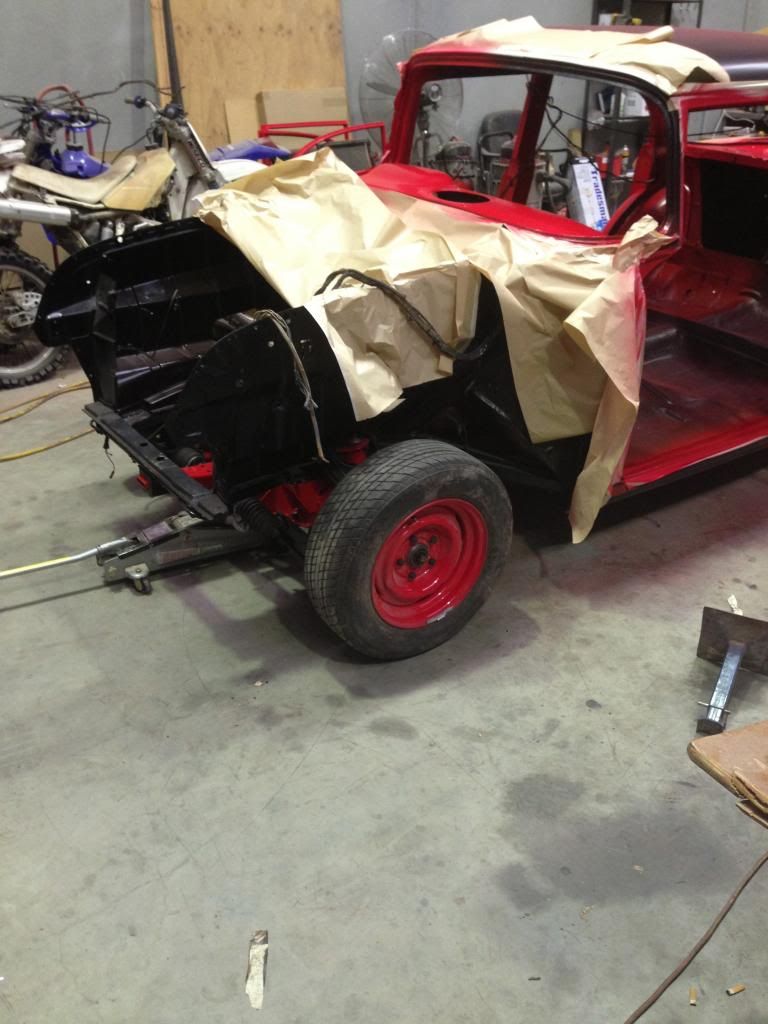
Well certainly making progress now.
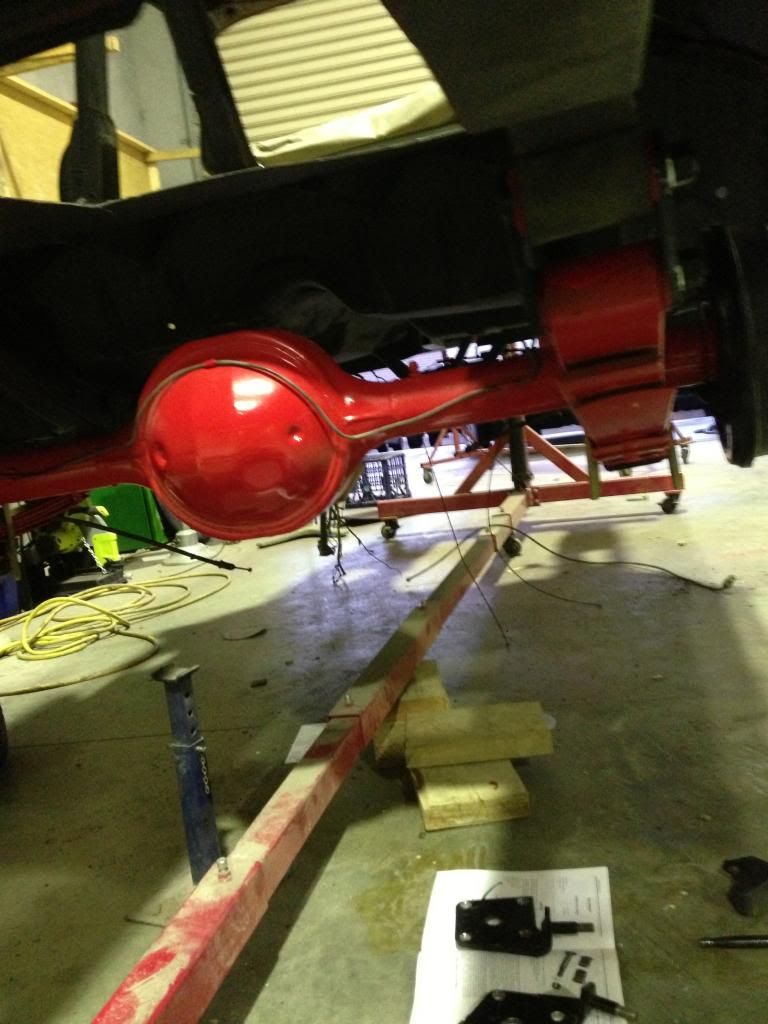
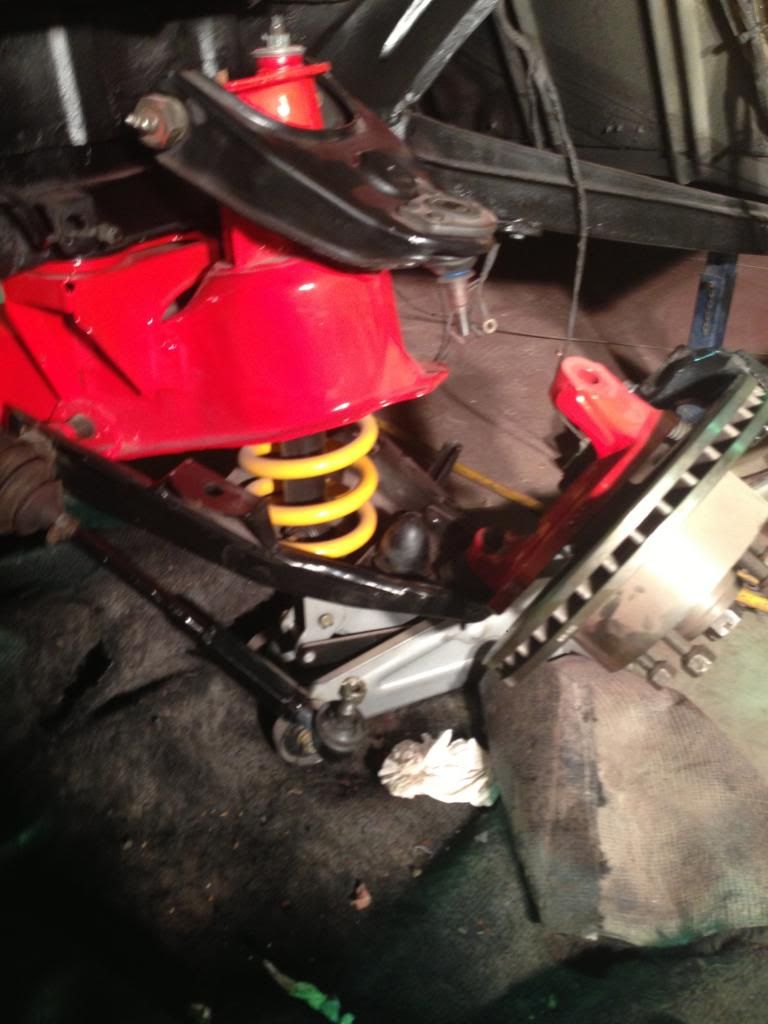
Tank in
 We mounted the diff and then got the front end lifted in with new rubbers and then painted the sway bar and steering rack put new tie rod ends in mounted the rack.


Waiting for the brake calipers to dry and will mount monday then put tyres on the front.
Have bought some flappers to see how the whitewalls look against the red and satin.
Going to send the seats out and the steering wheel will go off to pearlcraft as well.
My Internet is playing up will paste photos tomorrow sorry.

Re: MI60FB
It's looking good well done 
Re: MI60FB
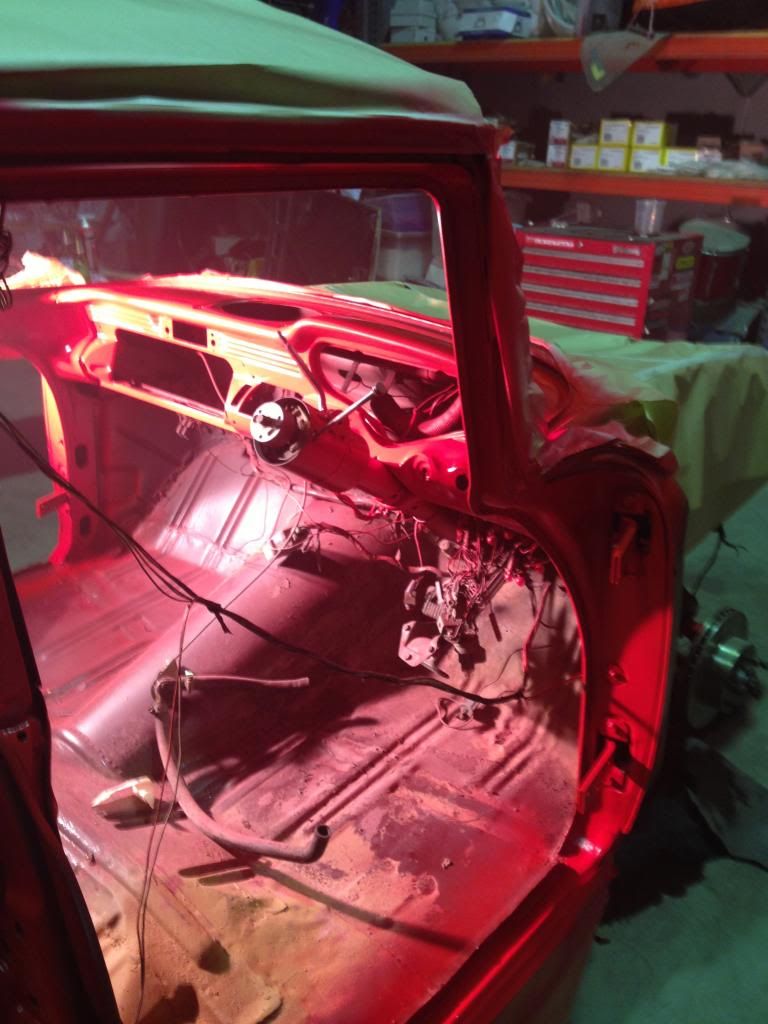
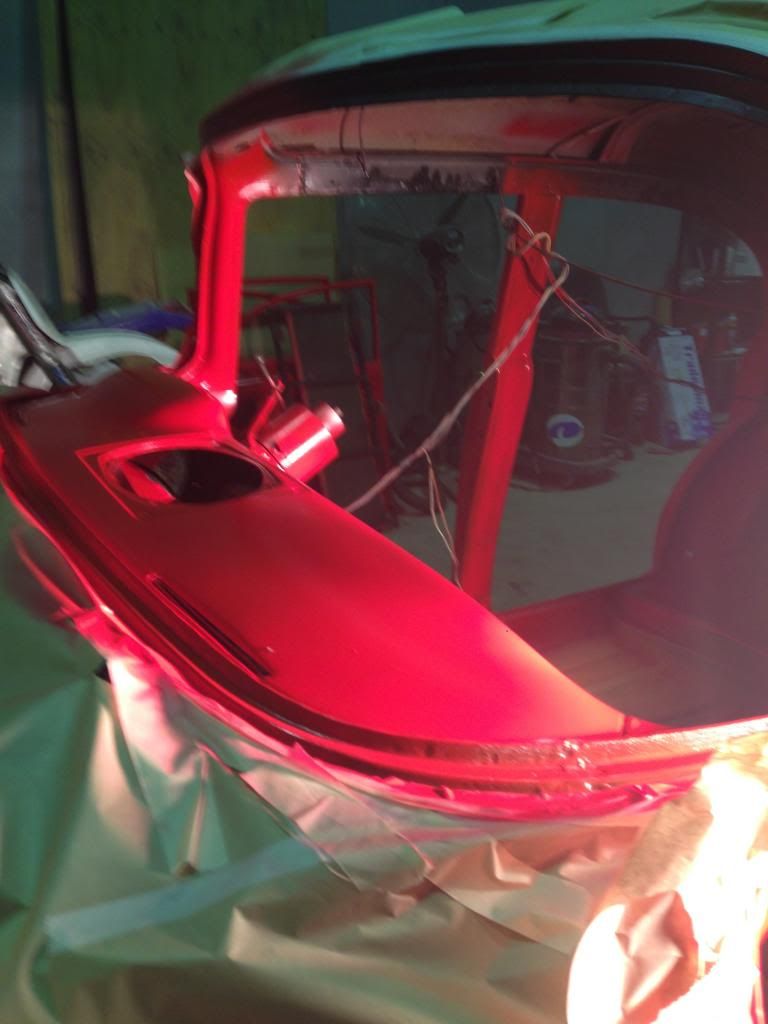
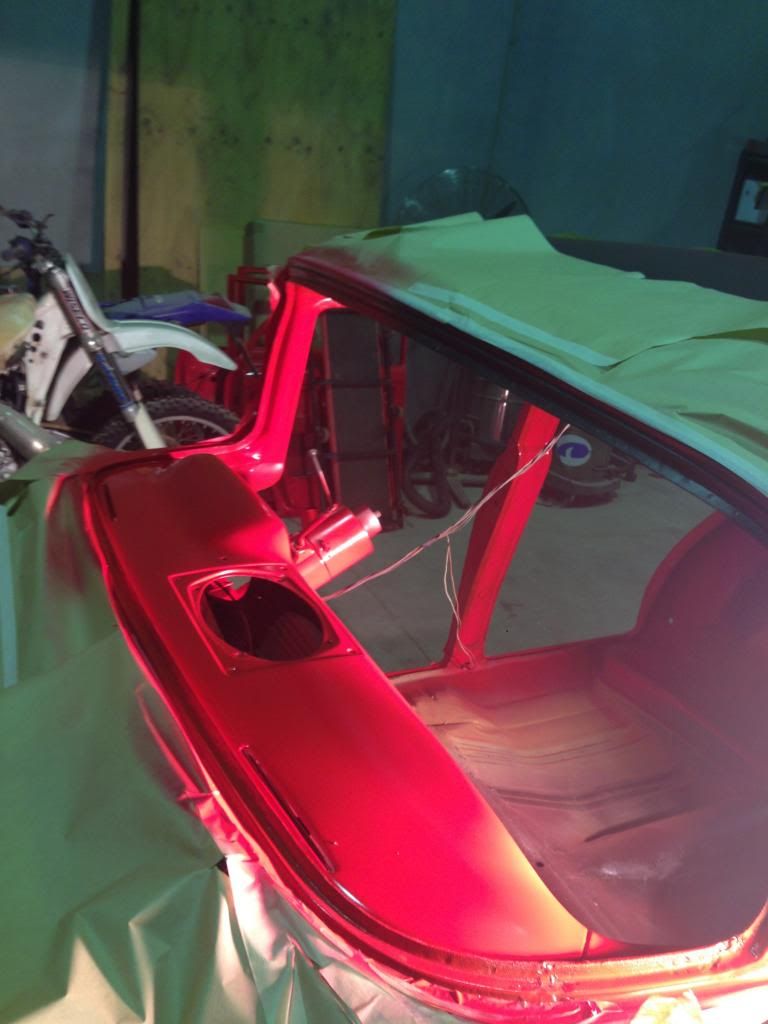
Gave the interior a quick coat tonight.
Bit hard to tell what it looks like with the lights on from the pictures but it is really coming together.
I will be painting again tomorrow and then the assembly begins. Very Happy!!!

Sold my rotisserie to a guy doing an XU1 his mate has just bought an EK so its going to a good home.
Note to self (DO NOT EVER NO MATTER HOW GOOD A DEAL YOU THINK YOU ARE GETTING EVER BUY ANYTHING WITH RUST! NEVER EVER EVER!!!!!) so I bid farewell to my beloved rotisserie and any future restoration projects that require one.**
** As long as there is ebay there will always be a rusty old car that will catch my eye
Bit hard to tell what it looks like with the lights on from the pictures but it is really coming together.
I will be painting again tomorrow and then the assembly begins. Very Happy!!!


Sold my rotisserie to a guy doing an XU1 his mate has just bought an EK so its going to a good home.
Note to self (DO NOT EVER NO MATTER HOW GOOD A DEAL YOU THINK YOU ARE GETTING EVER BUY ANYTHING WITH RUST! NEVER EVER EVER!!!!!) so I bid farewell to my beloved rotisserie and any future restoration projects that require one.**
** As long as there is ebay there will always be a rusty old car that will catch my eye
Re: MI60FB
I just read this from the start and saw what you started with and what you have now, congrats on the great work so far, cheers, Nick
Yes dear, just like you said. Theese are the words of an understanding marrige.
-
parisian62
- Posts: 3997
- Joined: Wed May 11, 2005 2:19 pm
- State: NSW
- Location: Sydney
- Contact:
Re: MI60FB
Some good progress there Baker.
Feelin free in a '61 FB.
Member of FB-EK Holden Car Club Of NSW Inc.
Check out the Rebuild of Old Timer
Member of FB-EK Holden Car Club Of NSW Inc.
Check out the Rebuild of Old Timer
Re: MI60FB
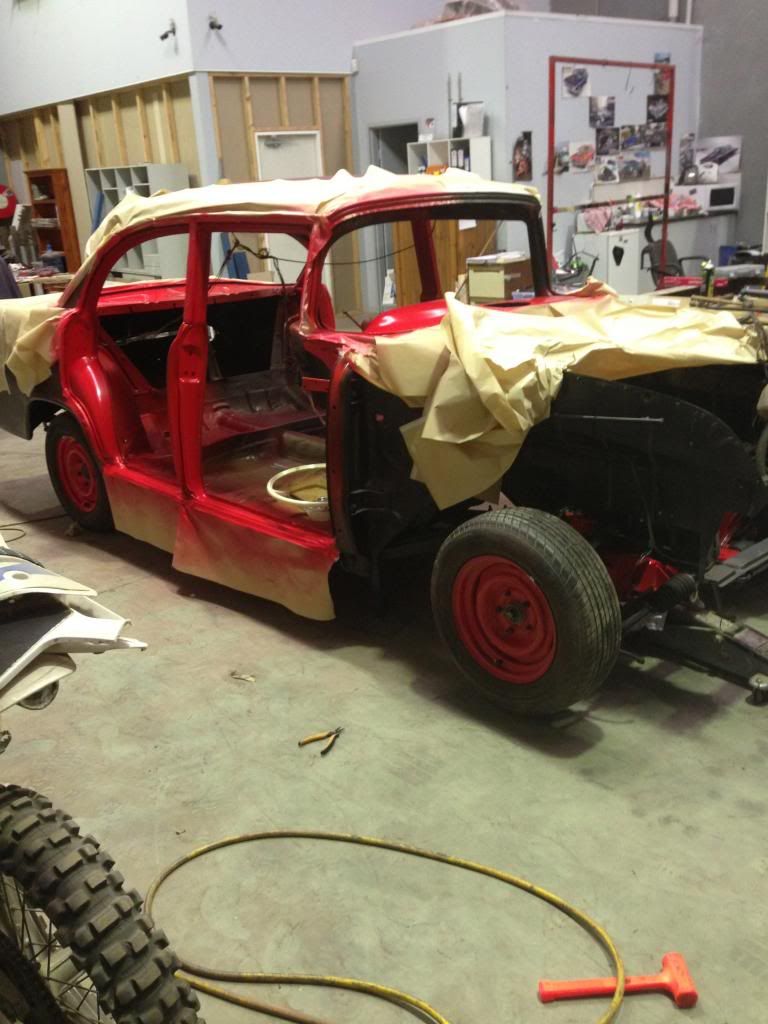
have been making some steady progress the last 2weeks.
I gave the interior a couple of light coats of the bright red that matches the wheels diff and front end.
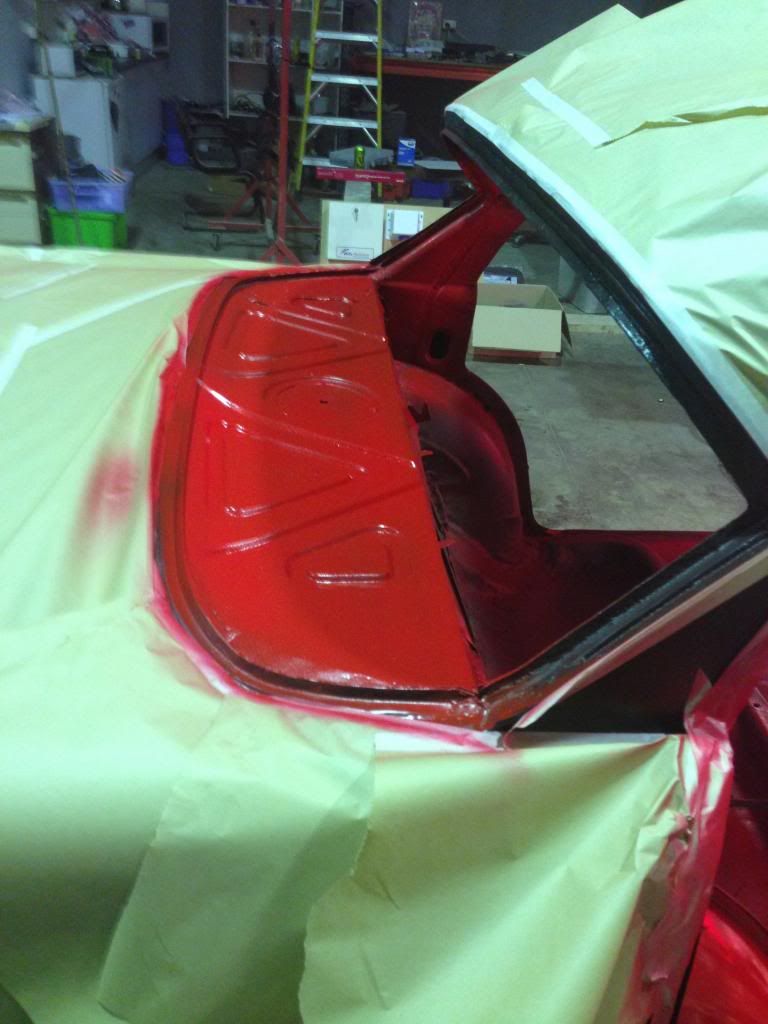
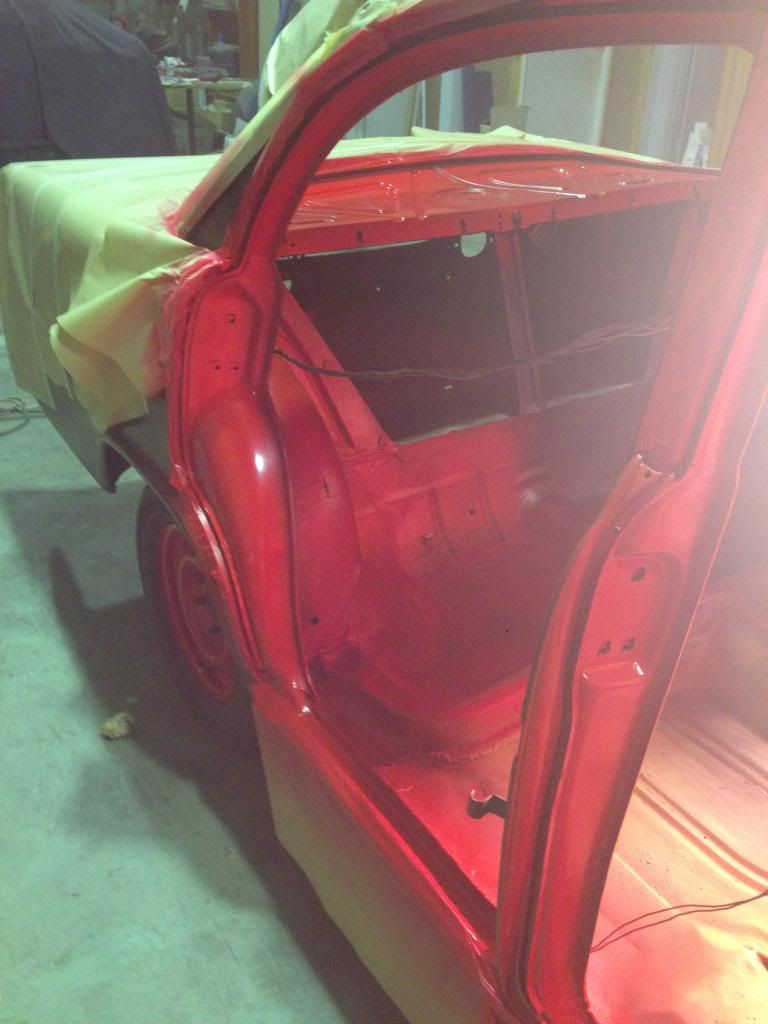
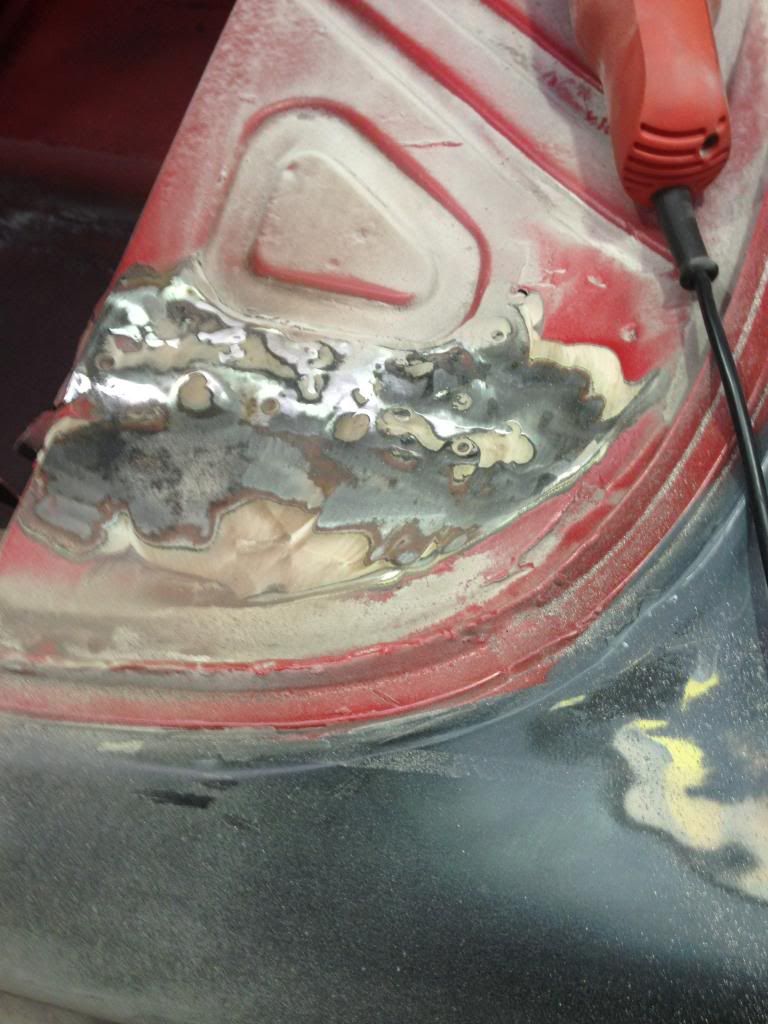
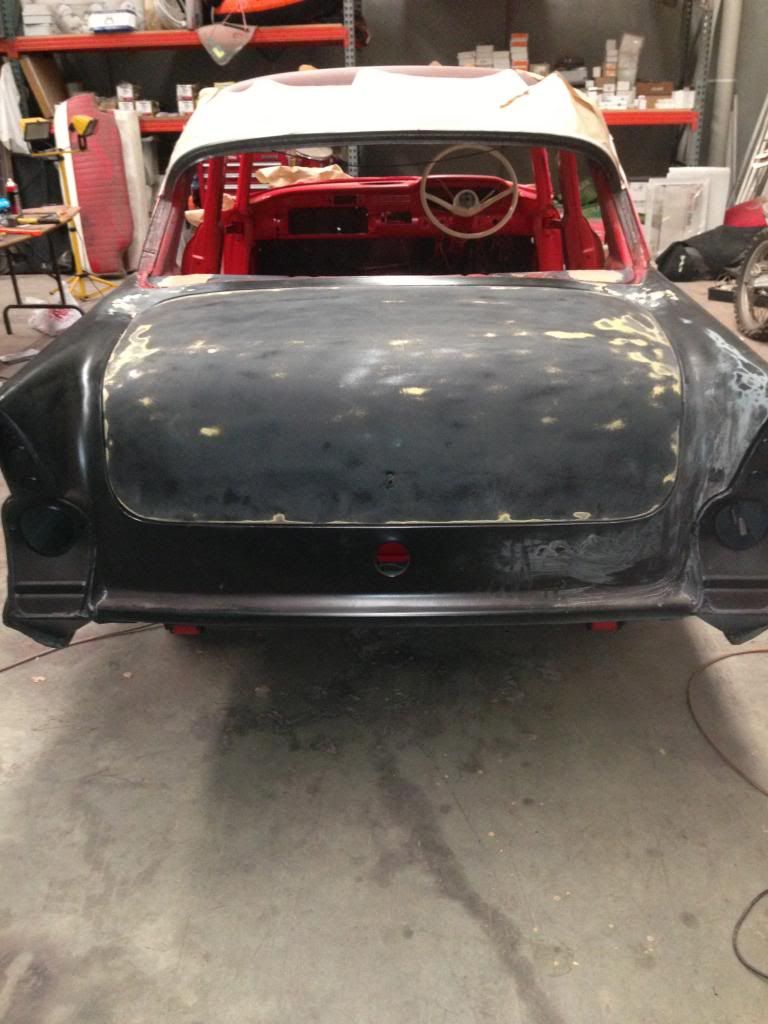
 Mounted the boot and found that the hinges were welded on at an angle that wouldnt allow me to mount the boot correctly so that it closed cleanly
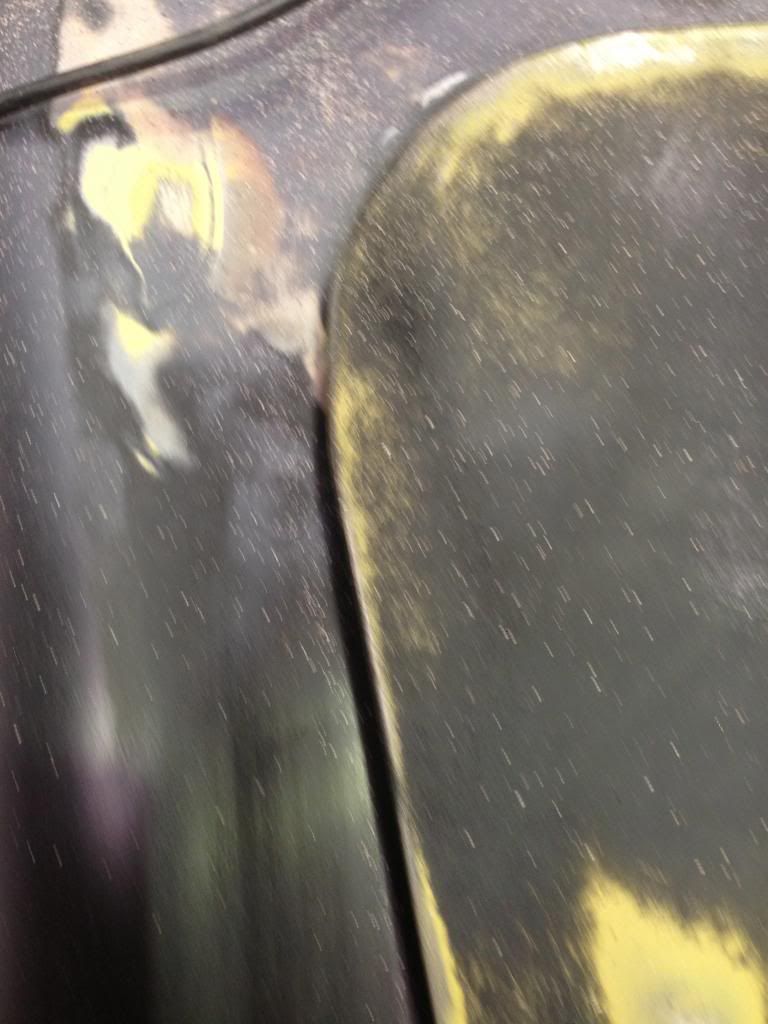
1st Image shows passenger side top of boot out of alignment
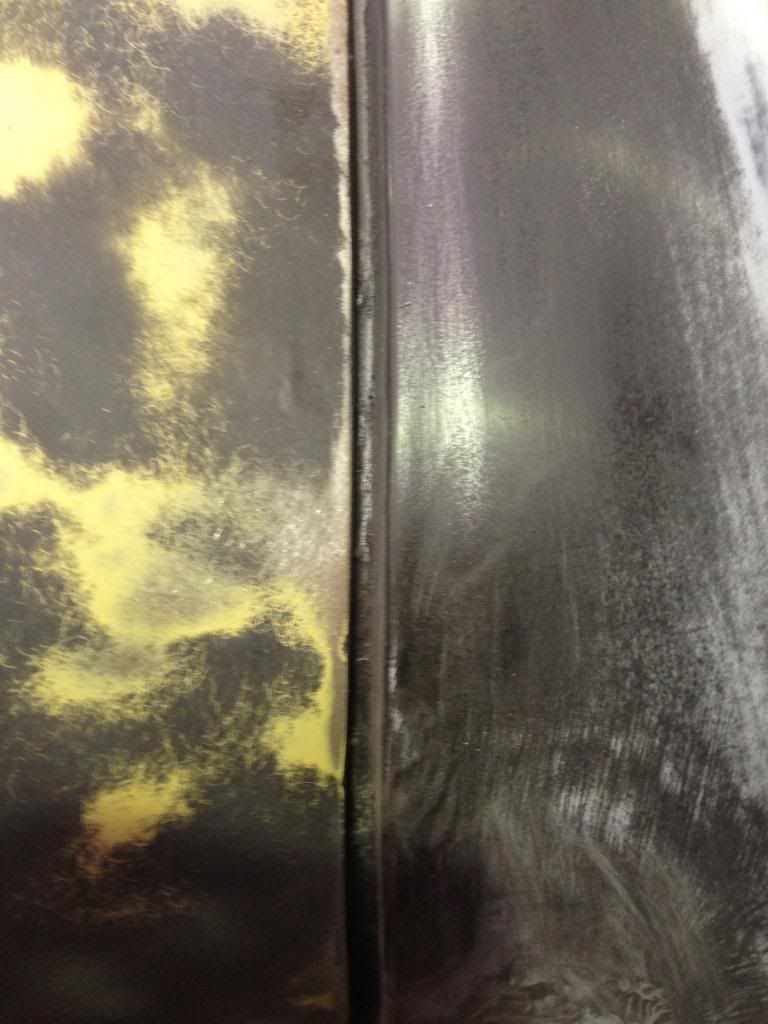
2nd Image shows the gap between right rear guard and the boot
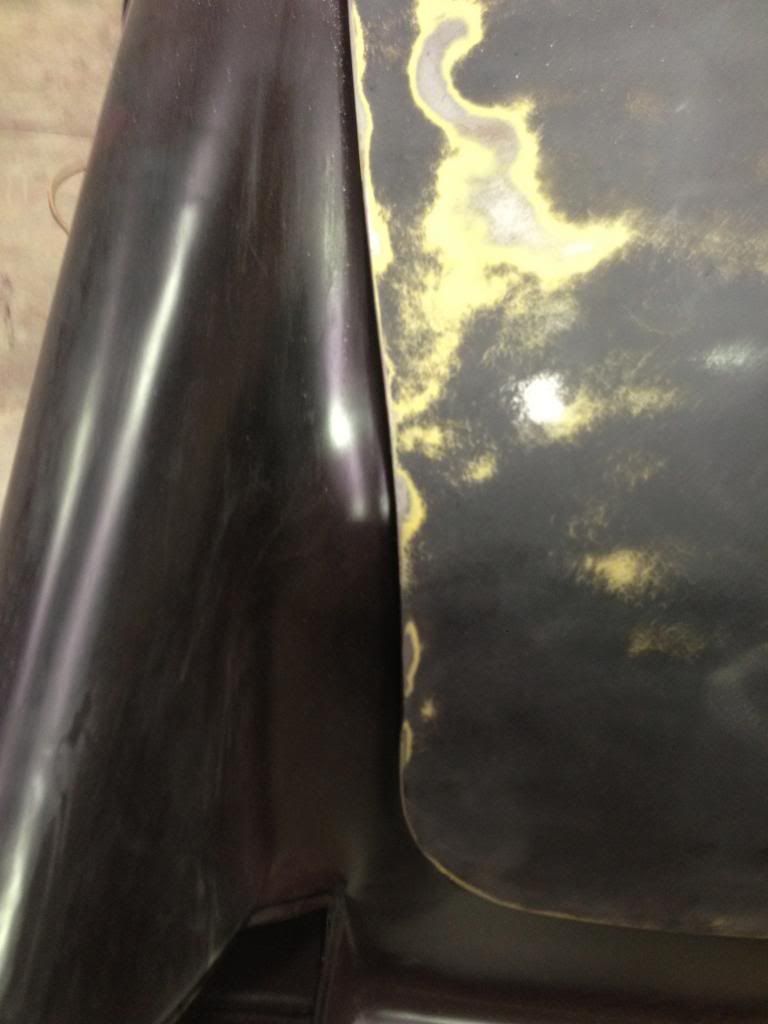
This image shows the passenger side bottom gap
I then needed to bust the spot welds and start again. see the distance between the hole in the hinge and the boot fixture thread
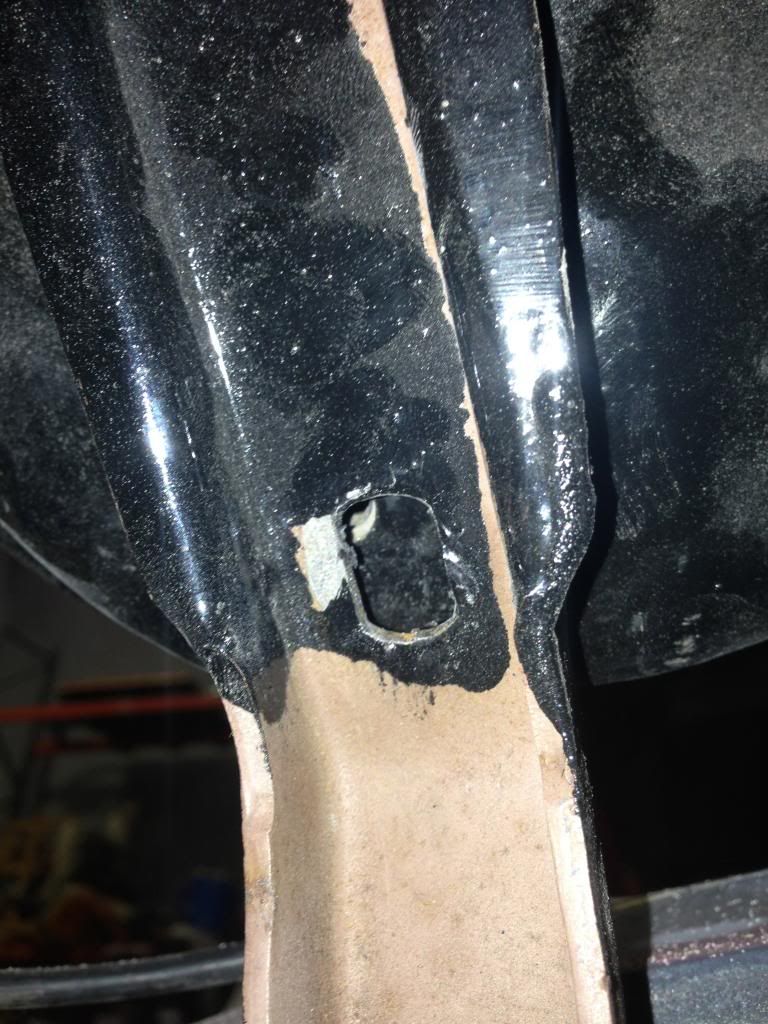
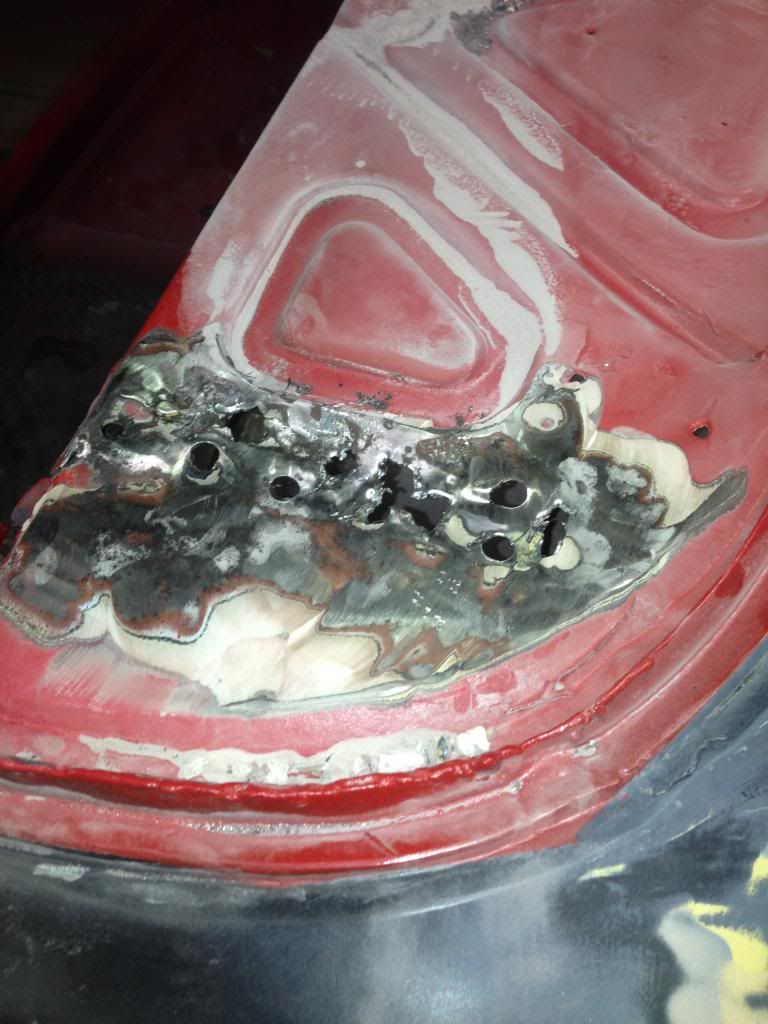
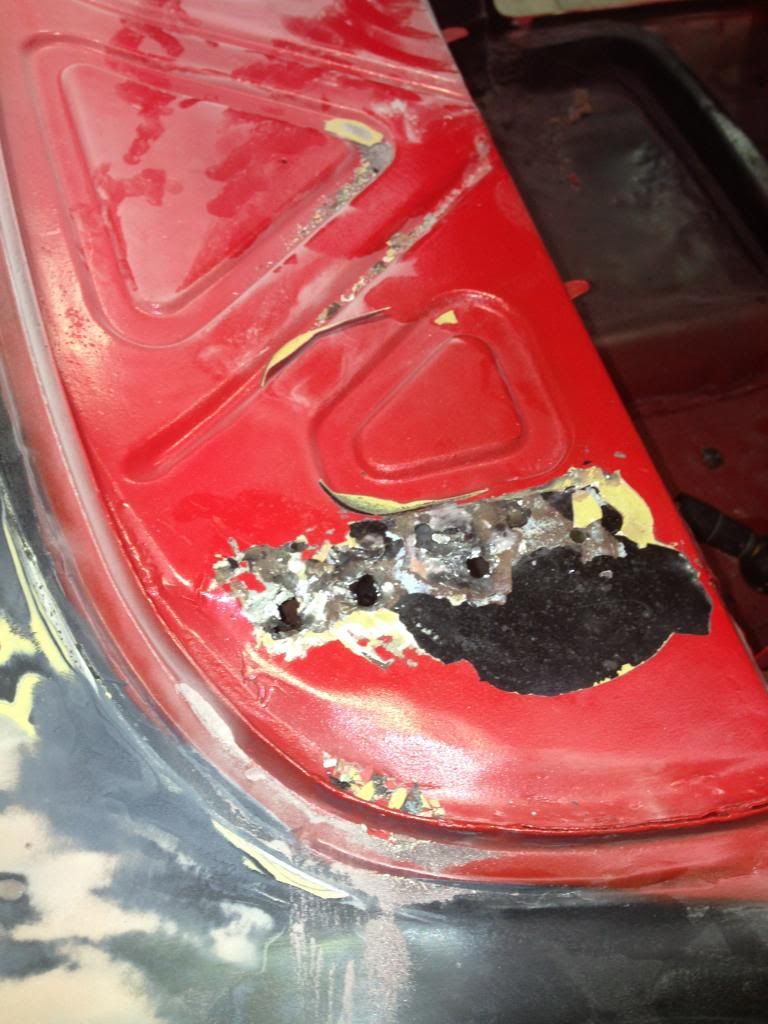
Welded and cleaned up with a flapper disk
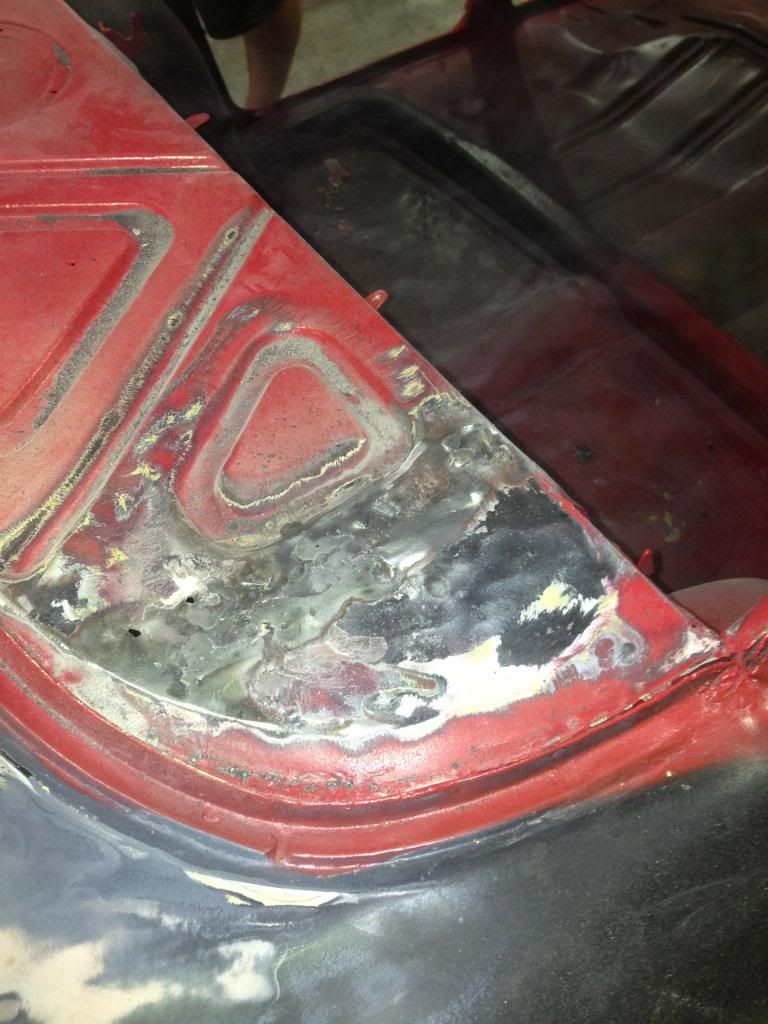
Boot now fits like a glove (or something that fits in a sock that rhymes with clock)

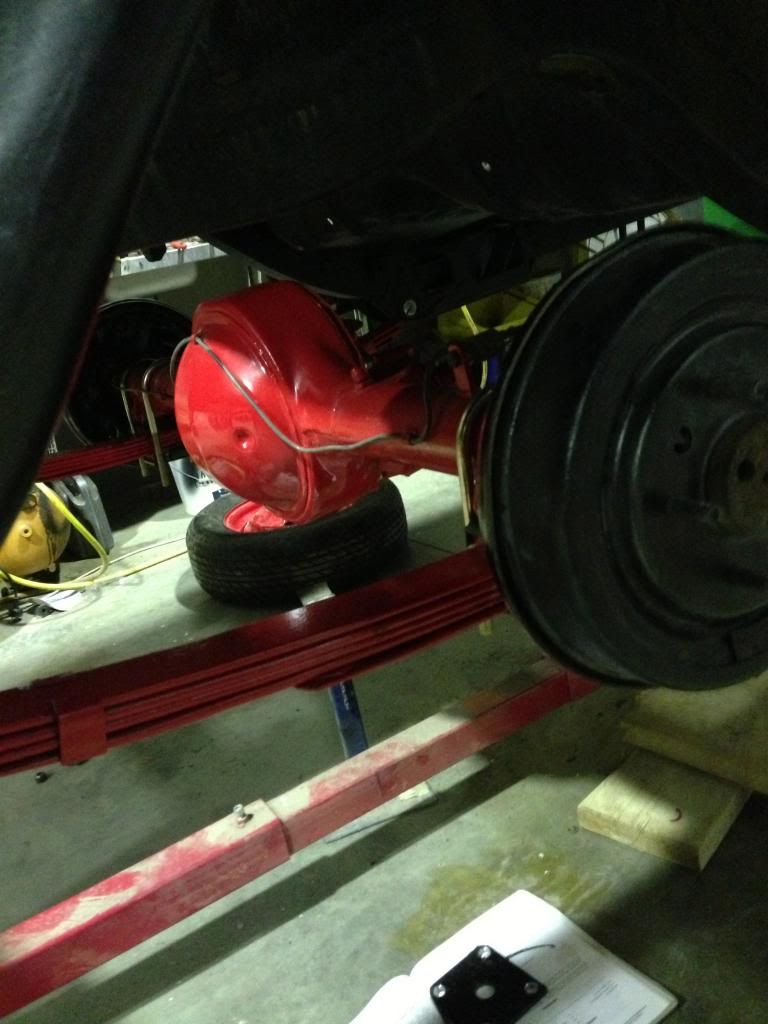
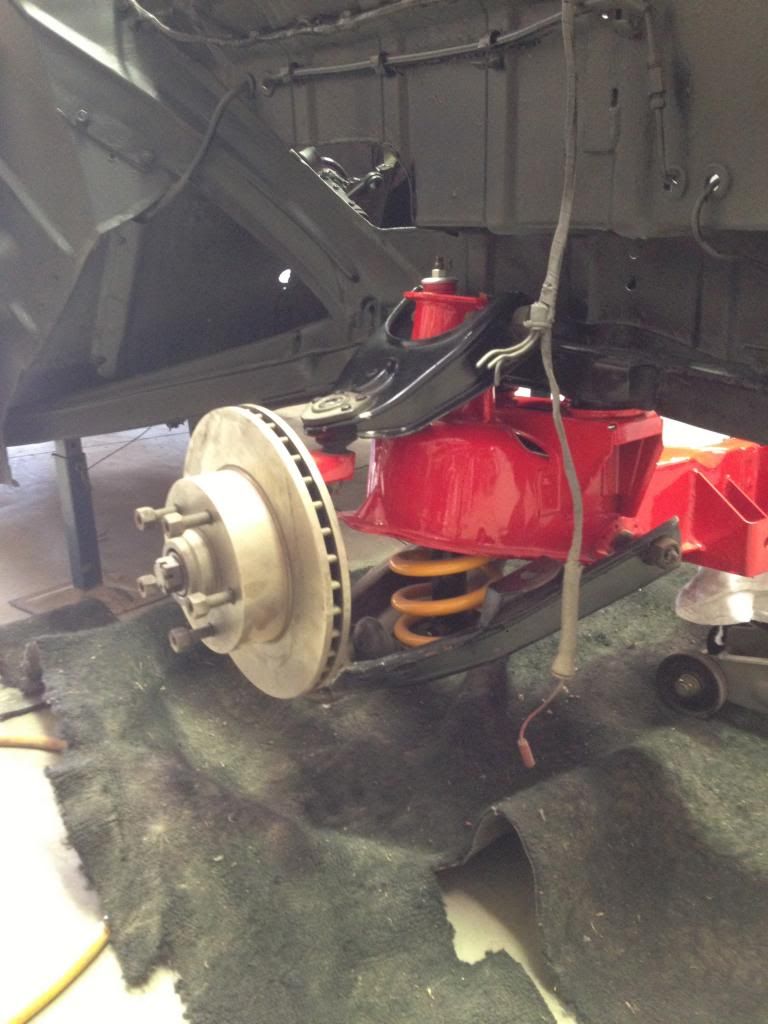
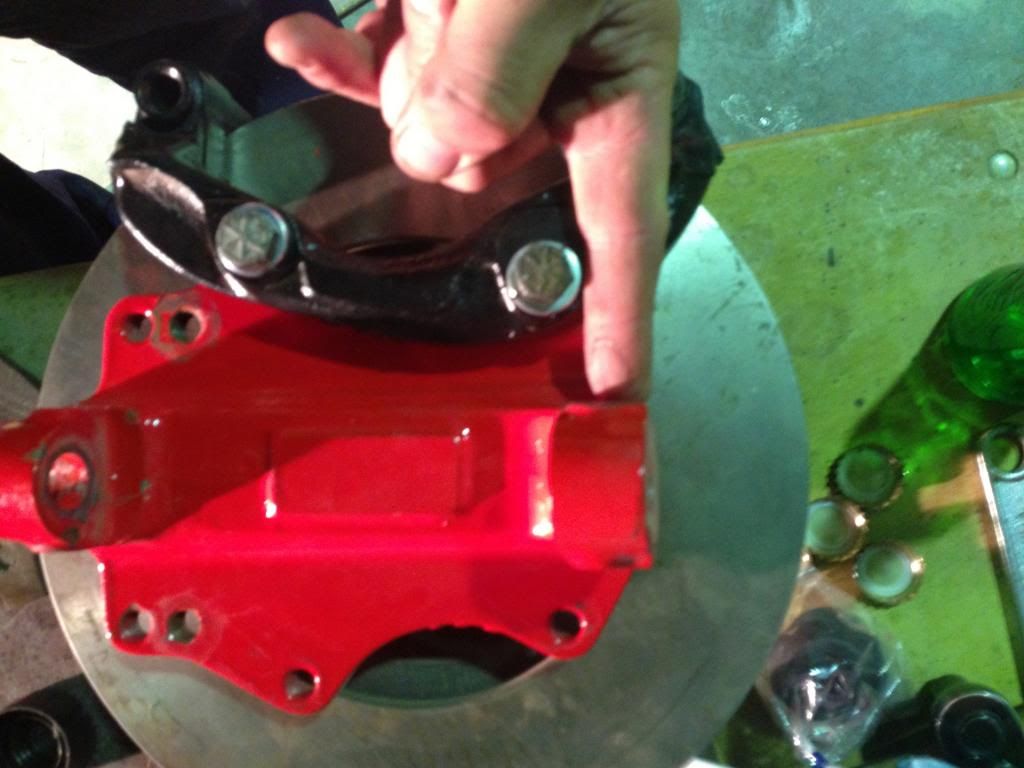
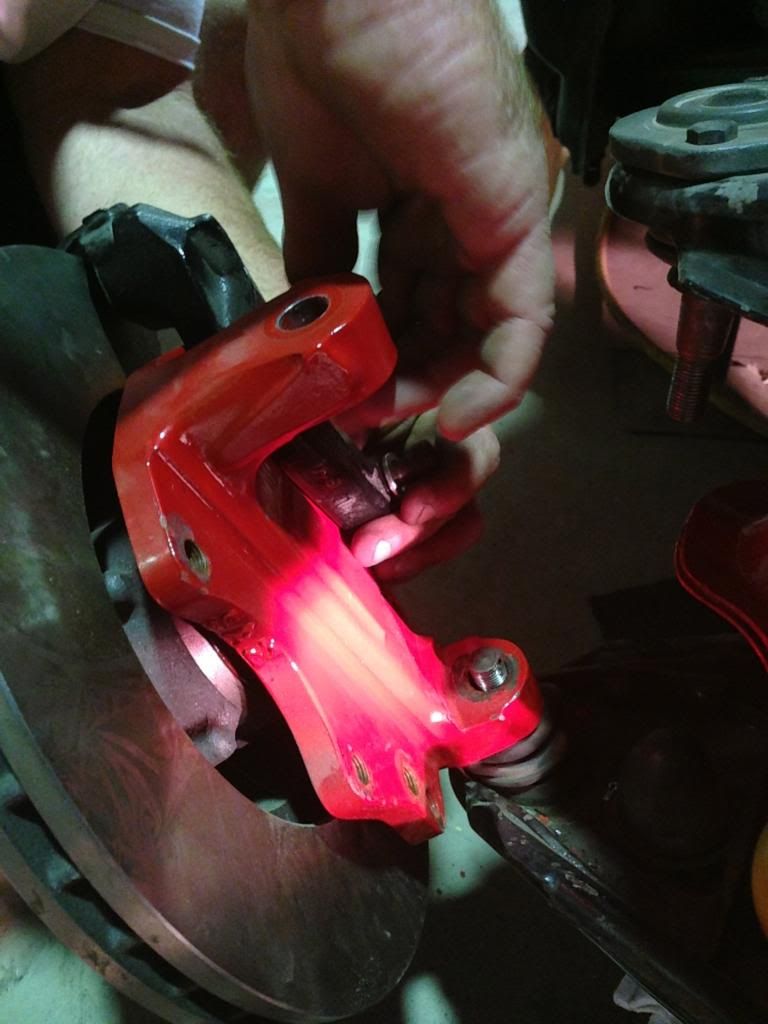
Happy with that then tried fitting the brakes.
A new conundrum appeared before my eyes which didnt surprise me! Which way is up???
Tried fitting the calipers on the drop spindles and couldnt work out why they wouldnt go on. Is it the wrong sized discs? Why wont the threads take? is it the 2 pack on the drop spindles in the threads???? Have a beer, think, then another go still no luck!
Go back through old posts check what they looked like! NOOOOOOOOOOOOOO!!!!!
Ahh ha we have put the spindles on the wrong side D#$kheads!!!!!!!!!!!!!
Take 2 steps forward and one step back week end I have been here plenty of times before so it didnt surprise me at all.
Unbolt the arms and swap the spindles over

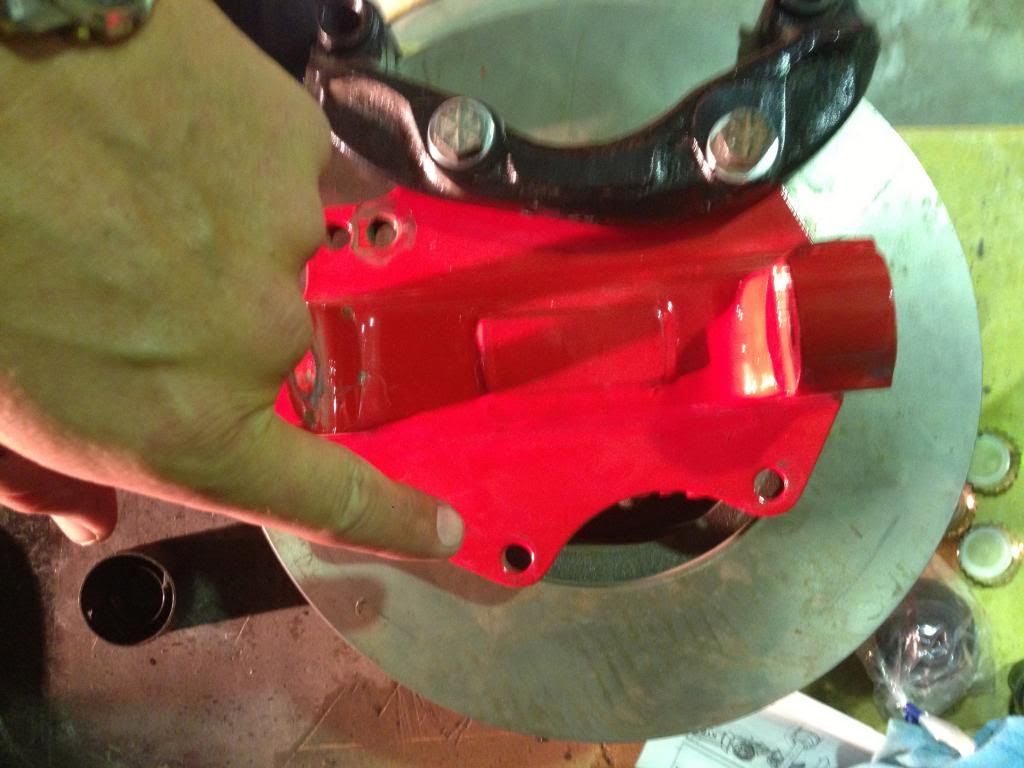
We got it all back together and I have painted the parcel shelf floor and a second coat on the inner doors and dash, bonnet hinges and door hinges today so making some good progress.
Has just started being fun again must be a winter sport this car restoring thing!
Car rolls and steers now
I gave the interior a couple of light coats of the bright red that matches the wheels diff and front end.

 Mounted the boot and found that the hinges were welded on at an angle that wouldnt allow me to mount the boot correctly so that it closed cleanly

1st Image shows passenger side top of boot out of alignment
2nd Image shows the gap between right rear guard and the boot

This image shows the passenger side bottom gap
I then needed to bust the spot welds and start again. see the distance between the hole in the hinge and the boot fixture thread


Welded and cleaned up with a flapper disk

Boot now fits like a glove (or something that fits in a sock that rhymes with clock)


Happy with that then tried fitting the brakes.
A new conundrum appeared before my eyes which didnt surprise me! Which way is up???
Tried fitting the calipers on the drop spindles and couldnt work out why they wouldnt go on. Is it the wrong sized discs? Why wont the threads take? is it the 2 pack on the drop spindles in the threads???? Have a beer, think, then another go still no luck!
Go back through old posts check what they looked like! NOOOOOOOOOOOOOO!!!!!
Ahh ha we have put the spindles on the wrong side D#$kheads!!!!!!!!!!!!!
Take 2 steps forward and one step back week end I have been here plenty of times before so it didnt surprise me at all.
Unbolt the arms and swap the spindles over


We got it all back together and I have painted the parcel shelf floor and a second coat on the inner doors and dash, bonnet hinges and door hinges today so making some good progress.
Has just started being fun again must be a winter sport this car restoring thing!
Car rolls and steers now
Re: MI60FB
Good to see the progress
The drop stubs are normally marked left and right, maybe you sanded it off
The drop stubs are normally marked left and right, maybe you sanded it off