So slept on it, intending to spend the next day sanding and polishing, but had an idea. Out with the craft paper and blue tape.
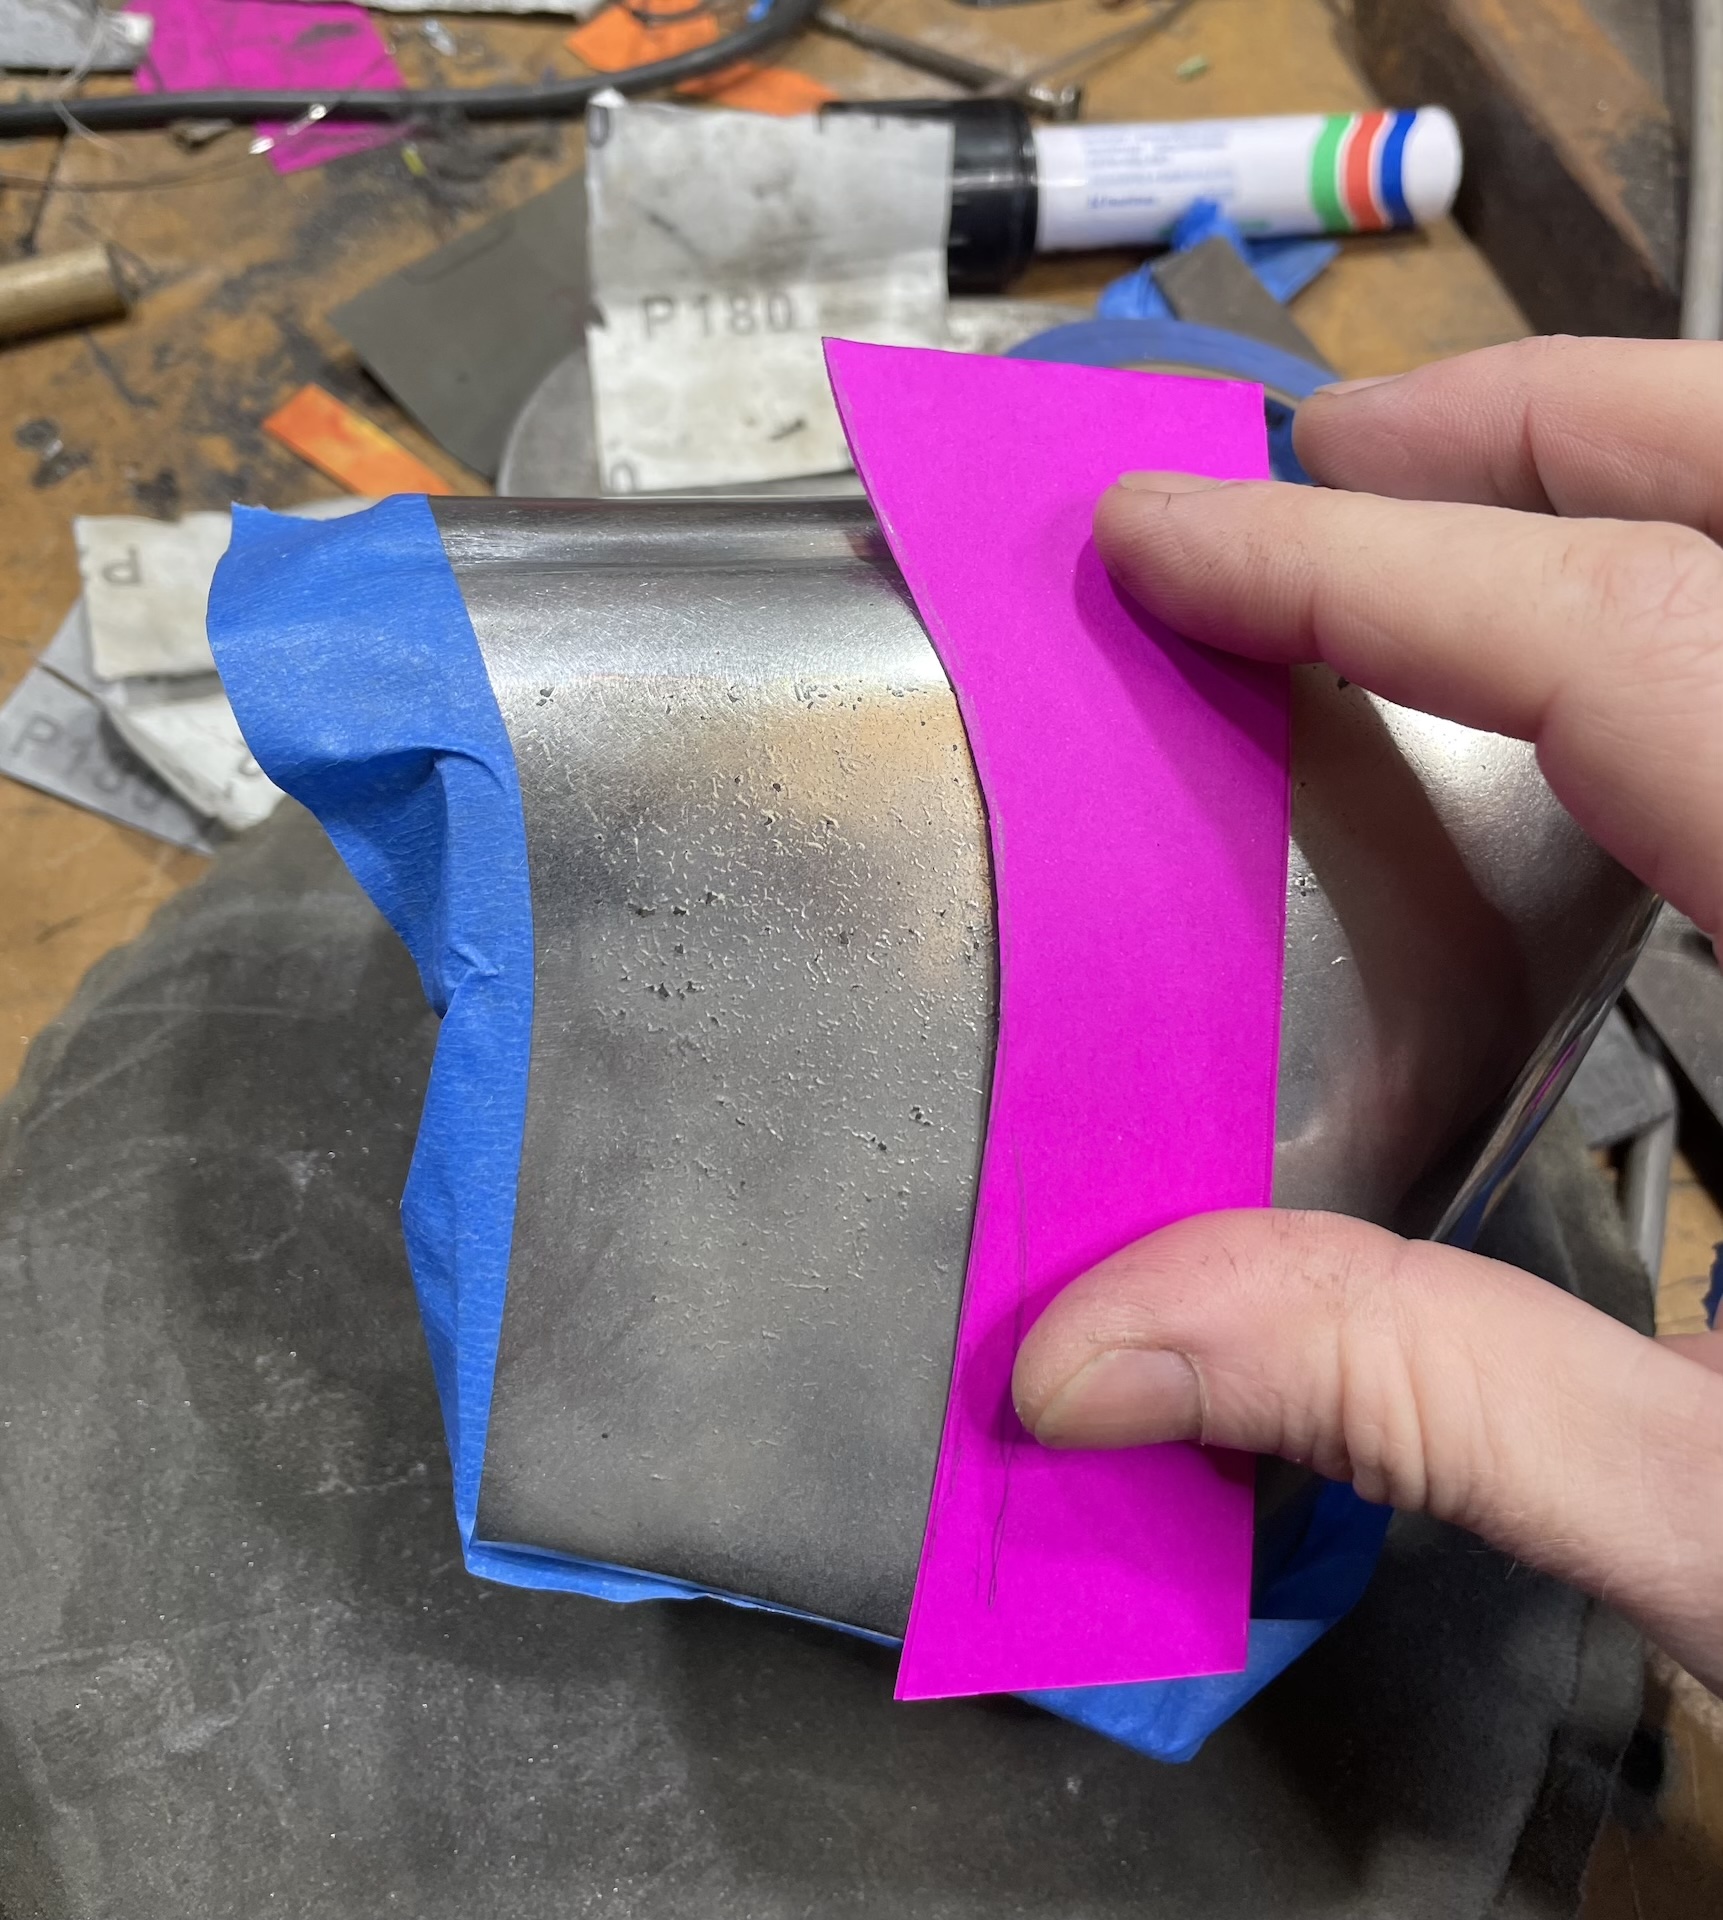
- IMG_7580_2.jpg (786.03 KiB) Viewed 6847 times
My tops are longer than the overrider, and the plan was top cut them flush, but I think a fancy curve is in order.
- IMG_7581_2.jpg (774.69 KiB) Viewed 6847 times
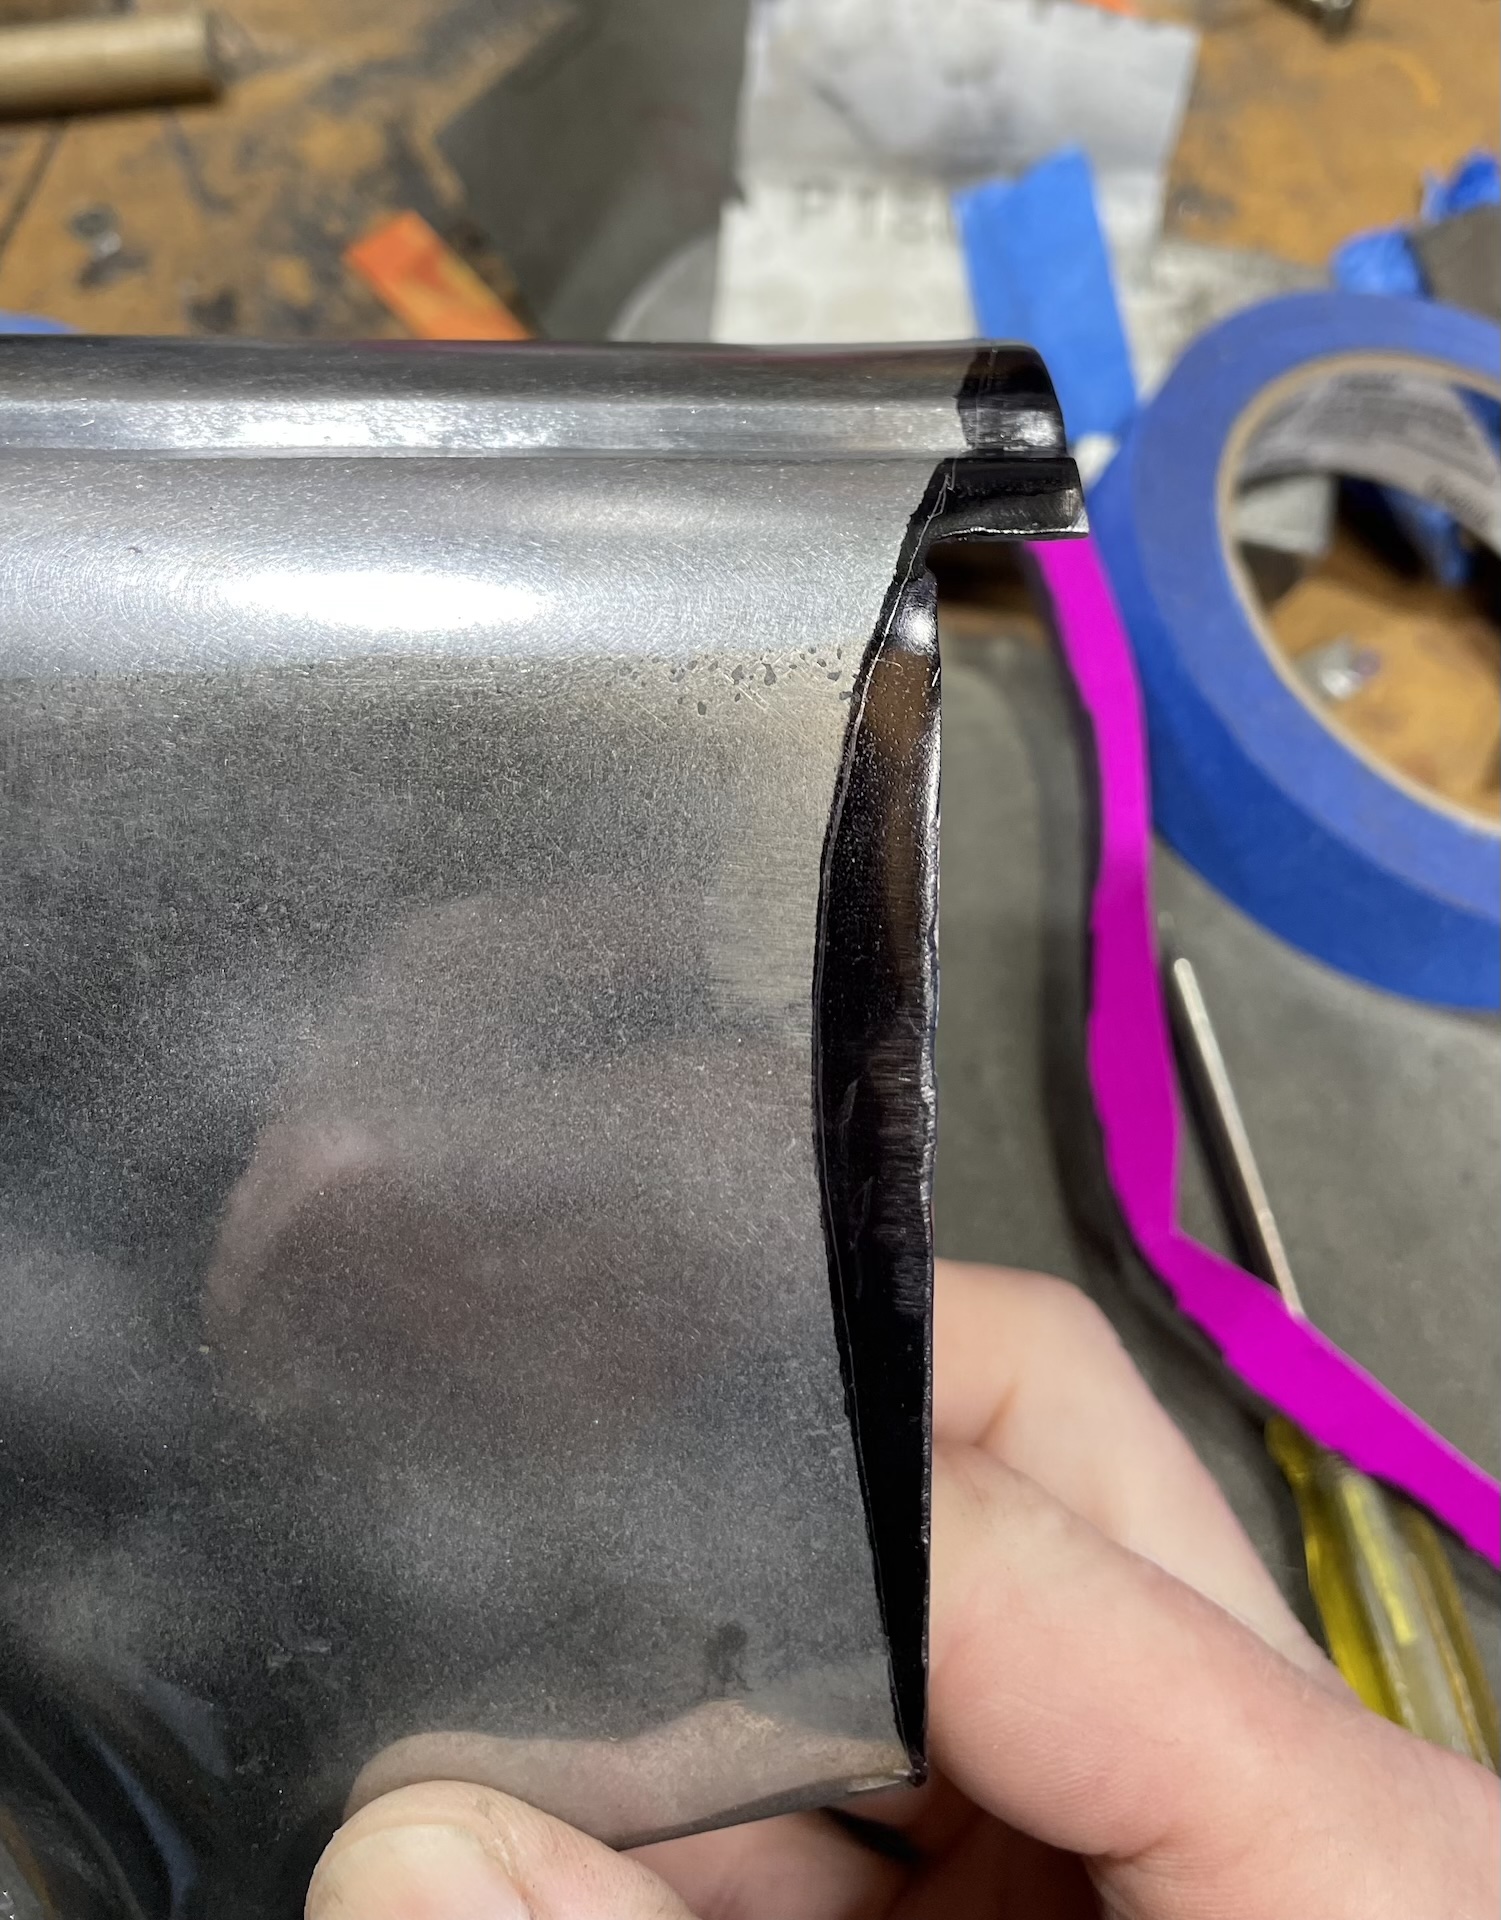
Doing finishing touches I noticed a slight mark on one piece, so I sanded and filed until I realised too late that the mark is thin metal, which is now a hole. All those hammer blows and filing sure thined that metal out.
- IMG_7582_2.jpg (985.2 KiB) Viewed 6847 times
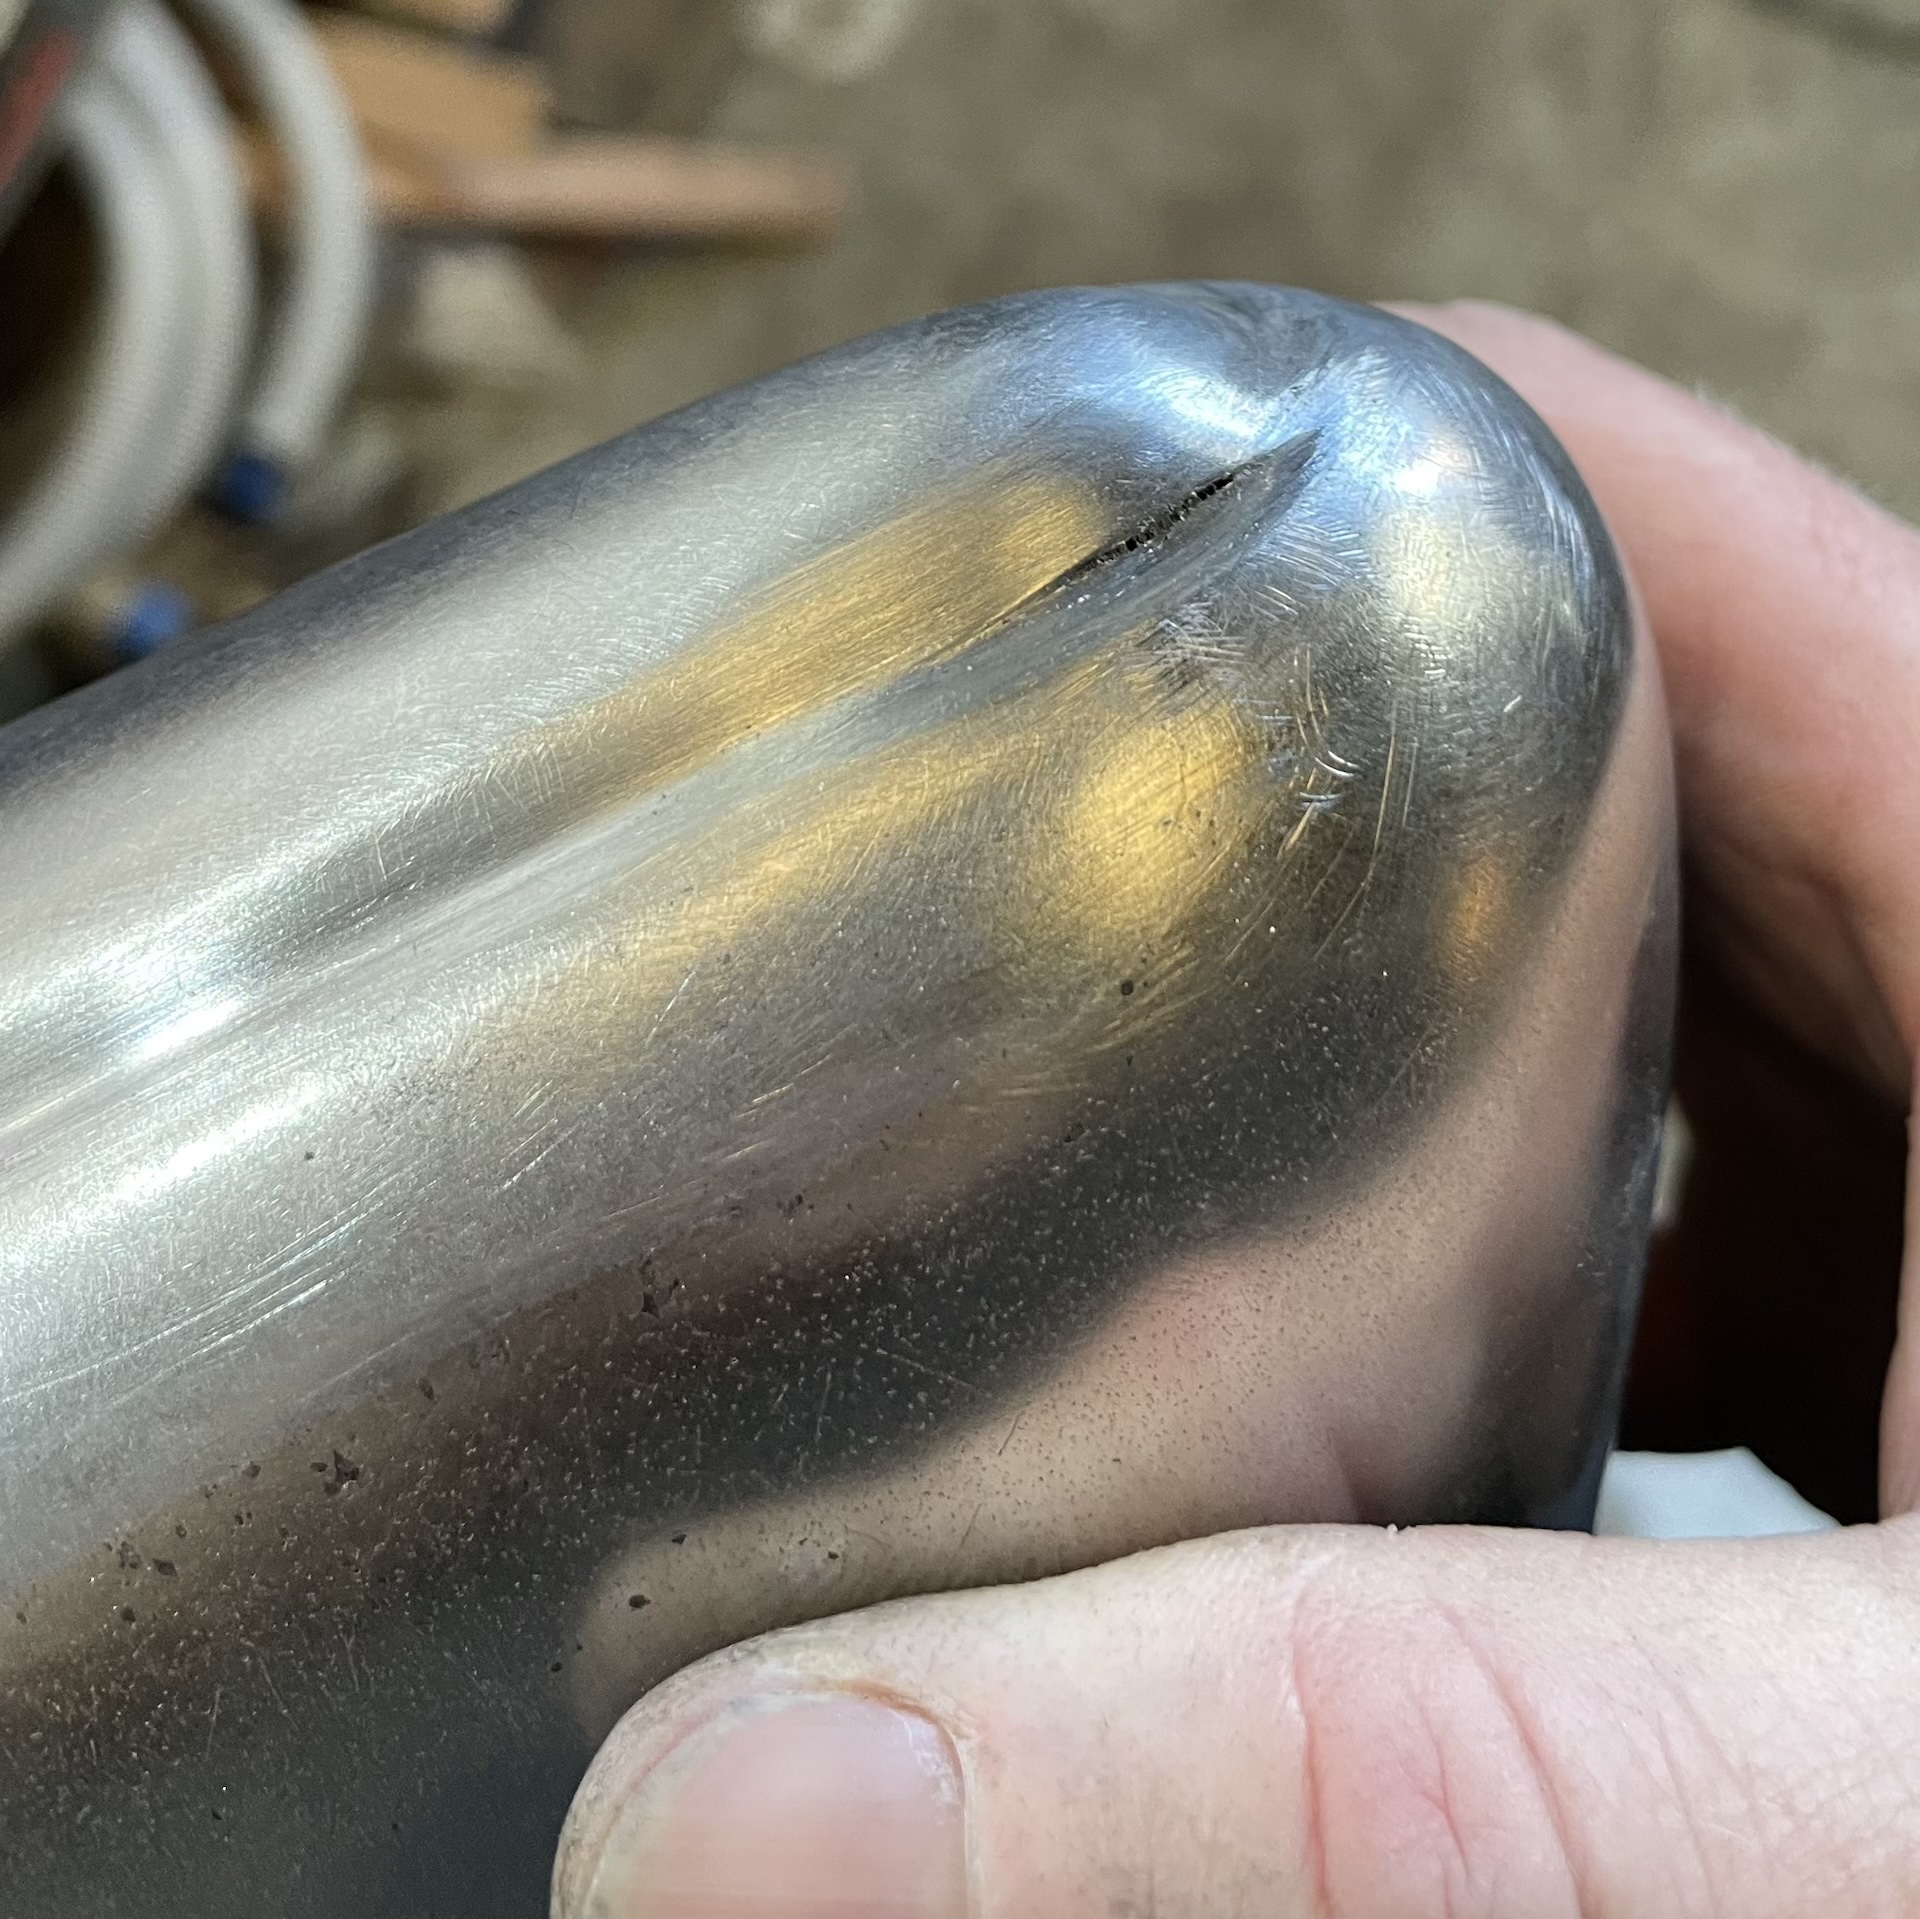
Was ready to chuck it in the corner, but I have spent way too much time on these so out with the welder.
Took 1 pass from the back side then 2 from the top to fill it in. Now I am a bit paranoid of rubbing through elsewhere.
- IMG_7583_2.jpg (922.24 KiB) Viewed 6847 times
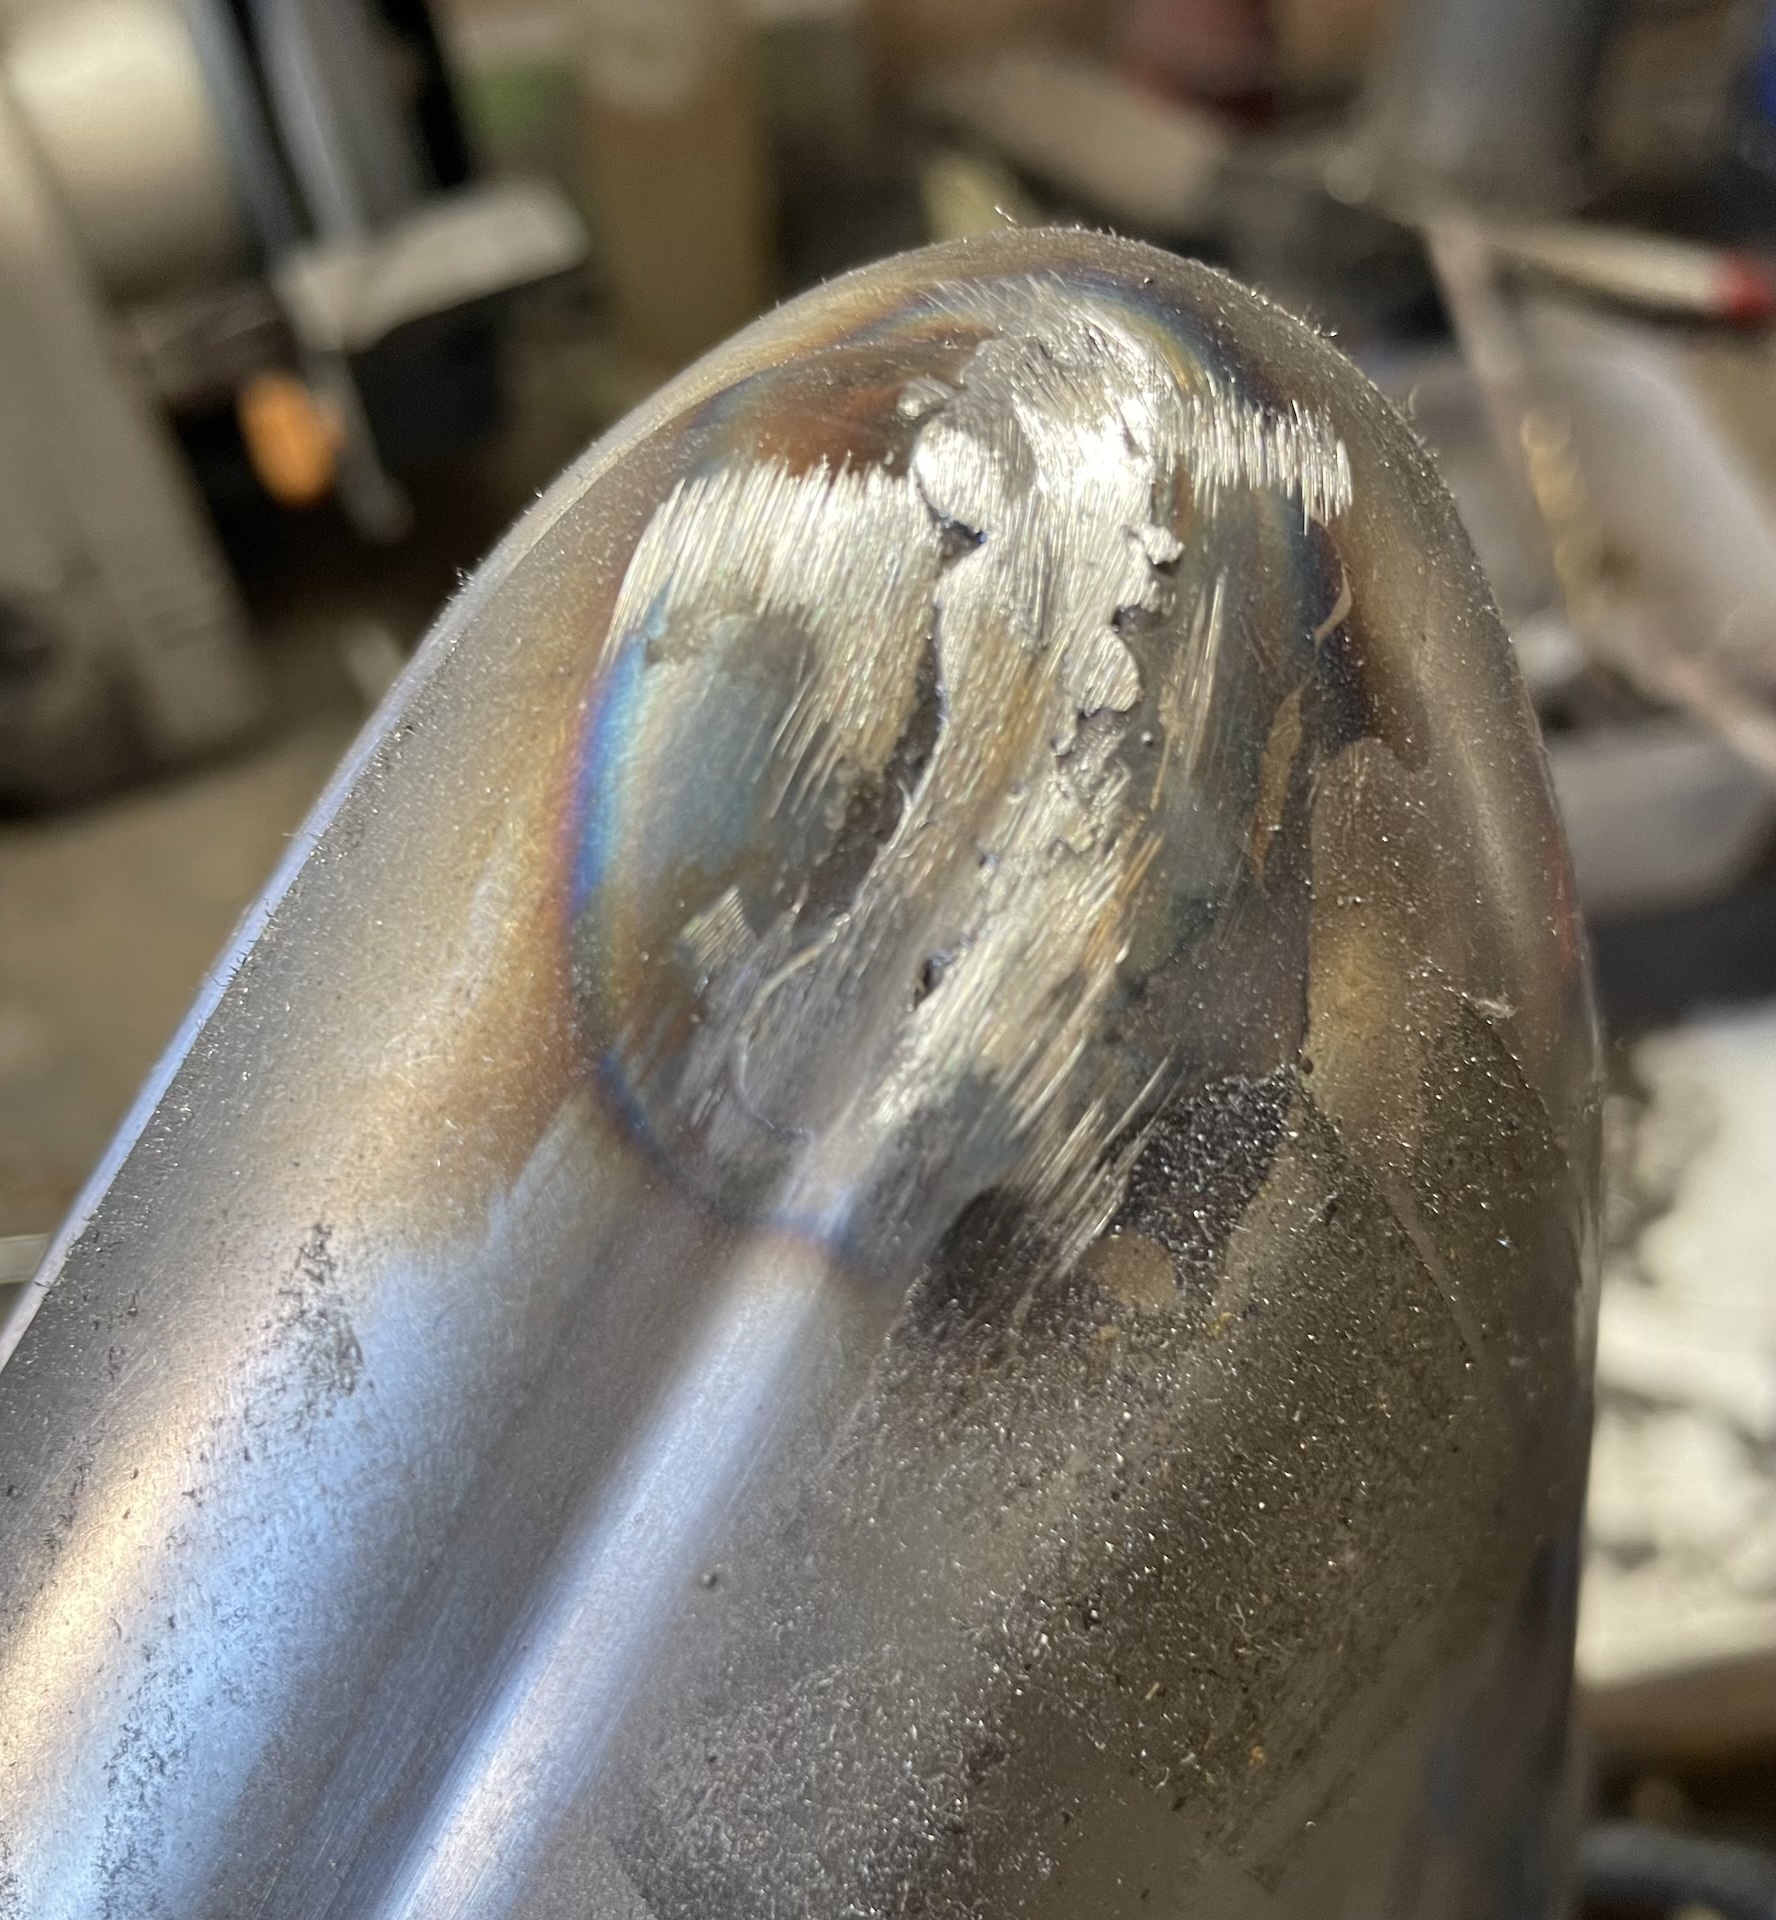
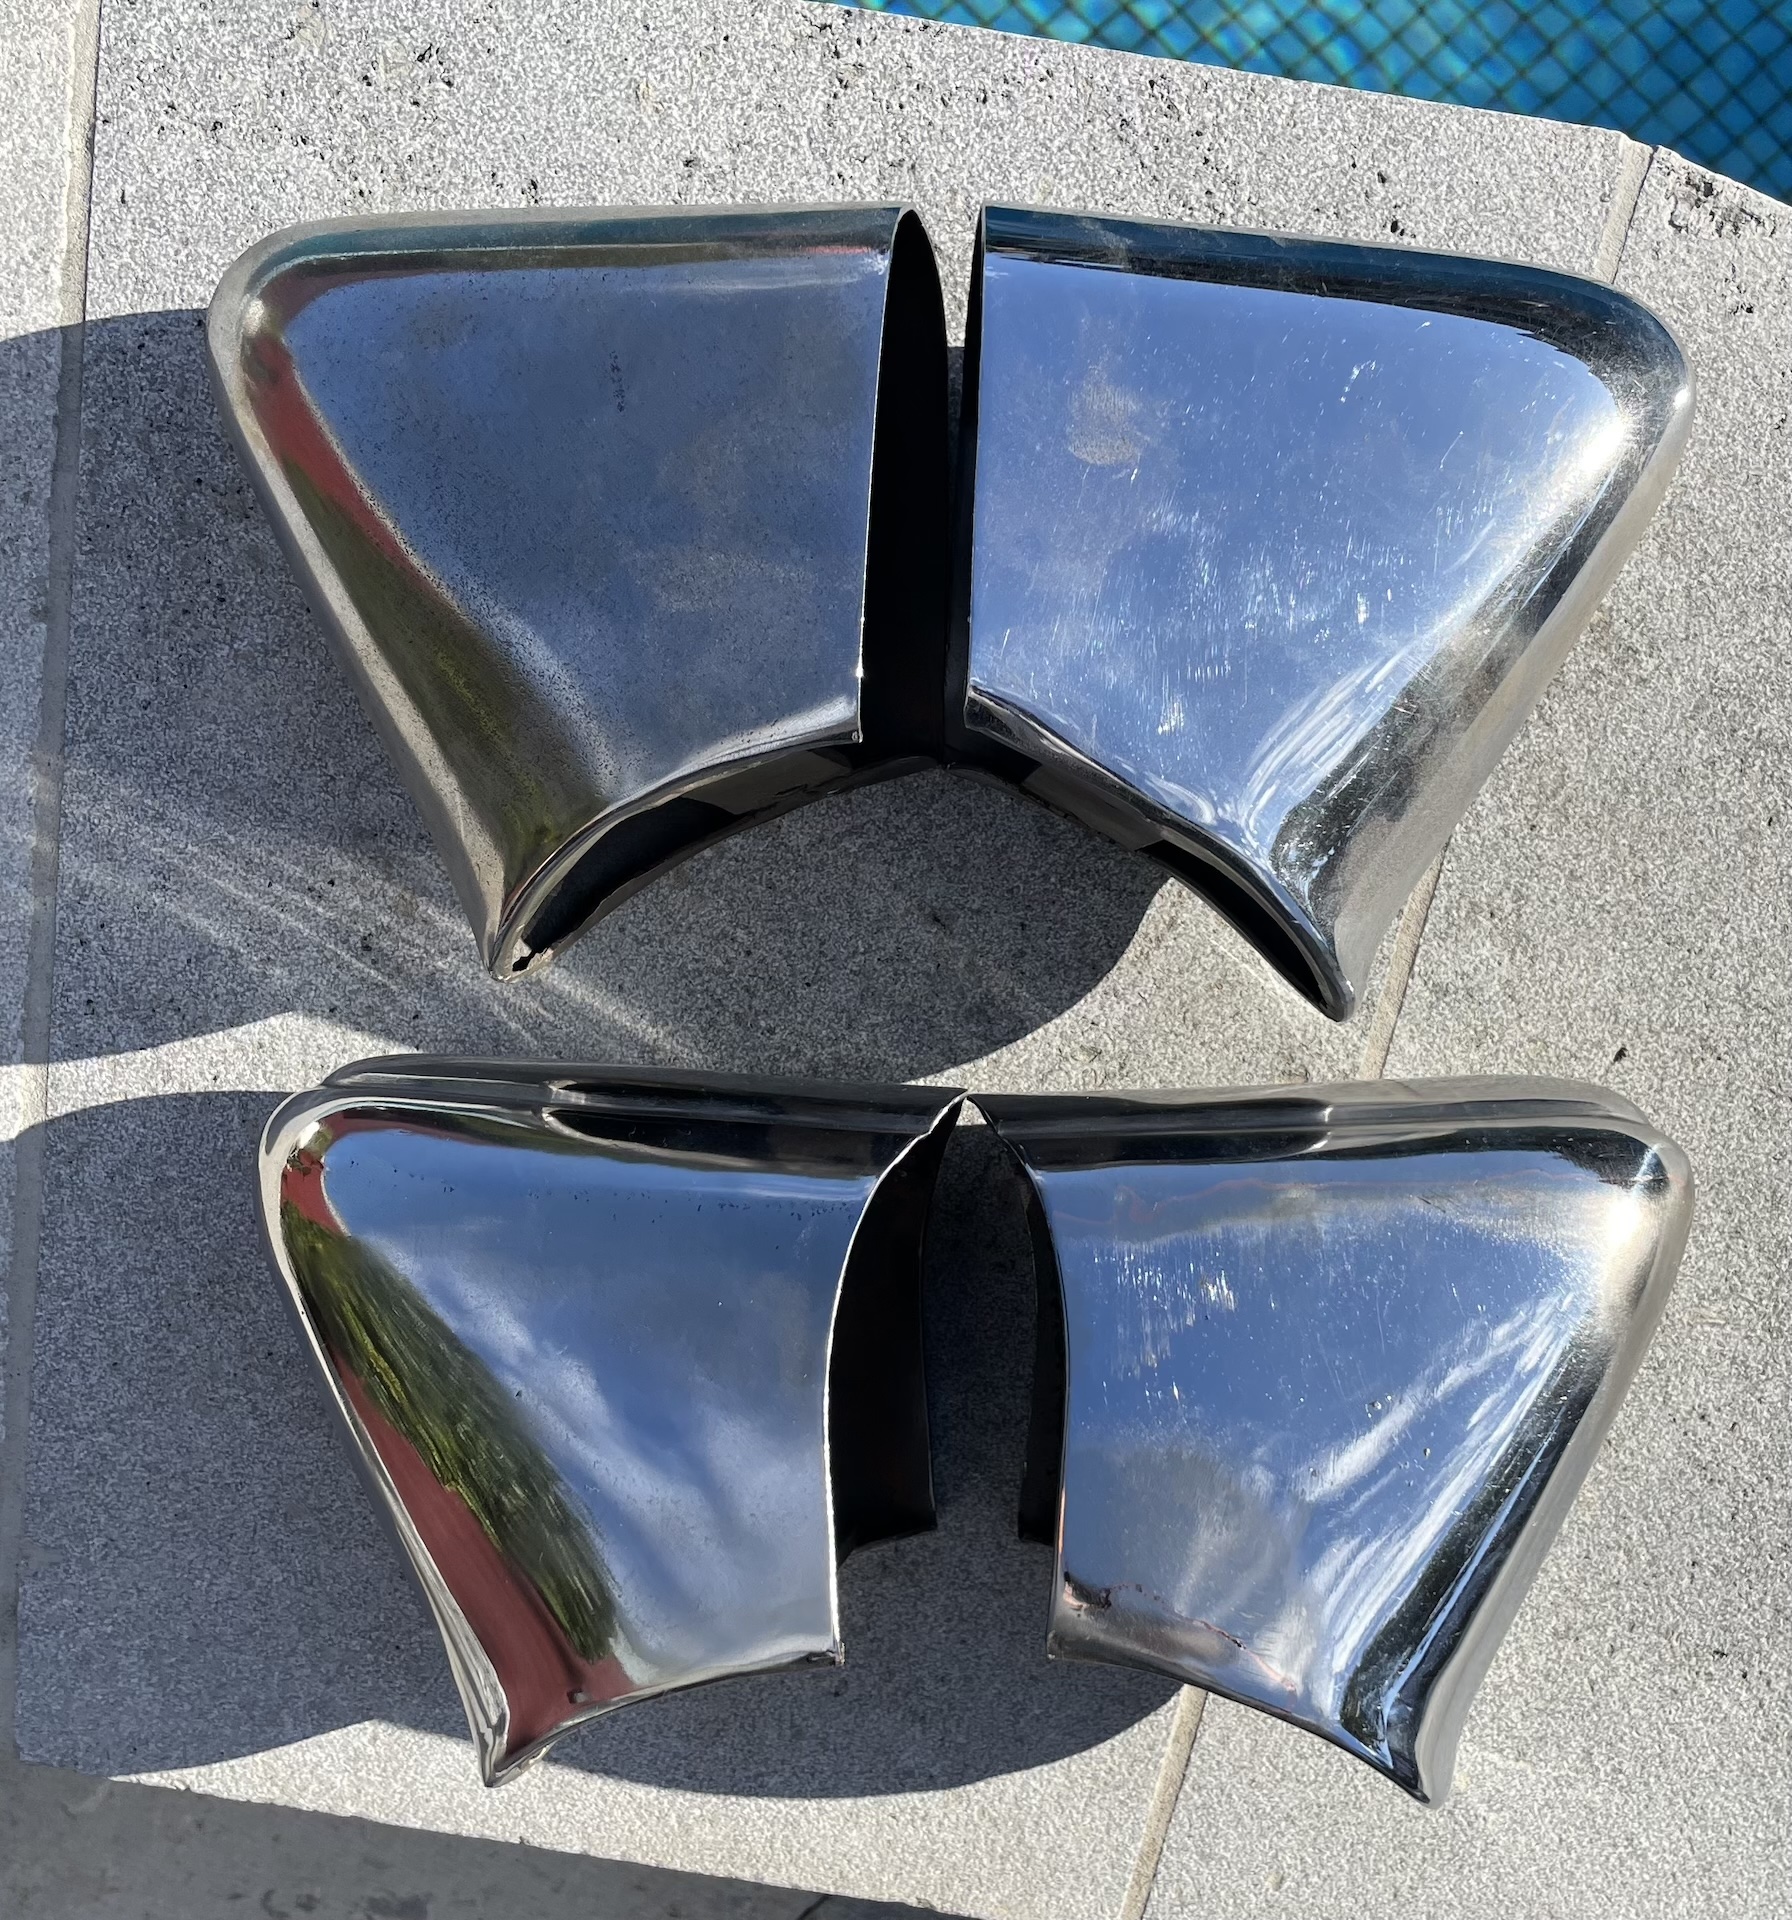
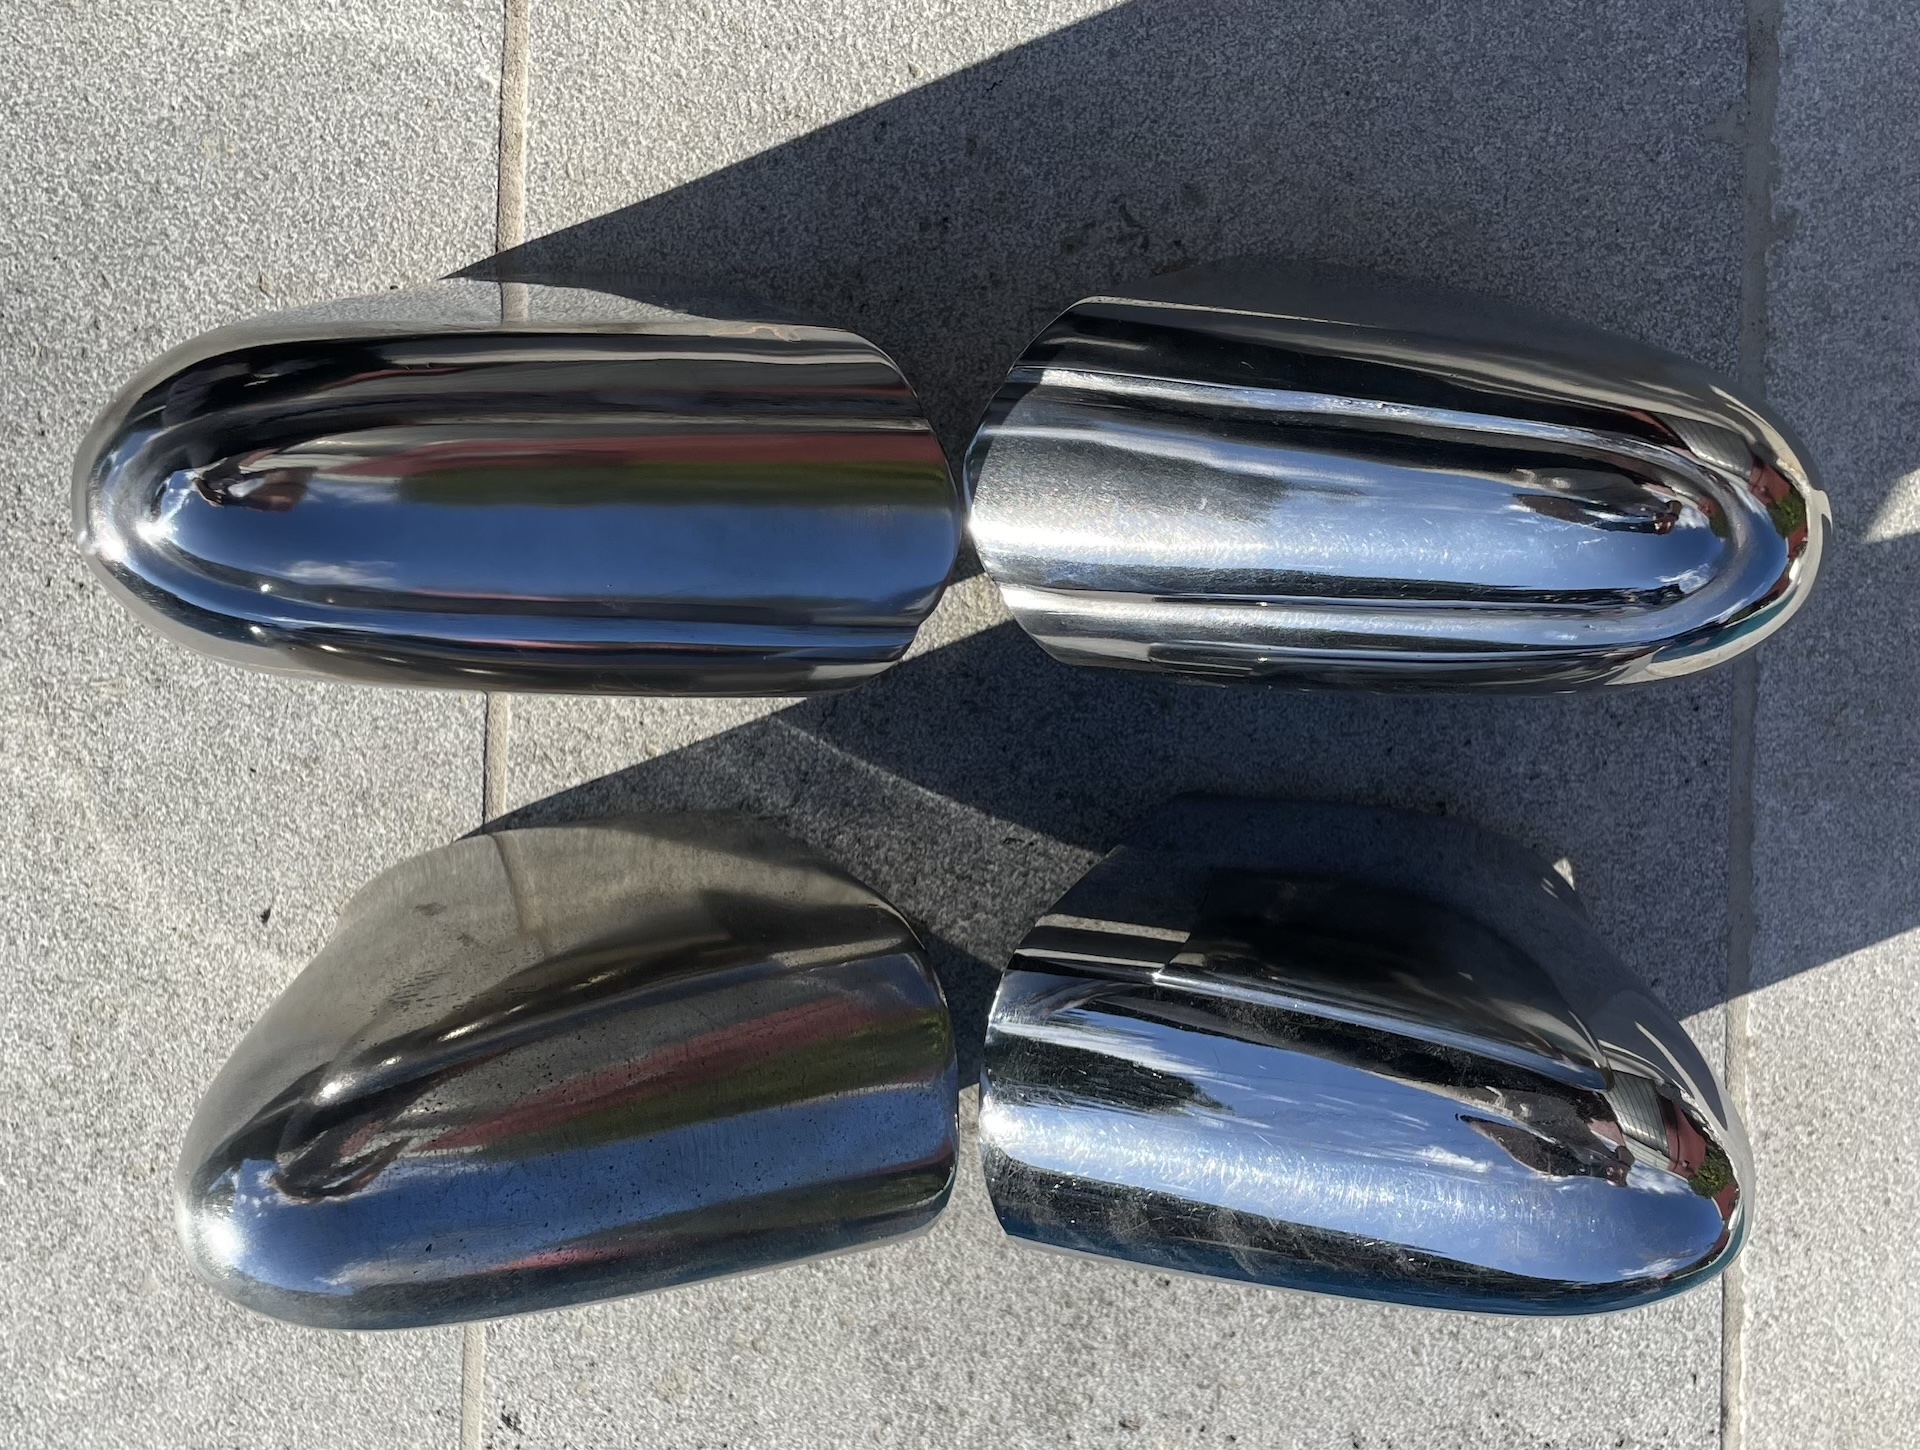
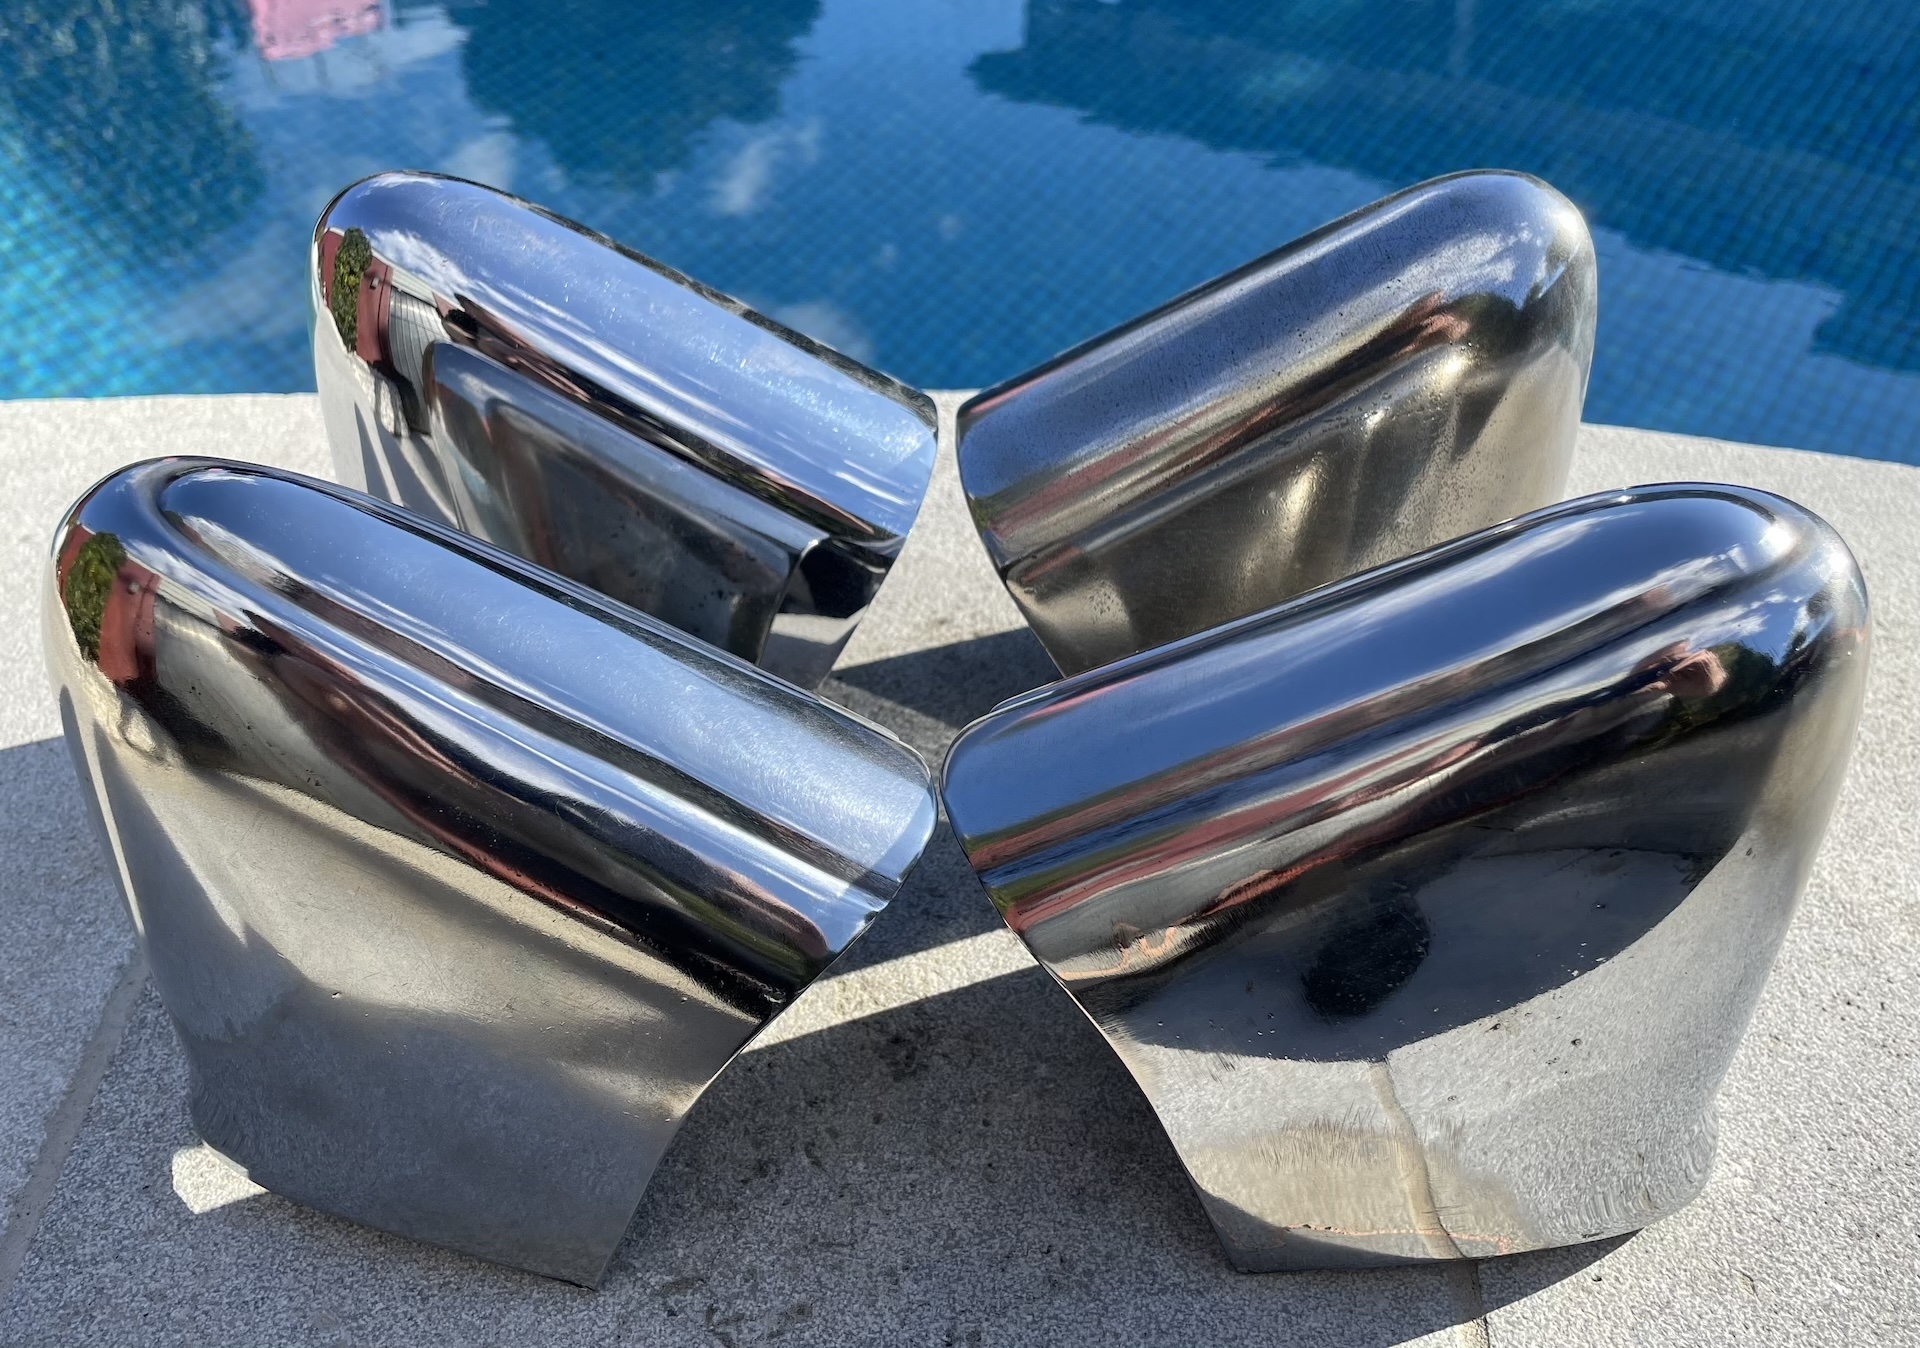
So with a more cautious approach, leaving a few marks for character, I hit them both with the DA sander (120/180), then the polisher. As the sun has decided to make an appearance, I too them out to the pool, along with a standard set, for a photo shoot.

- IMG_7585_2.jpg (1019.1 KiB) Viewed 6847 times
- IMG_7586_2.jpg (1.37 MiB) Viewed 6847 times
- IMG_7587_2.jpg (1.03 MiB) Viewed 6847 times
- IMG_7588_2.jpg (852.35 KiB) Viewed 6847 times
Really like the curve on the back and the lines are subtle enough. Won’t know till I get to put them on, and by then I probably will have decided to delete the overriders and go with the clean lines of just the 3 piece bumpers.